KUNST
SCHÖNHEIT & WELLNESS
HANDWERK
KULTUR & GESCHICHTE
UNTERHALTUNG
UMFELD
ESSEN & GETRÄNKE
REVERSE ENGINEERING
WISSENSCHAFTEN
SPORT
TECHNOLOGIE
WEARABLES
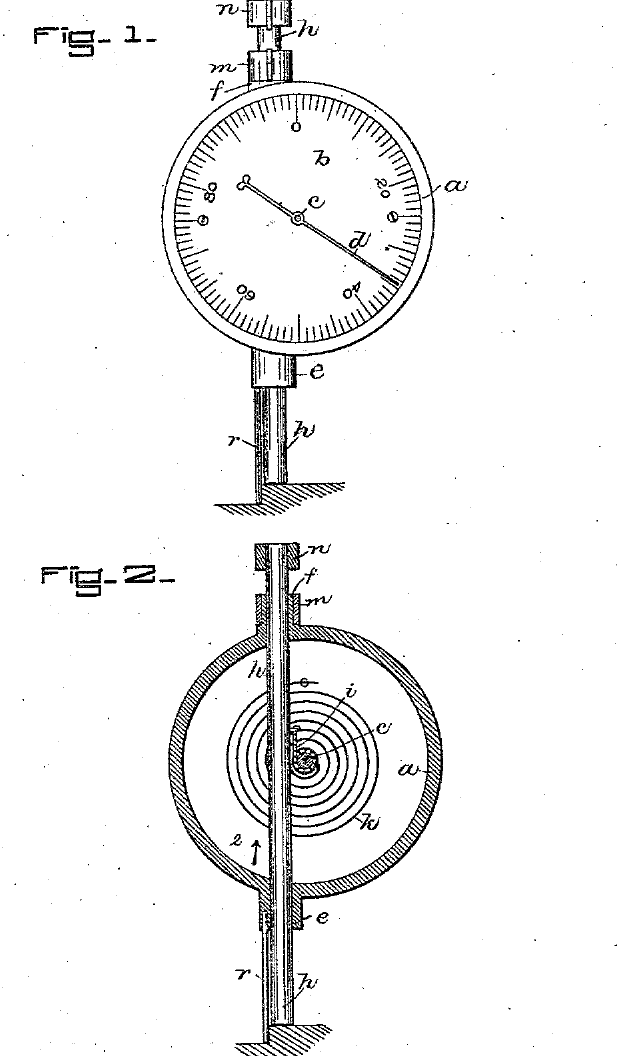


Dial Gauge: Logan, 1883
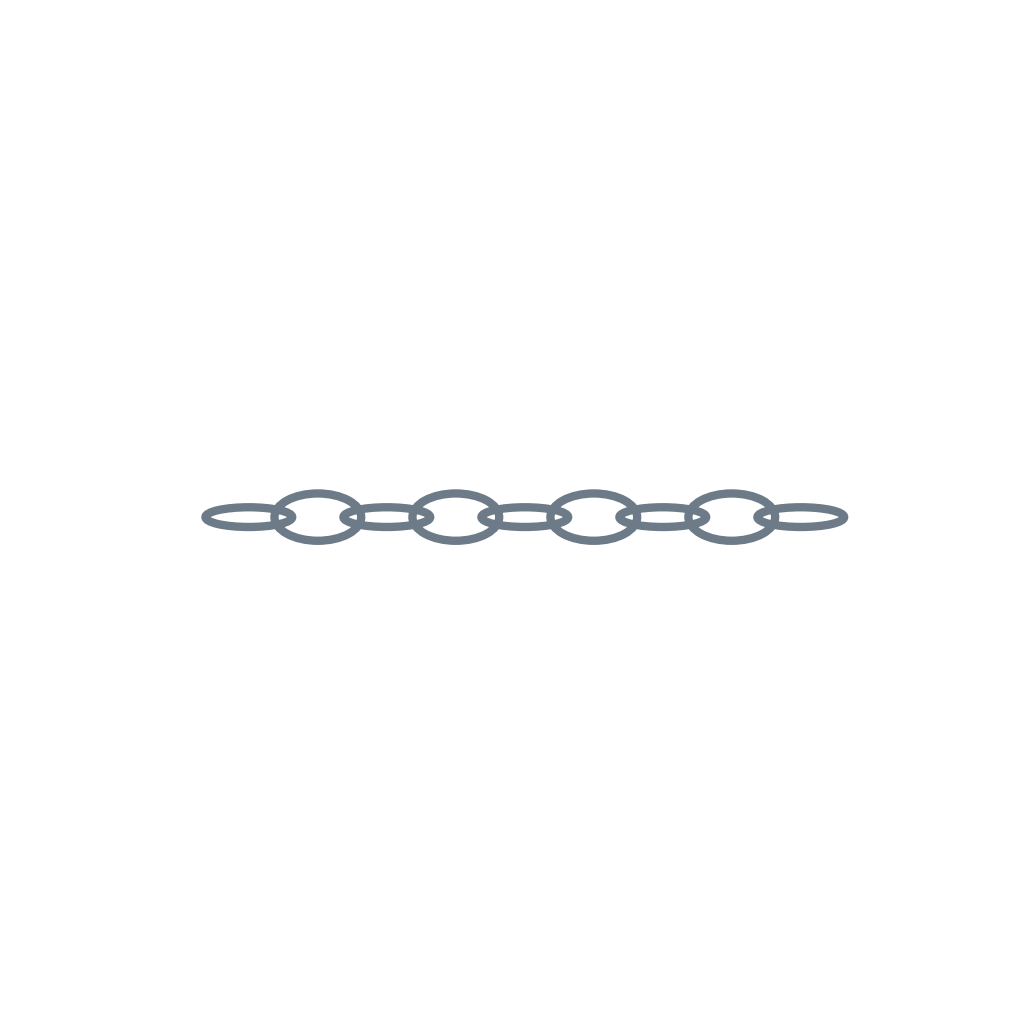
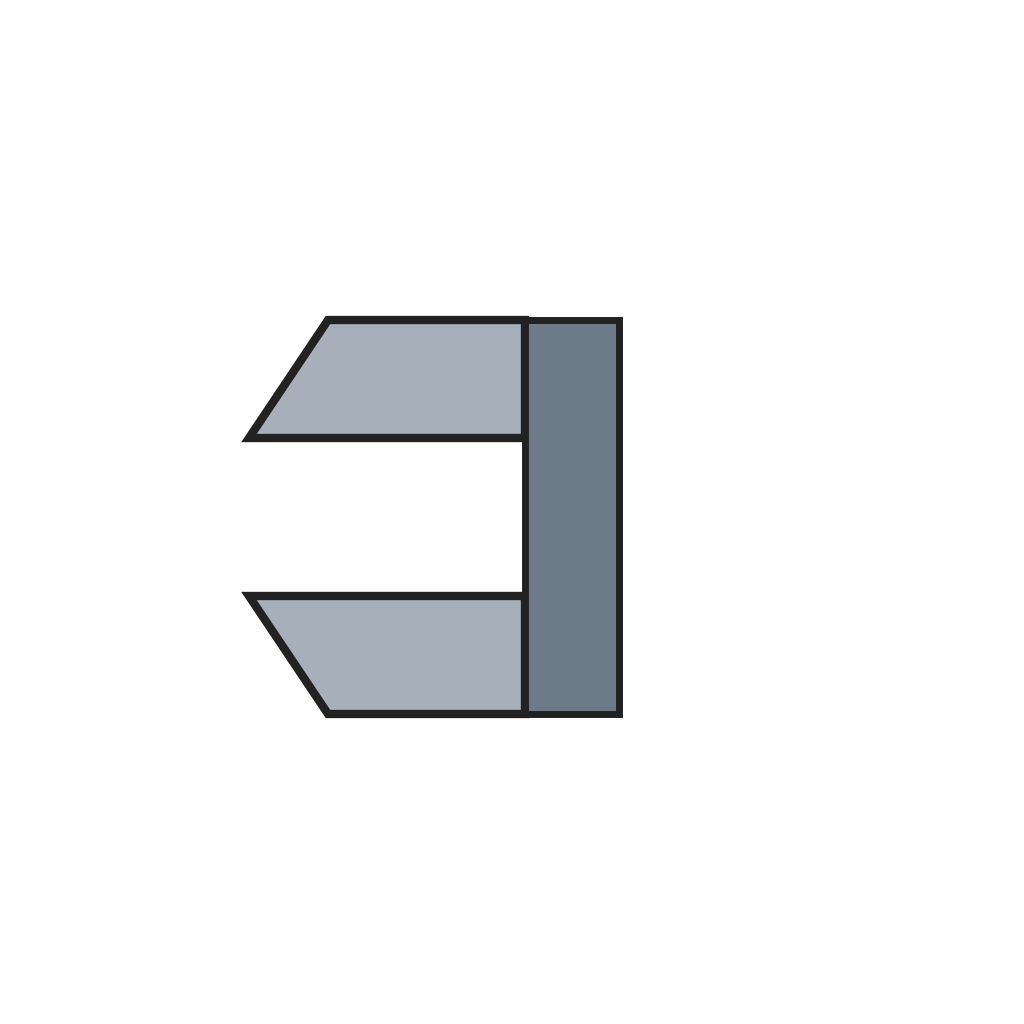
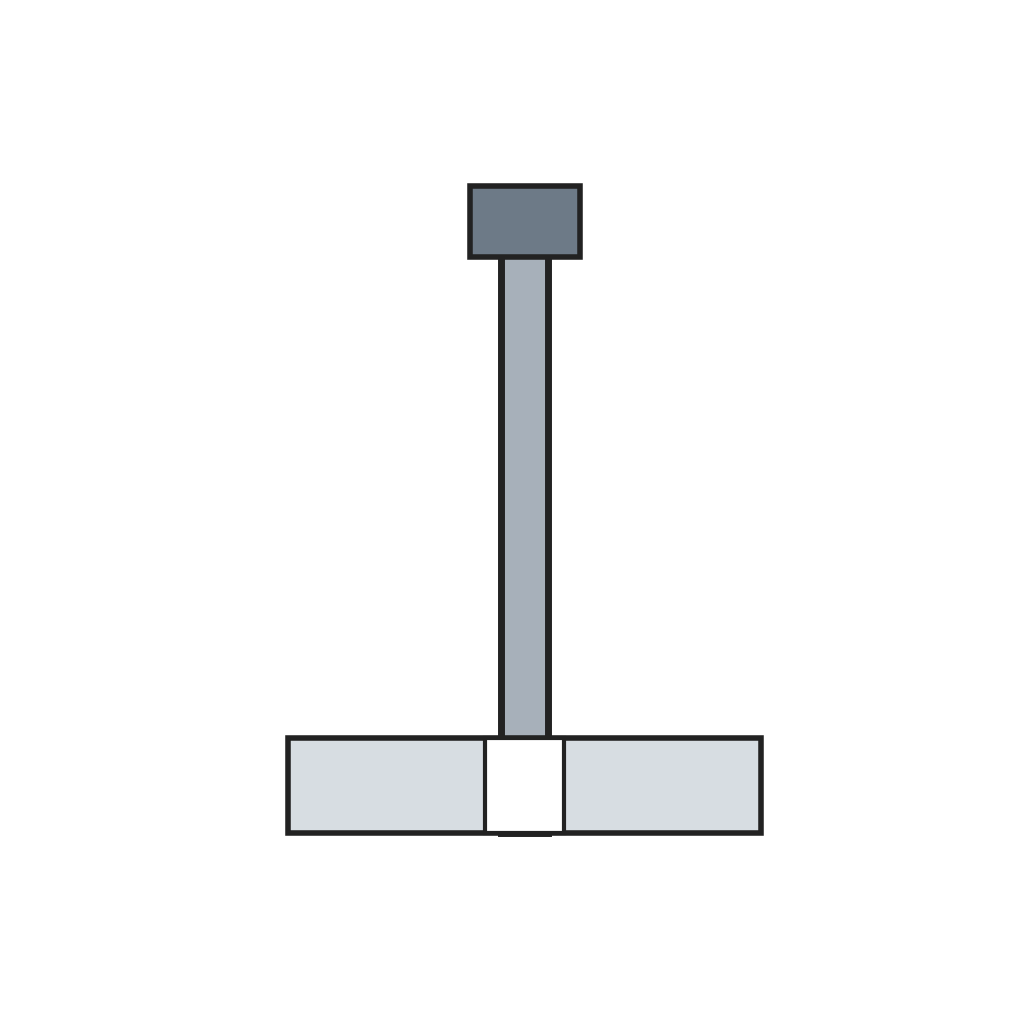
John Logan of Waltham, Massachusetts, patented this dial gauge in 1883, US 283,627. A gauging bar slides lengthwise through guides in a case with a graduated dial. A chain fixed to the bar is wound round the arbor that carries the pointer, so when the bar moves the chain unwinds and turns the pointer. The pointer's end moves much further than the bar, which makes the reading very delicate. A spring on the arbor winds the chain back and returns the bar to zero. A jaw on the case and a jaw on the bar make it a caliper; a slender rod beside the bar's other end makes it a depth gauge.
Erfahren
Workshop process
Anweisungen
1
1
Case and dial
Case and dial
Make the case with the graduated dial, with tubular guide projections at opposite sides for the gauging bar.
Materialien für diesen Schritt:
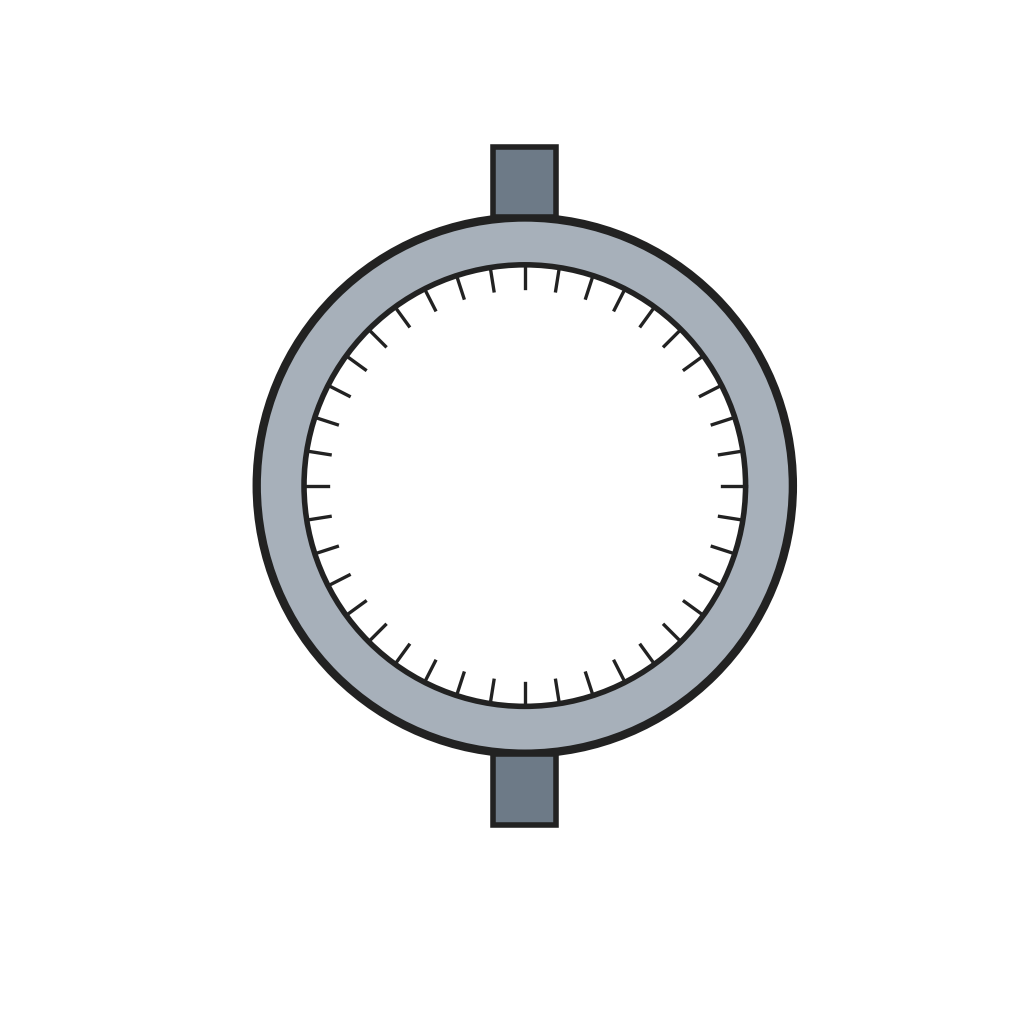 Messuhrgehäuse mit Skalenblatt1 Stück
2
2
Arbor, chain and bar
Arbor, chain and bar
Pivot the arbor carrying the pointer at the dial's centre. Pass the gauging bar through the guides and connect it to the arbor by a chain fixed to the bar and wound round the arbor.
Materialien für diesen Schritt:
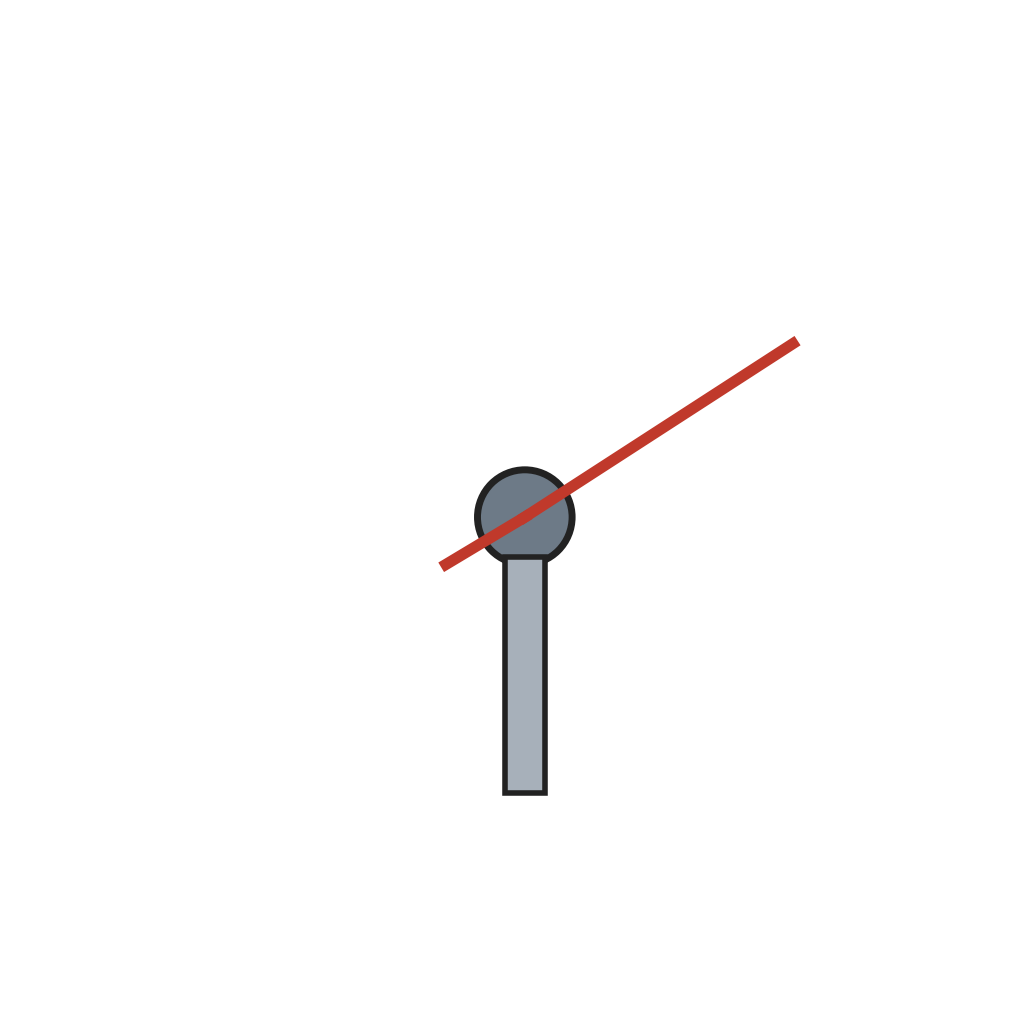 Zeigerwelle mit Zeiger1 Stück
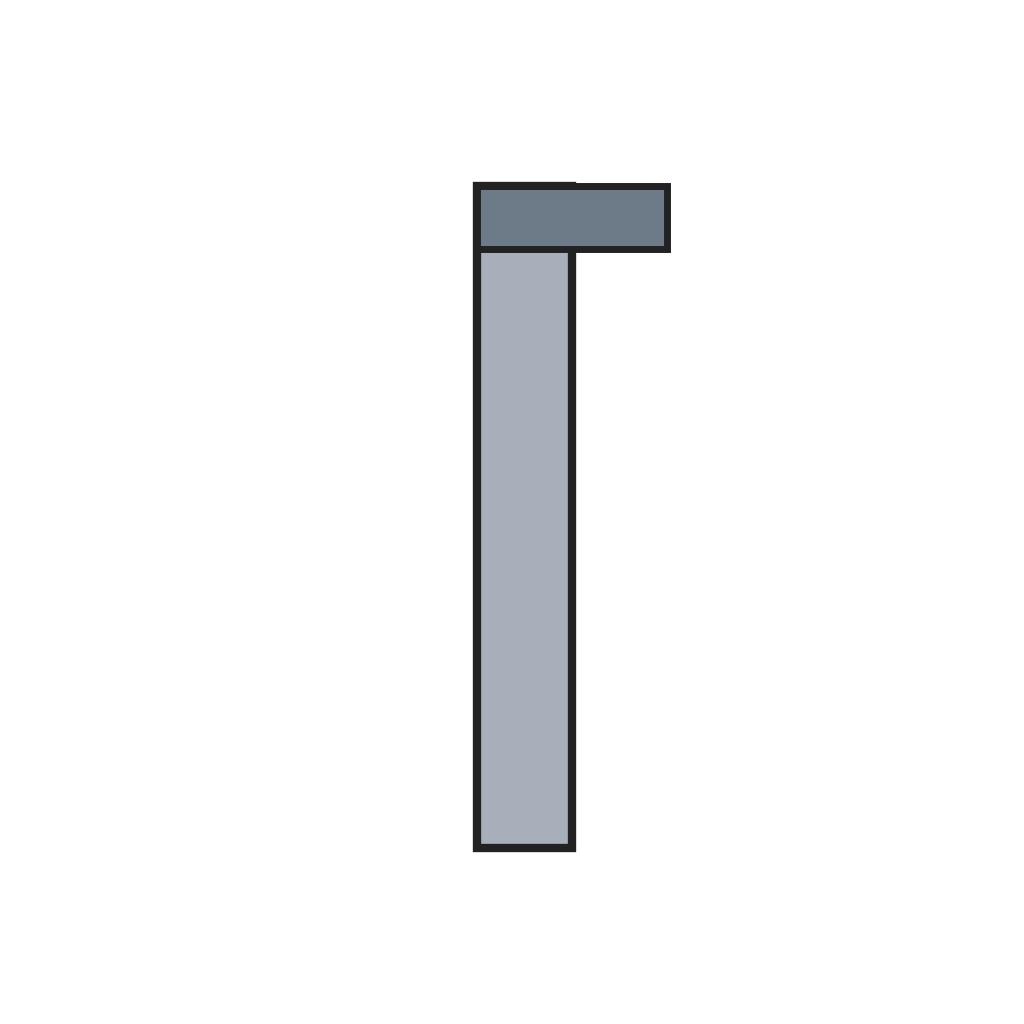 Messbolzen1 Stück
 Feine Kette1 Stück
Benötigte Werkzeuge:
 Präzisionspinzetten-Satz
 Schraubendreher-Satz
3
3
Return spring
Return spring
Connect a spring between the arbor and the case so that it turns the arbor to wind the chain and draws the bar back to the zero position.
Materialien für diesen Schritt:
 Rückholfeder der Zeigerwelle1 Stück
Benötigte Werkzeuge:
Präzisionspinzetten-Satz4
4
Jaws and depth rod
Jaws and depth rod
Fix a jaw on the case and a matching jaw on the bar; when they touch, the pointer reads zero. Fix a slender gauging rod beside the guide at the other end, in line with the bar's end at zero, for measuring depths.
Materialien für diesen Schritt:
 Messschieberschnäbel1 Stück
 Tiefenmessstange1 Stück
Benötigte Werkzeuge:
Schraubendreher-SatzMaterialien
7- Platzhalter
- 1 StückPlatzhalter
- 1 StückPlatzhalter
- 1 StückPlatzhalter
- 1 StückPlatzhalter
- 1 StückPlatzhalter
- 1 StückPlatzhalter
Benötigte Werkzeuge
2- Platzhalter
- Platzhalter
Dieser Bauplan stellt her

Verwandte Blueprints
Diese Blueprints teilen Wissen — Techniken, Materialien oder Prinzipien

CC0 Gemeinfrei
Dieser Blueprint ist unter CC0 veröffentlicht. Sie dürfen dieses Werk für jeden Zweck frei kopieren, ändern, verbreiten und verwenden, ohne um Erlaubnis zu fragen.
Unterstützen Sie den Maker, indem Sie Produkte über seinen Blueprint kaufen, wo er eine Maker-Provision von Anbietern festgelegt, verdient. Oder erstellen Sie eine neue Iteration dieses Blueprints und verbinden Sie ihn in Ihrem eigenen Blueprint, um Einnahmen zu teilen.