Egyptian Mud Brick — Molding Nile Mud Bricks with Straw Binder
Anweisungen
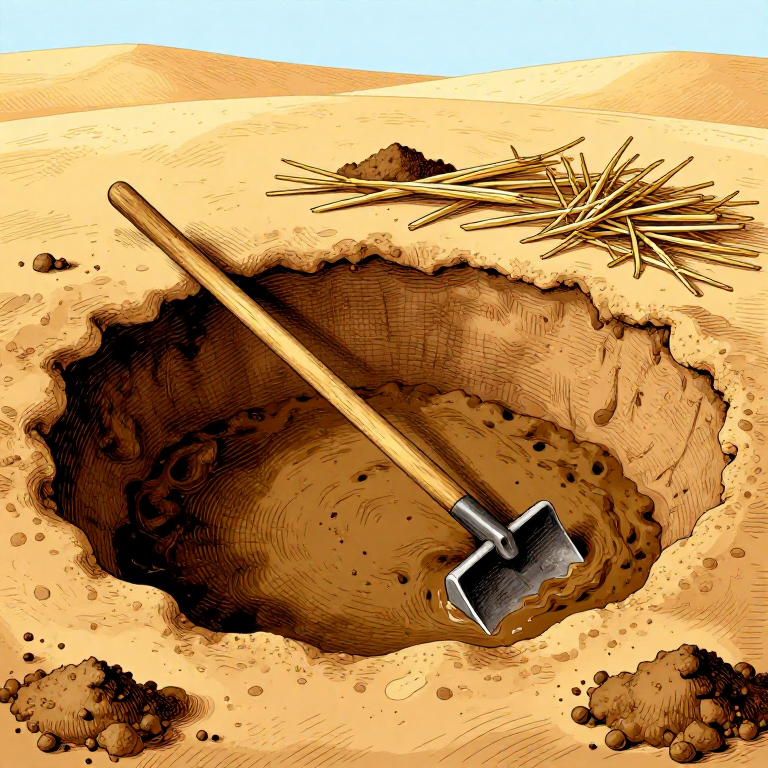
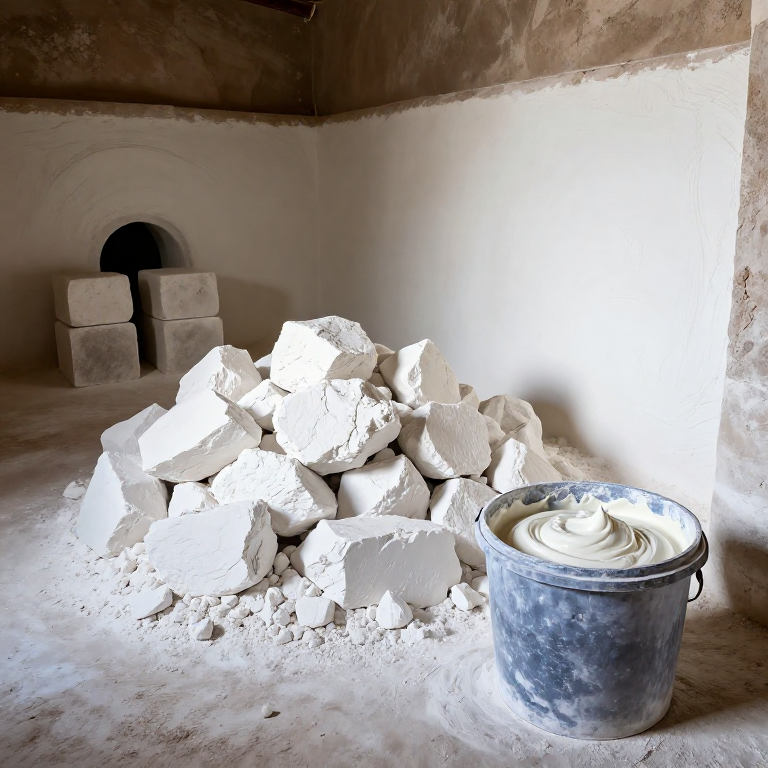
Prepare the Clay Mud Mixture
Prepare the Clay Mud Mixture
Gather clay-rich soil, ideally with a clay content of 20-40 percent mixed with silt and fine sand, similar to the alluvial deposits left by the annual Nile flood. Break up any large clumps and remove stones, roots, and debris. Add water gradually while mixing with your feet or a hoe until the mud reaches the consistency of thick cookie dough — it should hold its shape when squeezed but not be so wet that it slumps. Ancient Egyptian tomb paintings at Rekhmire's tomb in Thebes depict workers mixing mud in pits using their feet, which remains the most effective method for large batches.
Materialien für diesen Schritt:
 Wateras needed to achieve workable consistency Stück
 Fine Sand2-3 kg (optional, to reduce cracking) kg
Benötigte Werkzeuge:
Add Straw Binder to the Mud
Add Straw Binder to the Mud
Chop straw or dried grass into lengths of 5-10 cm and mix it thoroughly into the mud. The straw serves multiple critical functions: it reduces shrinkage cracking during drying by distributing tensile stress throughout the brick, it creates air channels that speed drying, and as the organic fibers partially decompose they leave voids that make the brick lighter. The ideal ratio is approximately 10-15 percent straw by volume. Mix until the straw is evenly distributed throughout the mud with no dry clumps remaining. The mixture should feel fibrous and cohesive when pulled apart.
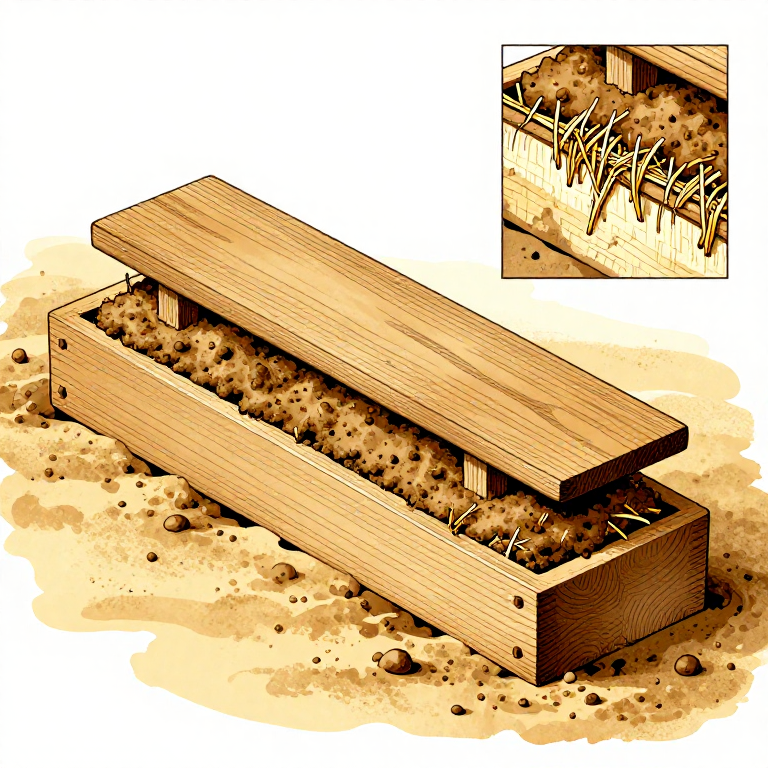
Fill and Strike the Brick Mold
Fill and Strike the Brick Mold
Wet the inside of the wooden mold to prevent the mud from sticking. Place the mold on a flat area of ground that has been lightly dusted with sand or dry earth. Pack the mud-straw mixture firmly into the mold, pressing it into the corners and tamping it down with a flat board to eliminate air pockets. Overfill the mold slightly, then use a straight edge or the flat board to strike off the excess, creating a level top surface. The standard ancient Egyptian brick measured approximately 30 x 15 x 10 cm, though sizes varied by period and region, with some royal construction bricks reaching 40 x 20 x 15 cm.
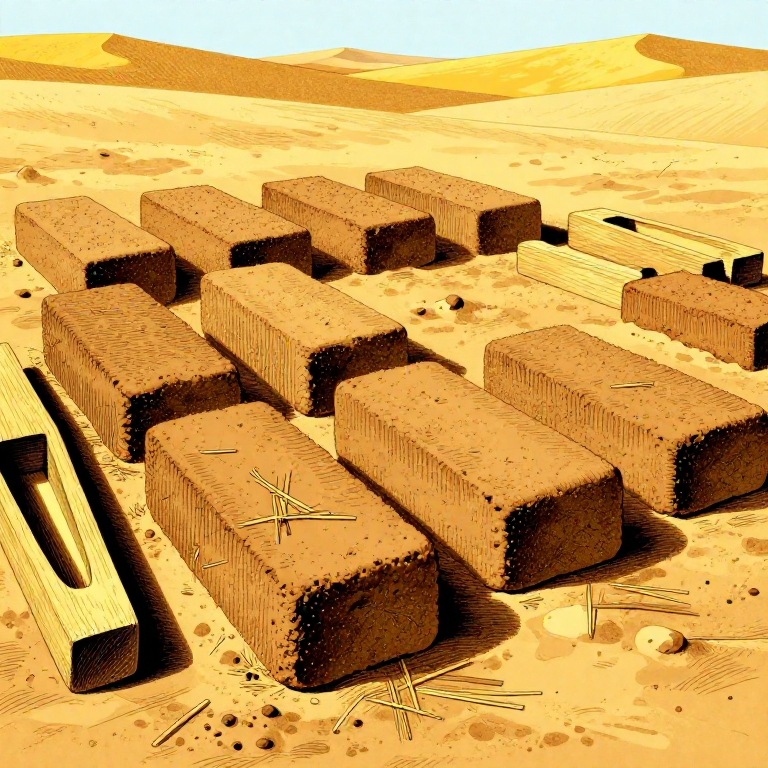
Unmold and Arrange for Drying
Unmold and Arrange for Drying
Carefully lift the mold straight up, leaving the formed brick on the ground. If the brick slumps or deforms, the mixture is too wet — add more dry clay or straw. Space the bricks at least 5 cm apart on flat ground in direct sunlight. After 24 hours, when the bricks have hardened enough to handle, turn them on their sides to expose all surfaces to air and sun. This even drying prevents differential shrinkage that causes warping and cracking. In the hot Egyptian climate, bricks would fully cure in 3-5 days; in temperate climates, allow 7-14 days of dry weather.
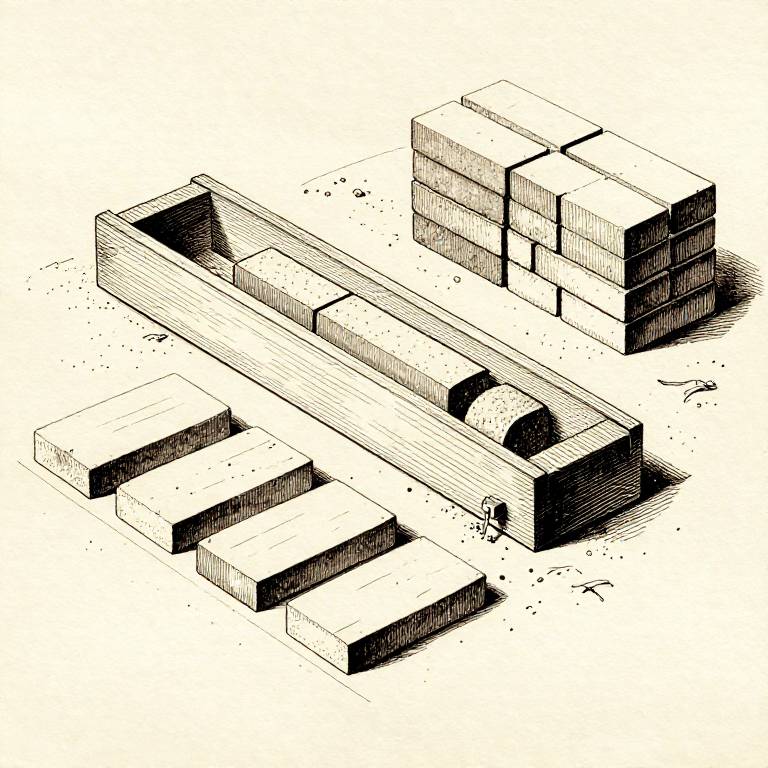
Test and Cure the Finished Bricks
Test and Cure the Finished Bricks
A properly cured mud brick will be light tan to grey in color, hard to the touch, and will ring slightly when tapped. Test a brick by dropping it from waist height onto hard ground — a good brick will survive the drop intact or break into only two or three large pieces rather than crumbling. The compressive strength of well-made mud bricks ranges from 1-3 MPa, sufficient for walls up to several stories when properly bonded with mud mortar. Store finished bricks off the ground on a wooden pallet or stacked in a dry area. Mud bricks are vulnerable to water erosion and historically were protected with mud plaster or limestone cladding on exposed surfaces.
Materialien
4- 2-3 kg StückPlatzhalter
Benötigte Werkzeuge
4- Platzhalter
- Platzhalter
- Platzhalter
Related blueprints
Other builds that share materials, tools, or techniques with this one.
CC0 Gemeinfrei
Dieser Blueprint ist unter CC0 veröffentlicht. Sie dürfen dieses Werk für jeden Zweck frei kopieren, ändern, verbreiten und verwenden, ohne um Erlaubnis zu fragen.
Unterstützen Sie den Maker, indem Sie Produkte über seinen Blueprint kaufen, wo er eine Maker-Provision von Anbietern festgelegt, verdient. Oder erstellen Sie eine neue Iteration dieses Blueprints und verbinden Sie ihn in Ihrem eigenen Blueprint, um Einnahmen zu teilen.