KUNST
SCHÖNHEIT & WELLNESS
HANDWERK
KULTUR & GESCHICHTE
UNTERHALTUNG
UMFELD
ESSEN & GETRÄNKE
REVERSE ENGINEERING
WISSENSCHAFTEN
SPORT
TECHNOLOGIE
WEARABLES
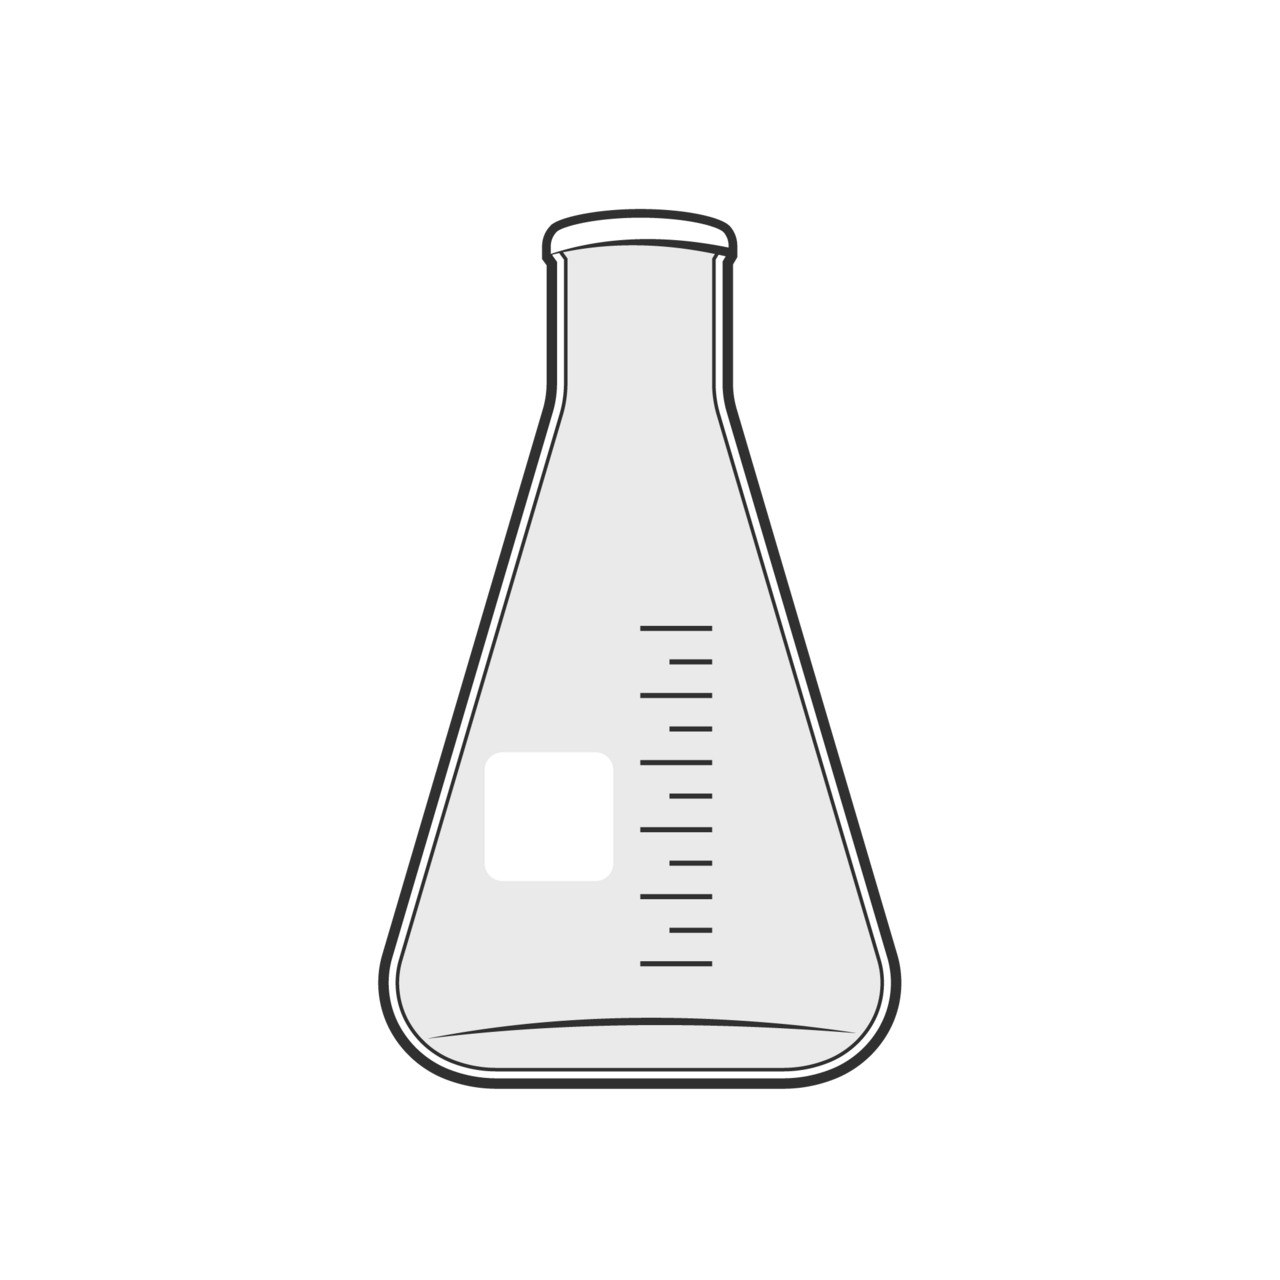


Erlenmeyer Flasks: a Blown Bulb Shaped into a Cone
Emil Erlenmeyer's flask of 1860 is a flat-bottomed cone with a straight neck: it can be swirled without spilling, vapour condenses on its sloping walls, and a funnel sits in its neck. Blow a bulb on a tube as for any flask, then shape it into a cone with a paddle while it turns and press the base flat.
The picture: an Erlenmeyer flask, drawn by NIAID (NIH BioArt).
Erfahren
An hour per flask, plus annealing
Anweisungen
1
1
Blow a bulb
Blow a bulb
Close one end of a tube, gather glass and blow a thick-walled bulb a little larger than the base you want.
Materialien für diesen Schritt:
 Glasrohr-Sortiment1 Stück
Benötigte Werkzeuge:
 Tischbrenner für Glasbläser
 Schutzbrille
 Hitzebeständige Handschuhe
2
2
Shape the cone
Shape the cone
Reheat the bulb and, turning steadily, press the upper part in with a flat paddle held at an angle while blowing gently, so the sides run straight from the base to the neck.
Benötigte Werkzeuge:
Tischbrenner für Glasbläser Marbel (Formplatte des Glasmachers)Hitzebeständige Handschuhe
3
3
Flatten the base
Flatten the base
Soften the bottom and press it flat on the marver so the flask stands level.
Benötigte Werkzeuge:
Tischbrenner für GlasbläserMarbel (Formplatte des Glasmachers)4
4
Finish the neck
Finish the neck
Cut the tube to neck length, fire-polish and flare the rim slightly with the jacks.
Benötigte Werkzeuge:
 DiamantreißnadelTischbrenner für Glasbläser
 Jacks (Glasmacherzange)
5
5
Anneal and mark
Anneal and mark
Anneal in the kiln and cool slowly. Fill with measured water and scratch rough volume marks.
Materialien für diesen Schritt:
 Wasser0.5 Liter
Benötigte Werkzeuge:
 Brennofen
 MesszylinderDiamantreißnadel
6
6
Cone volume
Cone volume
Jupyter-Notebook wird geladen …
Dieser Bauplan stellt her

Verwandte Blueprints
Diese Blueprints teilen Wissen — Techniken, Materialien oder Prinzipien

CC0 Gemeinfrei
Dieser Blueprint ist unter CC0 veröffentlicht. Sie dürfen dieses Werk für jeden Zweck frei kopieren, ändern, verbreiten und verwenden, ohne um Erlaubnis zu fragen.
Unterstützen Sie den Maker, indem Sie Produkte über seinen Blueprint kaufen, wo er eine Maker-Provision von Anbietern festgelegt, verdient. Oder erstellen Sie eine neue Iteration dieses Blueprints und verbinden Sie ihn in Ihrem eigenen Blueprint, um Einnahmen zu teilen.