KUNST
SCHÖNHEIT & WELLNESS
HANDWERK
KULTUR & GESCHICHTE
UNTERHALTUNG
UMFELD
ESSEN & GETRÄNKE
REVERSE ENGINEERING
WISSENSCHAFTEN
SPORT
TECHNOLOGIE
WEARABLES



Facing and Turning to a Diameter: Taking a Cut You Can Predict
Two cuts do nearly all the work on a lathe. FACING cuts across the end to make a flat square face and set the length datum; TURNING runs along the work to make a diameter. Everything else is a variation on those two.
What separates a machinist from someone holding a tool against spinning metal is that the cut is PREDICTED. You decide the finished size, work out what the dial must read, take a trial cut, measure, correct once, and go to size. Creeping up on a dimension by guesswork wastes the metal and still misses.
The single fact that catches every beginner is that the cross-slide removes twice what it reads, because the work is round and the tool cuts the far side away as well.
Anfänger
4 hours
Anweisungen
1
1
Set the tool on centre height, and prove it
Set the tool on centre height, and prove it
Bring the tool tip up against the point of a centre held in the tailstock and set the tip exactly level with it. Or face a test piece and look at what is left in the middle.
A tool ABOVE centre rubs its heel and will not cut cleanly. A tool BELOW centre leaves a pip in the middle of a faced surface and, on parting, can climb under the work and dig in. The pip is the honest test: face across, and if a small spigot survives at the centre, the tool is low by half that spigot's diameter.
Re-check whenever you change tools or move the toolpost. Centre height is not set once for the machine, it is set for each tool in each holder.
Materialien für diesen Schritt:
 Rundstahl aus Baustahl1 Stück
Benötigte Werkzeuge:
 Metalldrehmaschine
 Drechselwerkzeug-Set (HSS)
 Mitlaufende Körnerspitze MK2
 Messschieber
2
2
Face the end and make it your datum
Face the end and make it your datum
Feed the tool from the outside edge toward the centre, taking a light cut across the end until it cleans up fully.
Cut from the rim INWARD. Feeding outward from the centre leaves the tool pushing into uncut metal at the rim and tends to lift the work out of the jaws. Inward, the force pushes the work back against the chuck.
That faced surface is now the length datum for the whole job: every shoulder and every length is measured from it. Which is why it is the first cut on almost every part — you cannot measure a length from a sawn end, because a sawn end is not a plane and not square to anything.
Materialien für diesen Schritt:
Rundstahl aus Baustahl1 StückBenötigte Werkzeuge:
MetalldrehmaschineDrechselwerkzeug-Set (HSS)Messschieber3
3
The dial reads radius, the work has a diameter
The dial reads radius, the work has a diameter
Jupyter-Notebook wird geladen …
Materialien für diesen Schritt:
Rundstahl aus Baustahl1 StückBenötigte Werkzeuge:
Metalldrehmaschine Mikrometer
 Rechner
4
4
Rough and finish are different cuts with different jobs
Rough and finish are different cuts with different jobs
Rough with a deep cut and a coarse feed to move metal fast — depth of cut is nearly free, feed costs finish. Then take a FINISHING pass of 0.2 to 0.3 mm on the diameter at a fine feed to reach the size and the surface.
A heavy cut cannot hold a dimension. The tool deflects under load, the work springs away, and both recover when the load comes off — so the diameter you measure is not the diameter you set. A light finishing pass removes so little that deflection is negligible and the dial finally means what it says.
The last pass is also where surface finish is decided, and finish comes from FEED and tool nose radius, not from depth. That arithmetic is the next rung.
Materialien für diesen Schritt:
Rundstahl aus Baustahl1 StückBenötigte Werkzeuge:
MetalldrehmaschineDrechselwerkzeug-Set (HSS)Mikrometer Schneidöl
5
5
Break the edges, and measure without stopping the job
Break the edges, and measure without stopping the job
Take the sharp corner off every turned edge with a file or a deburring tool while the work is still in the chuck. A turned edge is genuinely sharp and it will cut you when you measure the part.
Measure with the machine STOPPED, always. A micrometer offered to a spinning part reads nothing useful and will be snatched. Stop, wipe the swarf off with a cloth — never with a finger — measure, and start again.
Swarf deserves the same respect as the tool. Turned steel comes off as a hot continuous ribbon with edges like a razor; clear it with a stick or a brush, and wear the glasses even for a cut that seems too small to matter.
Benötigte Werkzeuge:
 Feilensatz
 Entgrater
 Baumwolltuch
 SchutzbrilleMikrometer
Benötigte Werkzeuge
11- Platzhalter
- Platzhalter
- Platzhalter
- Platzhalter
- Platzhalter
- Platzhalter
- Platzhalter
- Platzhalter
- Platzhalter
- Platzhalter
- Platzhalter
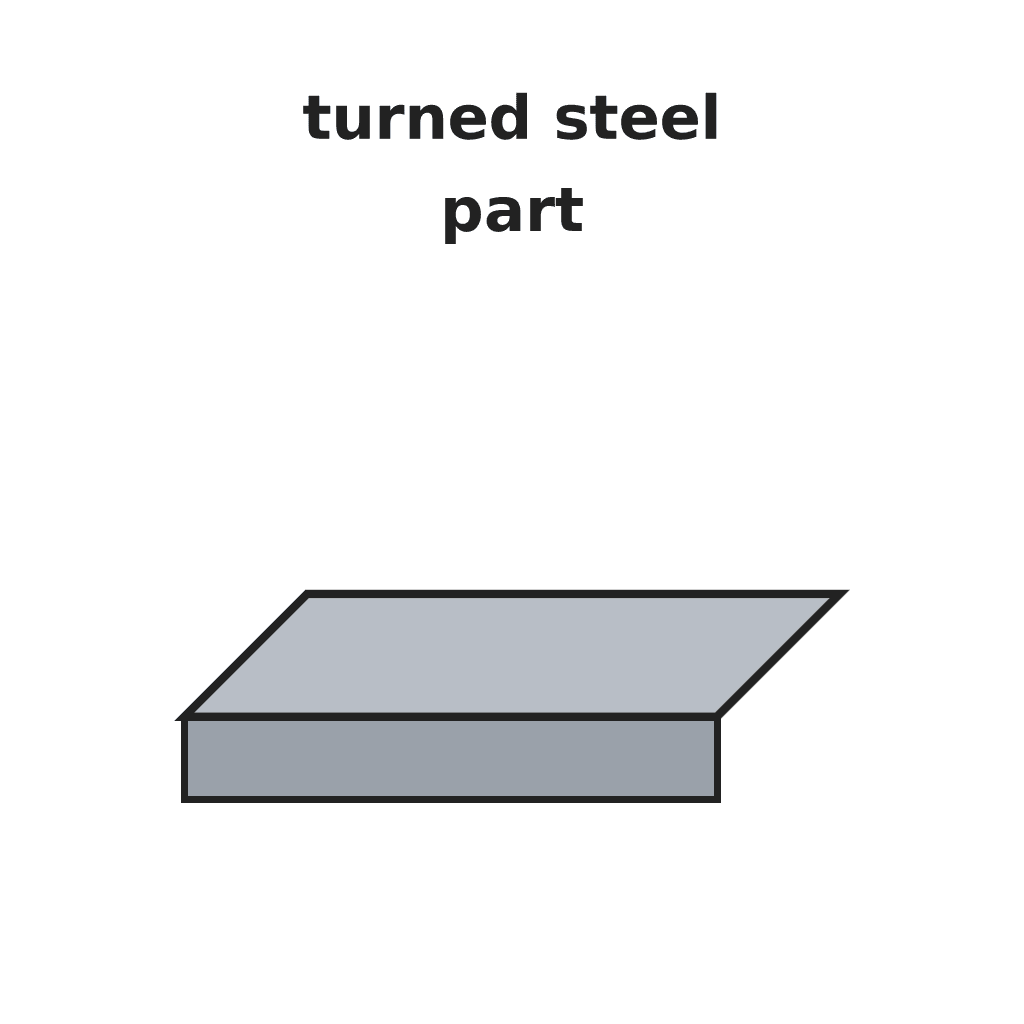
Dieser Bauplan stellt her
Verwandte Blueprints
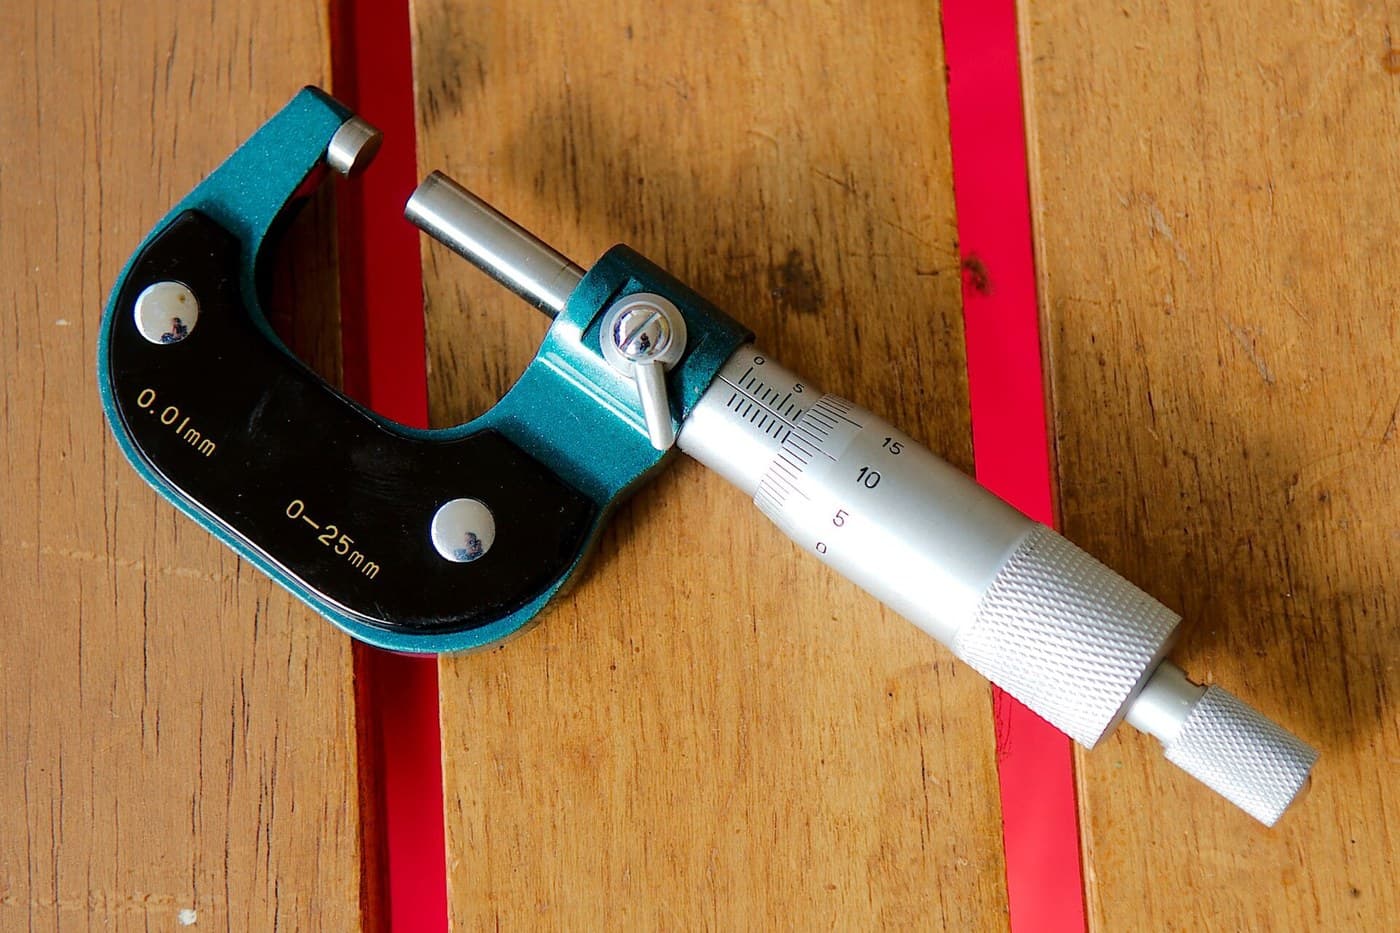
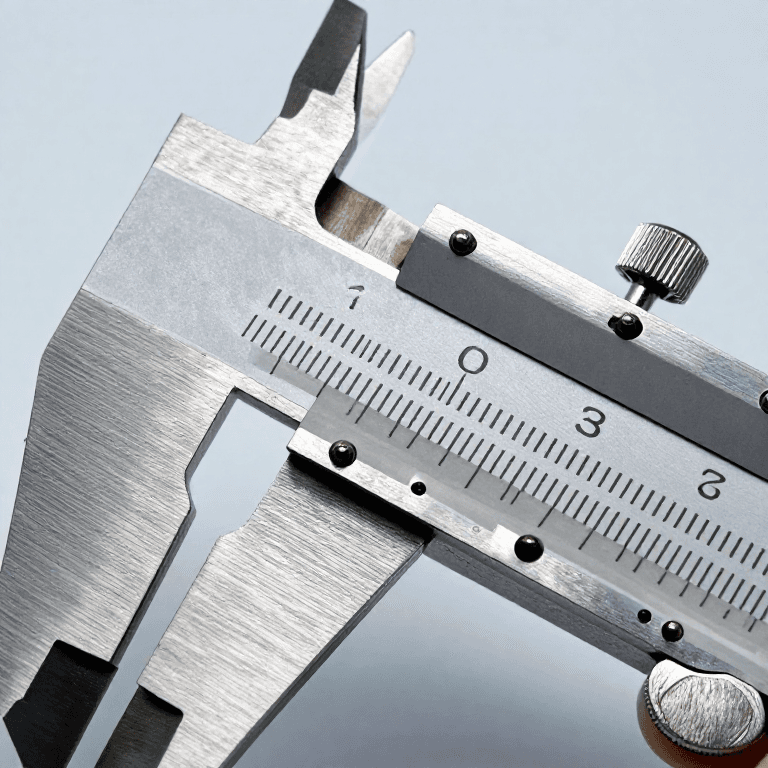
Diese Blueprints teilen Wissen — Techniken, Materialien oder Prinzipien



CC0 Gemeinfrei
Dieser Blueprint ist unter CC0 veröffentlicht. Sie dürfen dieses Werk für jeden Zweck frei kopieren, ändern, verbreiten und verwenden, ohne um Erlaubnis zu fragen.
Unterstützen Sie den Maker, indem Sie Produkte über seinen Blueprint kaufen, wo er eine Maker-Provision von Anbietern festgelegt, verdient. Oder erstellen Sie eine neue Iteration dieses Blueprints und verbinden Sie ihn in Ihrem eigenen Blueprint, um Einnahmen zu teilen.