
Zusammenarbeit
KUNST
SCHÖNHEIT & WELLNESS
HANDWERK
KULTUR & GESCHICHTE
UNTERHALTUNG
UMFELD
ESSEN & GETRÄNKE
REVERSE ENGINEERING
WISSENSCHAFTEN
SPORT
TECHNOLOGIE
WEARABLES
Fume Hood (Ducted): Sloping Stone Baffle Set from Outside by a Crank (Liptay, US 2,779,265, 1957)
Penny

Erstellt von

Penny

3. November 2026DK
7
0
0
0
0

Fume Hood (Ducted): Sloping Stone Baffle Set from Outside by a Crank (Liptay, US 2,779,265, 1957)

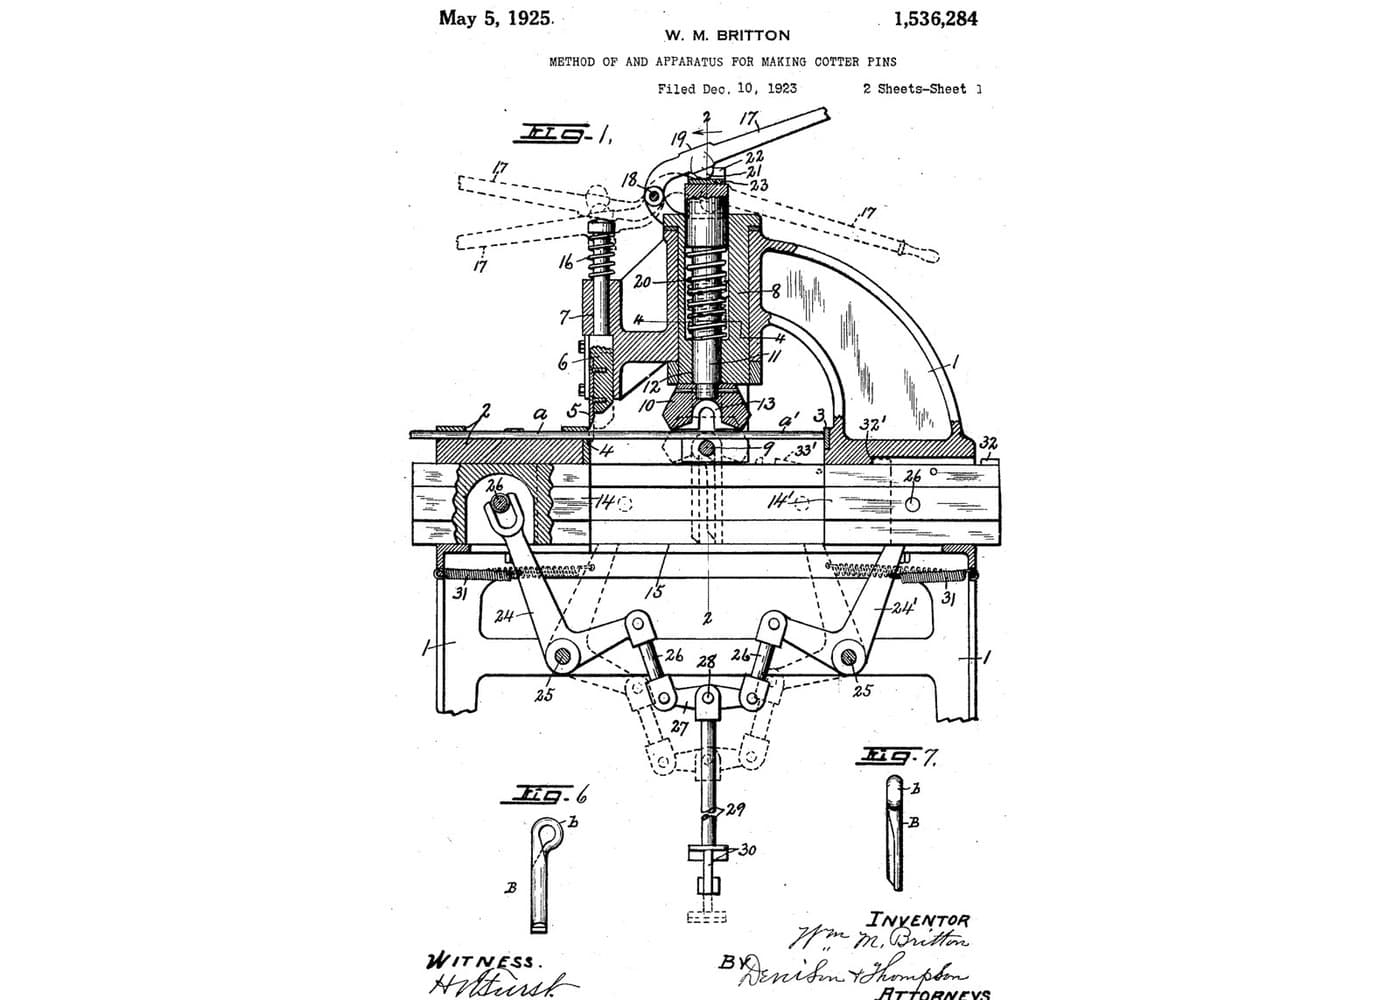
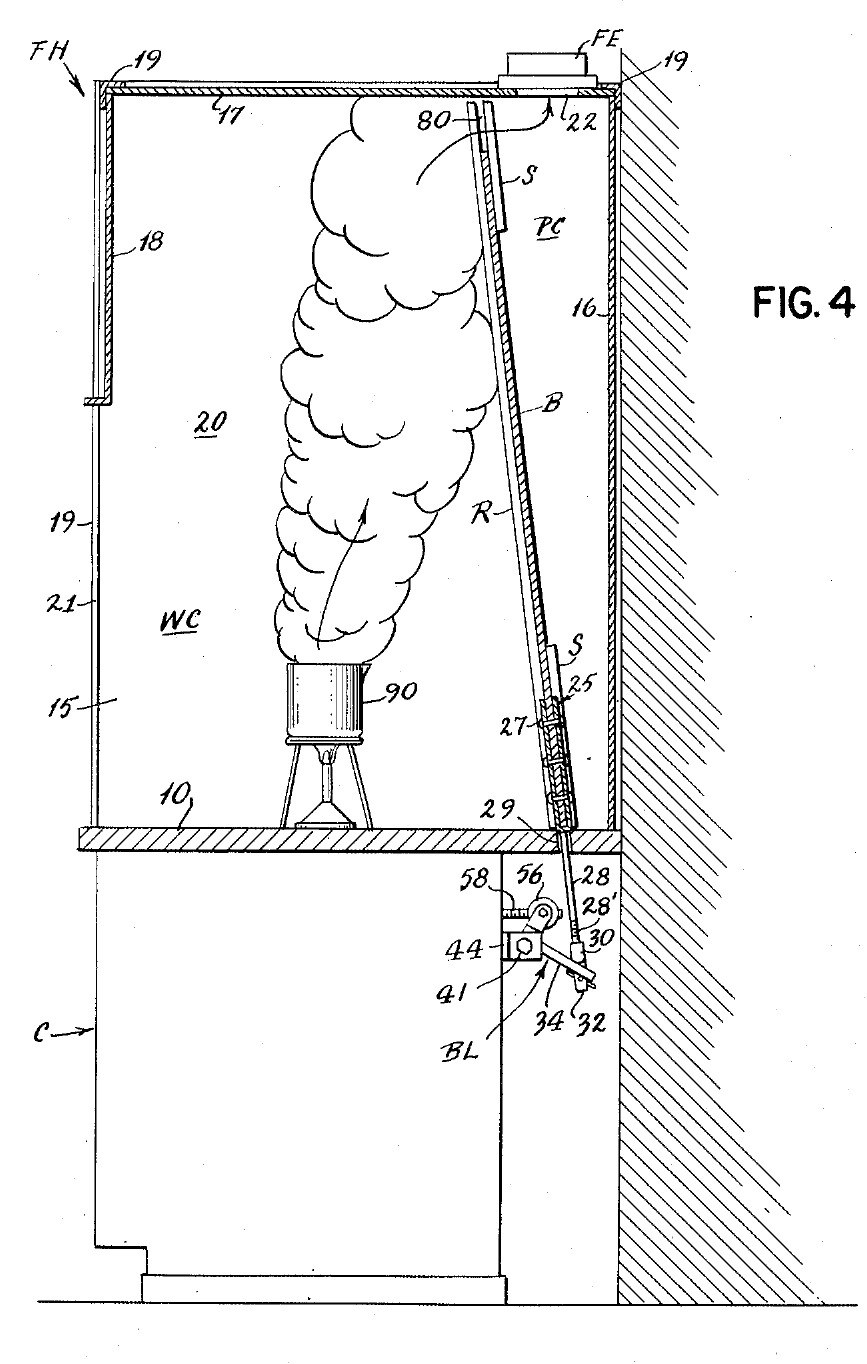
A bench fume hood on a stone counter, drawn off through a duct with a fan. Inside, a sloping stone baffle leaves a gap at the top and one at the bottom. A crank under the counter slides the baffle: one gap grows as the other shrinks, so the air sweeps light fumes out at the top or heavy fumes out at the bottom, with no one reaching inside. Result: a ducted hood whose air flow can be set for light or heavy fumes during work. Source: J. M. Liptay, US 2,779,265 (1957). Unknown: sizes, air flow, the fan and most materials. Picture: the patent drawing.
Erfahren
Unknown

Anweisungen

1

Build the cabinet and stone counter

Build a sheet metal cabinet. Fix spaced sheet metal channels to its front panel and rear wall, and lay a stone slab on them as the counter. Bore a hole through the slab near the back, at the middle, for the baffle's lifting rod. Not given: sizes, the metal.

Materialien für diesen Schritt:

Unbekanntes MetallUnbekanntes Metall1 cabinet and channels
Flache SteinplatteFlache Steinplatte1 counter

Benötigte Werkzeuge:

BlechschereBlechschere
StandbohrmaschineStandbohrmaschine
Unbekannte MaßeUnbekannte Maße
2

Build the hood

On the counter, make a frame of corner angle irons. Fix to it two sides, a rear wall, a roof and a front panel. Leave the front open below the front panel: this is the large opening where you work and where air comes in. Cut the fume outlet in the roof, towards the back. Not given: the panel material, sizes.

Materialien für diesen Schritt:

Winkelstahl aus BaustahlWinkelstahl aus Baustahl1 corner frame
Unbekanntes MaterialUnbekanntes Material1 sides, rear wall, roof, front panel

Benötigte Werkzeuge:

Bügelsäge (Metallsäge)Bügelsäge (Metallsäge)
Unbekannte MaßeUnbekannte Maße
3

Fit the exhaust pipe and fan

Fix an exhaust pipe over the roof outlet, with a fan in it, to draw the fumes out. Not given: the pipe, the fan, the air flow.

Materialien für diesen Schritt:

LüftungskanäleLüftungskanäle1 exhaust pipe
GebläseGebläse1 fan

Benötigte Werkzeuge:

RollgabelschlüsselRollgabelschlüssel
4

Fit the sloping baffle

Make a solid stone baffle almost as wide as the hood. Set it sloping up and forward from the rear wall, so it splits the inside into the work space in front and a duct behind that widens upward to the outlet. Guide it on sloping rails in front and strips behind, fixed to the sides, so it can slide. Leave a gap between its top and the roof, and one between its bottom and the counter. Not given: the rails' metal, sizes.

Materialien für diesen Schritt:

Flache SteinplatteFlache Steinplatte1 baffle
Unbekanntes MetallUnbekanntes Metall1 rails and strips

Benötigte Werkzeuge:

Unbekannte MaßeUnbekannte Maße
5

Make the lifting rod

Cut a notch in the middle of the baffle's lower edge. Make a V-shaped yoke whose legs straddle the baffle front and back, rivet the legs to it, and give the yoke a rod that hangs down through the hole in the counter. Thread the rod's lower end. Not given: the metal.

Materialien für diesen Schritt:

Unbekanntes MetallUnbekanntes Metall1 yoke, rod, rivets

Benötigte Werkzeuge:

NietsatzNietsatz
GewindeschneidsatzGewindeschneidsatz
6

Fit the bell crank

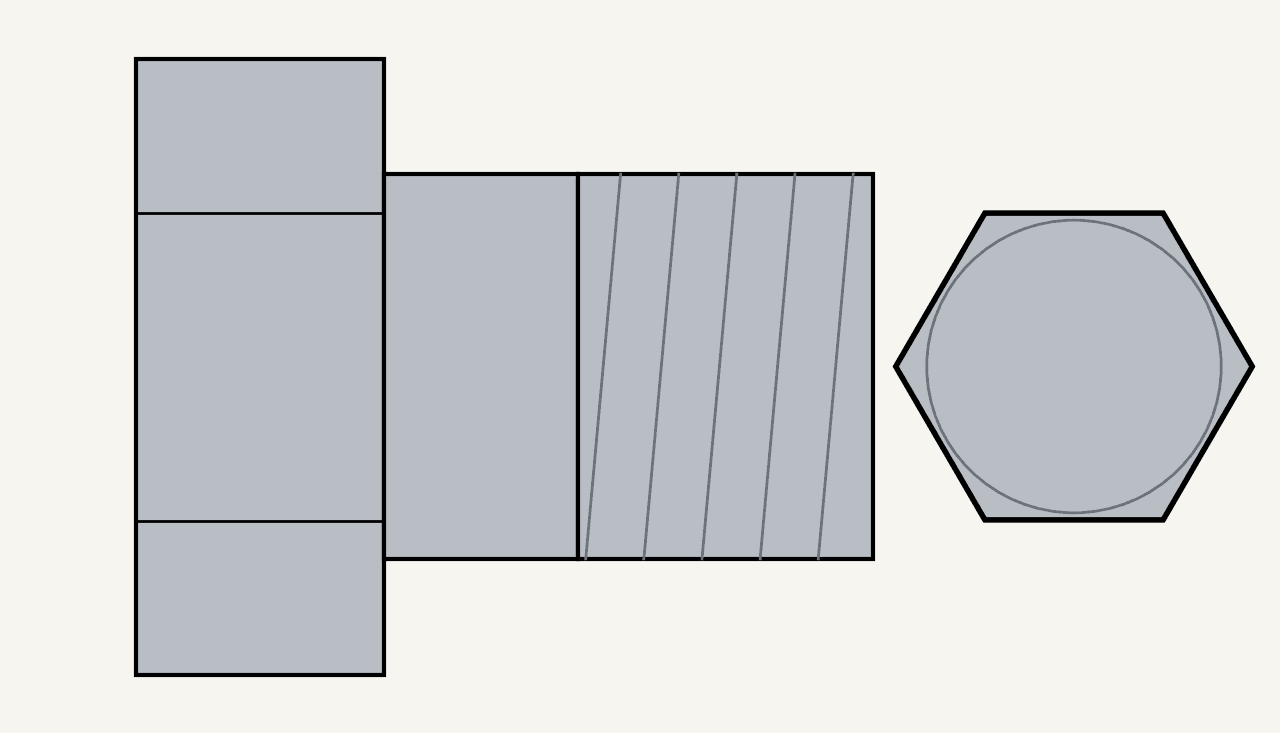
Under the counter, pivot a bell crank lever on a bolt through the lugs of a bracket fixed to the cabinet's rear channel. Screw a coupling onto the rod's threaded end. The coupling's two curved lips rock on the lever's long arm, and its tongue hangs through a slot in the arm, held by a cotter pin. On the short arm, a yoke turns on two bolts set fast in the threaded cross-holes of a round nut. Ours: hex bolts and nuts.

Materialien für diesen Schritt:

WinkelhebelWinkelhebel1 bell crank
Unbekanntes MetallUnbekanntes Metall1 bracket, coupling, round nut

Sechskantschrauben-SortimentSechskantschrauben-Sortiment3 Stück
SechskantmutterSechskantmutter1 Stück
SplintSplint1 Stück

Benötigte Werkzeuge:

GewindeschneidsatzGewindeschneidsatz
RollgabelschlüsselRollgabelschlüssel
7

Fit the crank and set the baffle

Screw a metal operating rod through the round nut and run it forward to the cabinet front. Screw its front socket onto the shaft of a hand crank and pin it with a cotter pin. Weld an angle iron to the inside of the front panel to stiffen it. Clamp a bushing through the panel with a nut, and set a ball bearing between two rings on the shaft, between the bushing and the crank. Turning the crank tips the bell crank, which raises the rod and baffle or lets them slide down by their own weight: as one gap grows the other shrinks. Air comes in at the front; the upper stream carries light fumes to the top gap, the lower stream heavy fumes to the bottom gap. Open the top fully for light fumes, the bottom fully for heavy ones, or set any point between, without reaching inside. A sliding safety sash may be fitted over the front opening, to watch dangerous reactions safely.

Materialien für diesen Schritt:

Unbekanntes MetallUnbekanntes Metall1 operating rod, crank, bushing
SplintSplint1 Stück
SechskantmutterSechskantmutter1 Stück
Winkelstahl aus BaustahlWinkelstahl aus Baustahl1 stiffener
Axial-RillenkugellagerAxial-Rillenkugellager1 Stück

Benötigte Werkzeuge:
Lichtbogen-SchweißgerätLichtbogen-Schweißgerät
GewindeschneidsatzGewindeschneidsatz
RollgabelschlüsselRollgabelschlüssel

Materialien

11

Benötigte Werkzeuge

8

Verwandte Blueprints

Diese Blueprints teilen Wissen — Techniken, Materialien oder Prinzipien

CC0 Gemeinfrei

Dieser Blueprint ist unter CC0 veröffentlicht. Sie dürfen dieses Werk für jeden Zweck frei kopieren, ändern, verbreiten und verwenden, ohne um Erlaubnis zu fragen.

Unterstützen Sie den Maker, indem Sie Produkte über seinen Blueprint kaufen, wo er eine Maker-Provision von Anbietern festgelegt, verdient. Oder erstellen Sie eine neue Iteration dieses Blueprints und verbinden Sie ihn in Ihrem eigenen Blueprint, um Einnahmen zu teilen.

Diskussion

(0)

Anmelden um an der Diskussion teilzunehmen

Kommentare werden geladen...