Zusammenarbeit
KUNST
SCHÖNHEIT & WELLNESS
HANDWERK
KULTUR & GESCHICHTE
UNTERHALTUNG
UMFELD
ESSEN & GETRÄNKE
REVERSE ENGINEERING
WISSENSCHAFTEN
SPORT
TECHNOLOGIE
WEARABLES
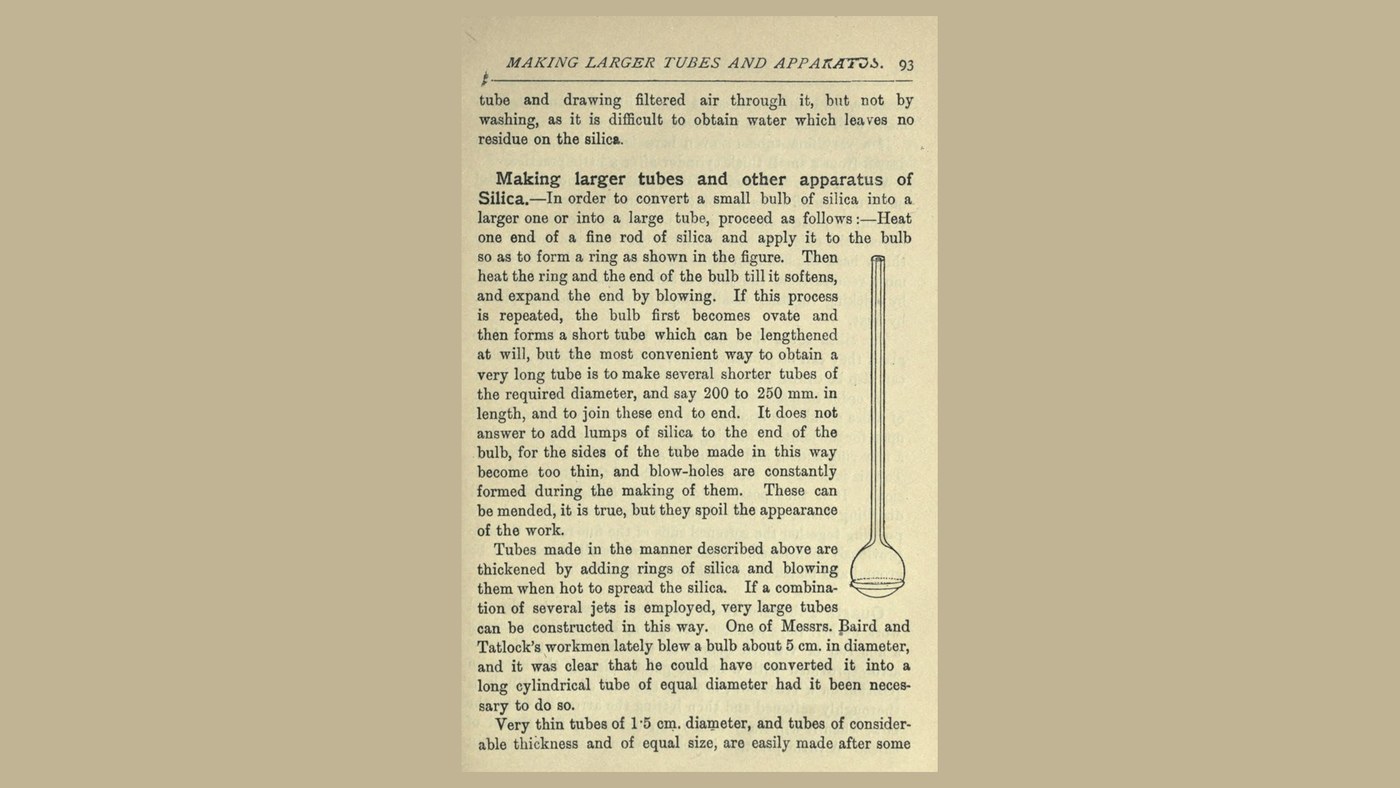


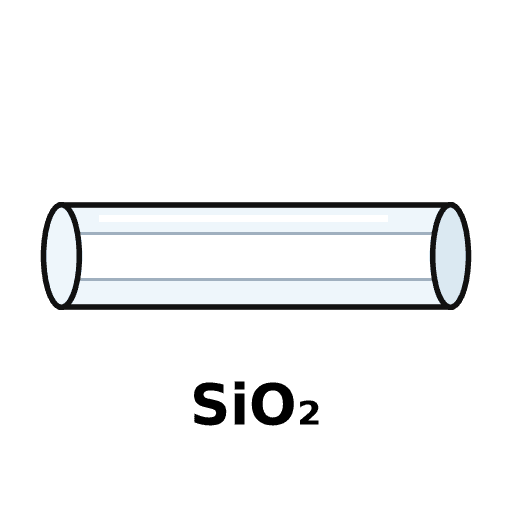
Fused Quartz Tube: Blown from Brazil Pebble in the Oxy-Gas Flame (Shenstone, 1916)
Fused silica stands sudden heating and cooling that would crack glass, but natural quartz splinters violently in a flame.
W. A. Shenstone, in The Methods of Glass-Blowing and of Working Silica in the Oxy-Gas Flame (1916), first turns Brazil pebble into a "non-splintering" silica by quenching it from a yellow-red heat, then melts it in an oxy-gas flame into fine rods, wraps the rods round a platinum core into a first tube, and enlarges it with rings of rod blown out.
Not given: quantities and times. He advises most workers to start from bought tubes and to learn each stage by practice.
Source: W. A. Shenstone (1916), pp. 88-94. Picture: his p. 93.
Erfahren
Several days of practice
Anweisungen
1
1
Read Shenstone
Read Shenstone
"The silica tubes thus made can be cut and broken like glass, they can be joined together before the flame, and they can also be drawn into smaller tubes when softened by heat."
2
2
Crack the Brazil pebble
Crack the Brazil pebble
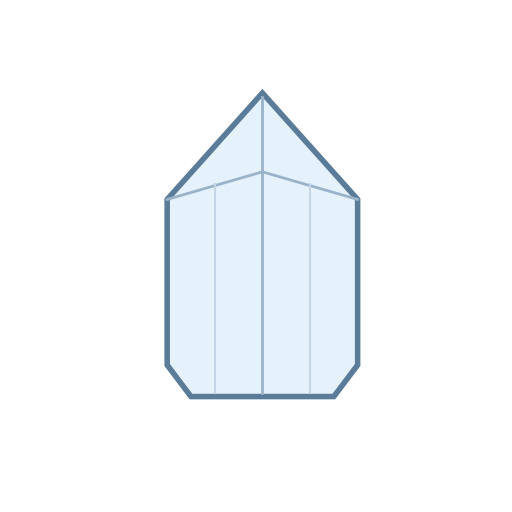
Clean the chips of Brazil pebble (rock crystal) thoroughly, heat them in boiling water and drop them into cold water. Repeat until they have cracked enough to break easily with a clean steel pestle or hammer. Hand-pick the fragments and reject any that are not perfectly free from foreign matter.
Materialien für diesen Schritt:
 Bergkristall1 as required
 Wasser1 as required
Benötigte Werkzeuge:
 Stielkasserolle
 Heizplatte
 Eimer
 Schlosserhammer mit Kugelfinne
3
3
Make it non-splintering
Make it non-splintering
Heat the pure, transparent pieces to a yellow-red heat in a covered platinum dish in a muffle furnace and plunge them quickly into a deep clean vessel of distilled water. Repeat until they are semi-opaque, friable masses like white enamel. Wash them with distilled water, drain and dry. Now they can go straight into the hottest part of the flame without splintering.
Materialien für diesen Schritt:
 Destilliertes Wasser1 as required
Benötigte Werkzeuge:
 Platinschale
 Muffelofen
 Tiegelzange
 Becherglas
4
4
Set up the flame
Set up the flame
Use an efficient oxy-gas burner fed with coal gas and oxygen from a bottle fitted with a gauge and regulator; watch the oxygen used. Protect your eyes with very dark glasses, so dark that work is a little difficult at first, and keep a second pair for long spells, as the glasses get hot. The hottest spot is near the tip of the inner cone: bring the work exactly there.
Materialien für diesen Schritt:
 Steinkohlengas1 as required
 Sauerstoff1 as required
Benötigte Werkzeuge:
 Sauerstoff-Leuchtgas-Brenner
 Druckgasflasche
 Druckminderer
 Manometer
 Getönte Schmiedeschutzbrille
5
5
Draw fine rods
Draw fine rods
Hold a fragment in platinum-tipped forceps and melt one corner. Press a second fragment against the melted part until they stick, and heat from below upwards (to avoid bubbles) until it is clear. Add a third, a fourth and so on until you have an irregular rod. Reheat it in sections and draw it out into rods or coarse threads 1 to 2 mm across.
Benötigte Werkzeuge:
 Pinzette mit PlatinspitzenSauerstoff-Leuchtgas-BrennerGetönte Schmiedeschutzbrille
6
6
Make the first tube
Make the first tube
Bind a few rods round a platinum rod about 1 mm across with platinum wires at both ends. Withdraw the core slightly from one end and heat gradually from there until a rough tube 4 to 5 cm long has formed. Close one end, blow it into a small bulb, fix a silica rod to the far end of the bulb, reheat and draw it out into a fine tube. Blow a fresh bulb on one end and draw it out again, until the tube is 6 to 8 cm long.
Benötigte Werkzeuge:
 PlatindrahtPinzette mit PlatinspitzenSauerstoff-Leuchtgas-BrennerGetönte Schmiedeschutzbrille
7
7
Blow without soiling it
Blow without soiling it
Blow through a rubber tube on the open end of the silica tube, with a glass tube loosely packed with granulated potash between your mouth and the work so the inside stays clean. Do not take a hot bulb out of the flame to blow it; move it just off the hot spot. Mend holes with plastic silica from the softened end of a fine rod and blow the lump out. Keep the silica clean: a white crust that forms is removed by reheating, but dust or handling can spoil the surface for good.
Benötigte Werkzeuge:
 Gummischlauch
 Glasrohr
 Kaliumcarbonat (Pottasche)Sauerstoff-Leuchtgas-Brenner
8
8
Enlarge and lengthen
Enlarge and lengthen
To widen a bulb into a tube, lay a ring of fine rod round its end, heat the ring and the end until soft and blow; repeat until the bulb becomes a short tube. For a long tube make several pieces 200 to 250 mm long at the diameter you need and join them end to end. Thicken a tube by adding rings and blowing them out. For a large tube, set a plate of silica behind the work to throw the flame back onto its far side.
Benötigte Werkzeuge:
Sauerstoff-Leuchtgas-BrennerPinzette mit PlatinspitzenGetönte Schmiedeschutzbrille9
9
History and honest limits
History and honest limits
Thorpe's Dictionary (vol. IV, 1913) records Gaudin spinning fused silica threads in 1839, Boys making quartz fibres in 1887, and Shenstone showing in 1901 how to make tubes and bulbs before the oxy-coal-gas blowpipe.
Shenstone gives no quantities or times and says most workers save time and money by starting from bought silica tubes. A finished tube holds a little moisture and nitric peroxide; he removes them by heating it and drawing filtered air through, not by washing.
Materialien
5- 1 as requiredPlatzhalter
- 1 as requiredPlatzhalter
- 1 as requiredPlatzhalter
- 1 as requiredPlatzhalter
- 1 as requiredPlatzhalter
Benötigte Werkzeuge
18- Platzhalter
- Platzhalter
- Platzhalter
- Platzhalter
- Platzhalter
- Platzhalter
- Platzhalter
- Platzhalter
- Platzhalter
- Platzhalter
- Platzhalter
- Platzhalter
- Platzhalter
- Platzhalter
- Platzhalter
- Platzhalter
- Platzhalter
- Platzhalter
Dieser Bauplan stellt her
CC0 Gemeinfrei
Dieser Blueprint ist unter CC0 veröffentlicht. Sie dürfen dieses Werk für jeden Zweck frei kopieren, ändern, verbreiten und verwenden, ohne um Erlaubnis zu fragen.
Unterstützen Sie den Maker, indem Sie Produkte über seinen Blueprint kaufen, wo er eine Maker-Provision von Anbietern festgelegt, verdient. Oder erstellen Sie eine neue Iteration dieses Blueprints und verbinden Sie ihn in Ihrem eigenen Blueprint, um Einnahmen zu teilen.