KUNST
SCHÖNHEIT & WELLNESS
HANDWERK
KULTUR & GESCHICHTE
UNTERHALTUNG
UMFELD
ESSEN & GETRÄNKE
REVERSE ENGINEERING
WISSENSCHAFTEN
SPORT
TECHNOLOGIE
WEARABLES
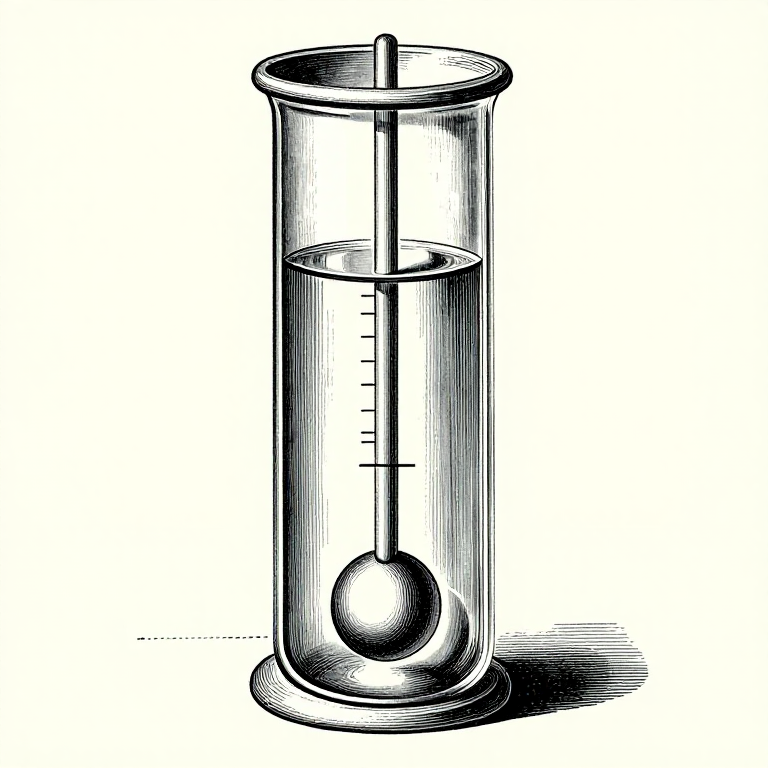

Gravity: Measuring the Sugar Before and After Tells You Everything
Sugar dissolved in water makes it denser. Yeast converts that sugar into alcohol, which is LESS dense than water. So measuring the density before and after fermentation tells you how much sugar was consumed — and therefore how much alcohol was made.
That is what a hydrometer does, and it turns brewing from guesswork into measurement. Two readings and a subtraction give the strength, and the same two readings tell you whether fermentation finished or stalled.
Which makes it the one instrument that is genuinely not optional. A brewer without gravity readings does not know how strong the drink is, whether it is safe to bottle, or what went wrong when something does.
Anfänger
2 hours
Anweisungen
1
1
Take the reading properly
Take the reading properly
Float the hydrometer in a tall sample jar, not in the fermenter. Spin it gently as you let go so the bubbles clinging to it release — bubbles lift it and give a reading that is too low.
Read at the bottom of the meniscus, at eye level, exactly as with any volumetric glassware. And take the sample AT the calibration temperature or correct for it: most hydrometers are calibrated at 20 °C, and a hot sample reads low because the liquid has expanded.
Never pour the sample back. It has been exposed, it has been in an un-sanitised jar, and returning it risks the whole batch for a few millilitres. Taste it instead — that sample is also your best early warning of an off-flavour.
Materialien für diesen Schritt:
 Wasser1 Liter
Benötigte Werkzeuge:
 Bierspindel und Prüfzylinder
 Set aus Brauthermometer und Bierspindel
 Einstichthermometer
2
2
From two readings to alcohol
From two readings to alcohol
Jupyter-Notebook wird geladen …
Materialien für diesen Schritt:
Wasser1 LiterBenötigte Werkzeuge:
Bierspindel und Prüfzylinder Desktop-Computer
 Rechner
3
3
A refractometer is fast and lies after fermentation starts
A refractometer is fast and lies after fermentation starts
A refractometer needs two drops instead of a full sample jar, works on hot wort, and gives a reading in seconds. For pre-fermentation gravity it is far more convenient than a hydrometer.
But alcohol bends light differently from sugar, so once fermentation has started the reading is systematically wrong. Correction formulae exist and they need the original gravity as an input, which means a refractometer alone cannot give a final gravity.
That is a textbook systematic error: repeatable, in one direction, invisible from the reading itself. Use the refractometer for the start and the hydrometer for the end, which is each instrument used where it does not lie.
Benötigte Werkzeuge:
 Brix-Refraktometer (0-32 %)Bierspindel und Prüfzylinder
4
4
Write every reading down with its date
Write every reading down with its date
A single gravity reading tells you very little. Two readings three days apart tell you whether fermentation is finished, and a series tells you how fast it went and whether it slowed unexpectedly.
So log OG on brew day, then a reading every few days once the visible activity slows. The criterion for done is two or three identical readings over several days — the dry-to-constant-mass loop from the chemistry batch, applied to a fermenter.
Record the temperature with every reading, and the yeast used. Those three columns together turn a brewery into something that improves rather than one that produces a different drink each time.
Benötigte Werkzeuge:
Bierspindel und PrüfzylinderEinstichthermometerVerwandte Blueprints
Diese Blueprints teilen Wissen — Techniken, Materialien oder Prinzipien

CC0 Gemeinfrei
Dieser Blueprint ist unter CC0 veröffentlicht. Sie dürfen dieses Werk für jeden Zweck frei kopieren, ändern, verbreiten und verwenden, ohne um Erlaubnis zu fragen.
Unterstützen Sie den Maker, indem Sie Produkte über seinen Blueprint kaufen, wo er eine Maker-Provision von Anbietern festgelegt, verdient. Oder erstellen Sie eine neue Iteration dieses Blueprints und verbinden Sie ihn in Ihrem eigenen Blueprint, um Einnahmen zu teilen.