Zusammenarbeit
KUNST
SCHÖNHEIT & WELLNESS
HANDWERK
KULTUR & GESCHICHTE
UNTERHALTUNG
UMFELD
ESSEN & GETRÄNKE
REVERSE ENGINEERING
WISSENSCHAFTEN
SPORT
TECHNOLOGIE
WEARABLES
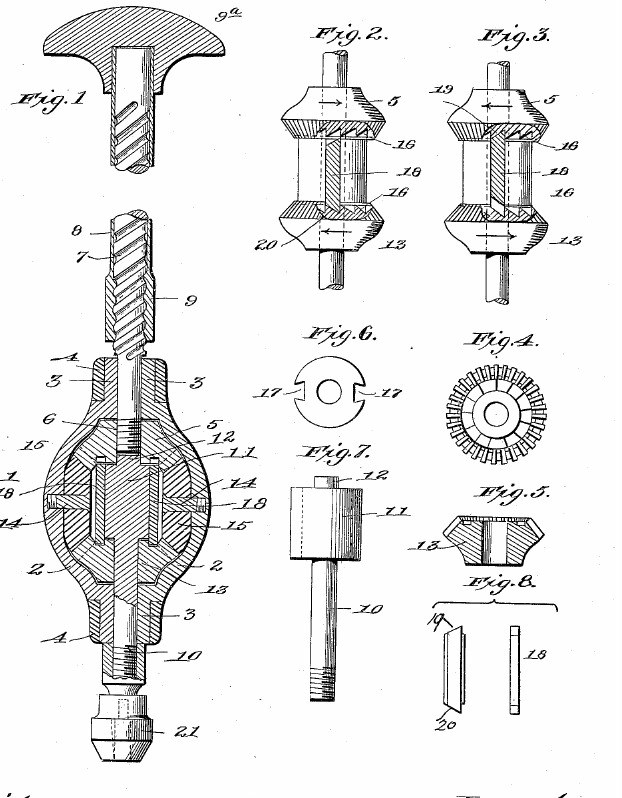


Hand Drill: Double-Acting Push Drill, Spiral Rod and Ratchet Bevel Gears (Olson, US 652,137, 1900)
A hand drill you work by pushing a handle back and forth. The handle's nut runs on a spiral-grooved rod and spins it one way, then the other. Inside a bulb-shaped casing you hold in your other hand, bevel gears and two sliding ratchet bolts turn that back-and-forth spin into steady rotation of the chuck, so the bit cuts on every stroke.
Result: a hand drill that bores continuously in one direction from a push-pull stroke.
Source: J. E. Olson, US 652,137 (1900). Unknown: all materials and sizes. Picture: the patent drawing.
Erfahren
Unknown
Anweisungen
1
1
Make the casing
Make the casing
Make two half-egg-shaped shells, each with a half-round neck at both ends. Put them face to face and hold them together with ferrules pushed over the necks: a hollow bulb that fits the hand. Not given: the metal, sizes.
Materialien für diesen Schritt:
 Unbekanntes Metall1 shells, ferrules
Benötigte Werkzeuge:
 Metalldrehmaschine
 Unbekannte Maße
2
2
Make the spiral rod and handle
Make the spiral rod and handle
Cut a rod with a steep spiral groove or thread. Fit a tube over it with a nut at its lower end that runs in the spiral, and a handle at its upper end. Not given: the pitch, the handle material.
Materialien für diesen Schritt:
Unbekanntes Metall1 rod, tube, nut Unbekanntes Material1 handle
Benötigte Werkzeuge:
Metalldrehmaschine Gewindeschneidsatz
3
3
Make the gears and ratchet hub
Make the gears and ratchet hub
Take four bevel wheels: an upper one bored through the centre and fixed on the lower end of the spiral rod, a lower one the same shape and size, and two side wheels that gear them together. Cut a ring of ratchet teeth on the facing sides of the upper and lower wheels, slanted opposite ways. Make a shaft with a hub (barrel) at its top whose tip runs in the bore of the upper wheel; cut two upright dovetail grooves in the hub, each holding a sliding bolt with its two ends bevelled opposite ways, long enough that one end meets one wheel's teeth while the other end is clear of the other wheel. Ours: steel mitre gears.
Materialien für diesen Schritt:
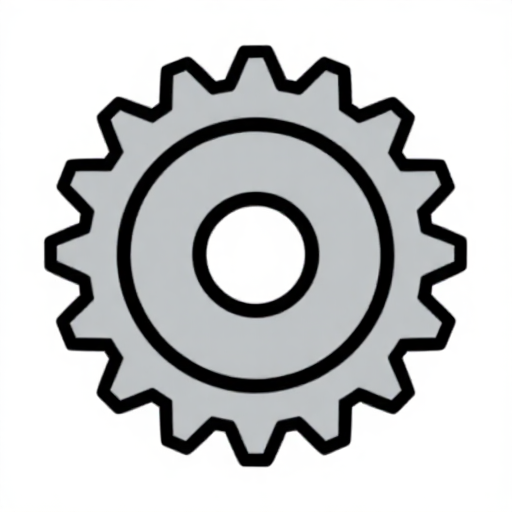 Kegelradsatz (Stahl, 1:1)2 four bevel wheelsUnbekanntes Metall1 shaft, hub, two bolts
Benötigte Werkzeuge:
Metalldrehmaschine Bügelsäge (Metallsäge)
4
4
Assemble
Assemble
Inside the casing, set the upper wheel with the spiral rod coming out of the top neck, the hub between the wheels, and the lower wheel turning loose on the shaft. Run the two side wheels on screws through the casing wall as their axles. Bring the shaft out of the lower neck and fix a drill chuck on its end. Ours: a drill chuck.
Materialien für diesen Schritt:
Unbekanntes Metall1 two journal screws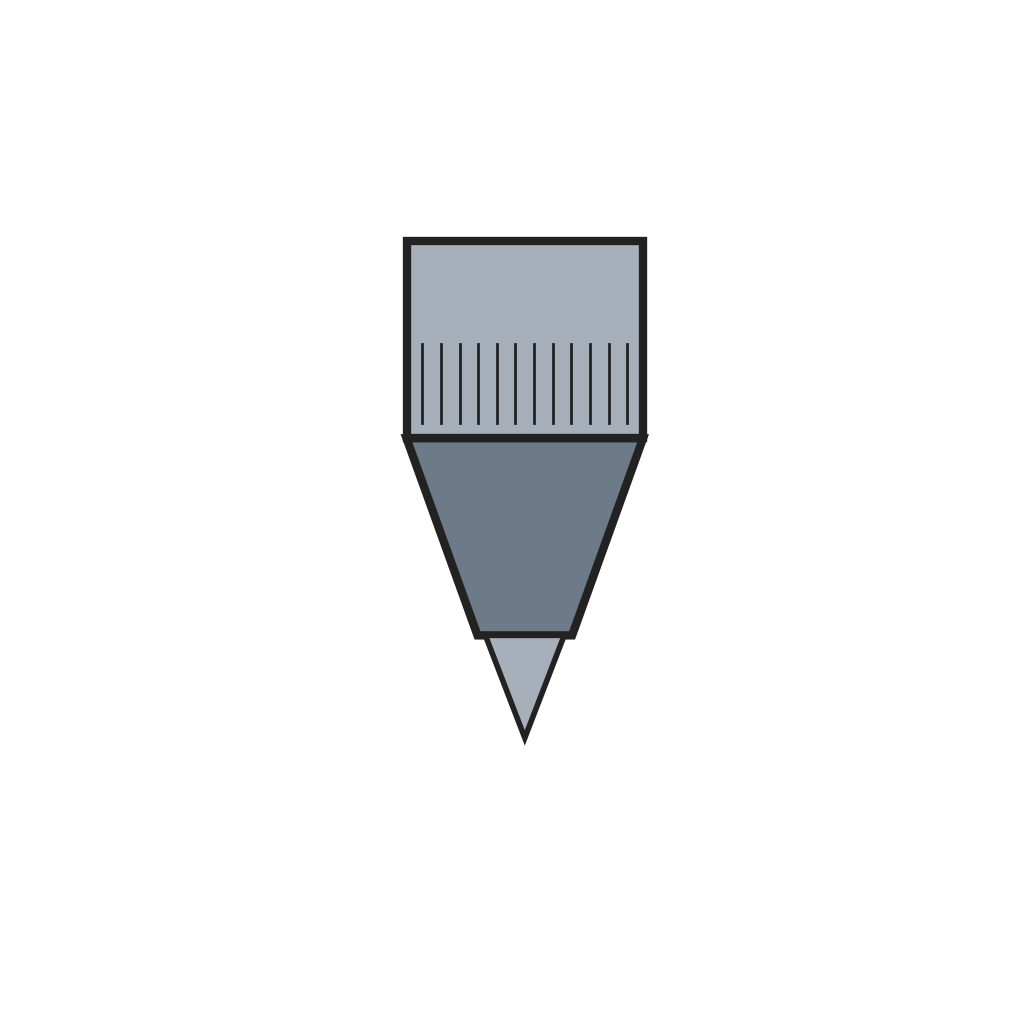 Bohrfutter1 Stück
Benötigte Werkzeuge:
Gewindeschneidsatz5
5
Drill
Drill
Put a bit in the chuck and set it on the mark. Hold the casing still in one hand, pressing lightly toward the work, and push and pull the handle with the other. Each stroke turns the upper and lower wheels opposite ways; the bolts slide over to engage whichever wheel is turning the cutting way, so the bit turns steadily one way.
Benötigte Werkzeuge:
 Bohrersatz
Materialien
4- 1 two journal screwsPlatzhalter
- 1 handlePlatzhalter
- 2 four bevel wheelsPlatzhalter
- 1 StückPlatzhalter
Benötigte Werkzeuge
5- Platzhalter
- Platzhalter
- Platzhalter
- Platzhalter
- Platzhalter
Materialien verbundener Blueprints

Dieser Bauplan stellt her
CC0 Gemeinfrei
Dieser Blueprint ist unter CC0 veröffentlicht. Sie dürfen dieses Werk für jeden Zweck frei kopieren, ändern, verbreiten und verwenden, ohne um Erlaubnis zu fragen.
Unterstützen Sie den Maker, indem Sie Produkte über seinen Blueprint kaufen, wo er eine Maker-Provision von Anbietern festgelegt, verdient. Oder erstellen Sie eine neue Iteration dieses Blueprints und verbinden Sie ihn in Ihrem eigenen Blueprint, um Einnahmen zu teilen.