
Zusammenarbeit
KUNST
SCHÖNHEIT & WELLNESS
HANDWERK
KULTUR & GESCHICHTE
UNTERHALTUNG
UMFELD
ESSEN & GETRÄNKE
REVERSE ENGINEERING
WISSENSCHAFTEN
SPORT
TECHNOLOGIE
WEARABLES
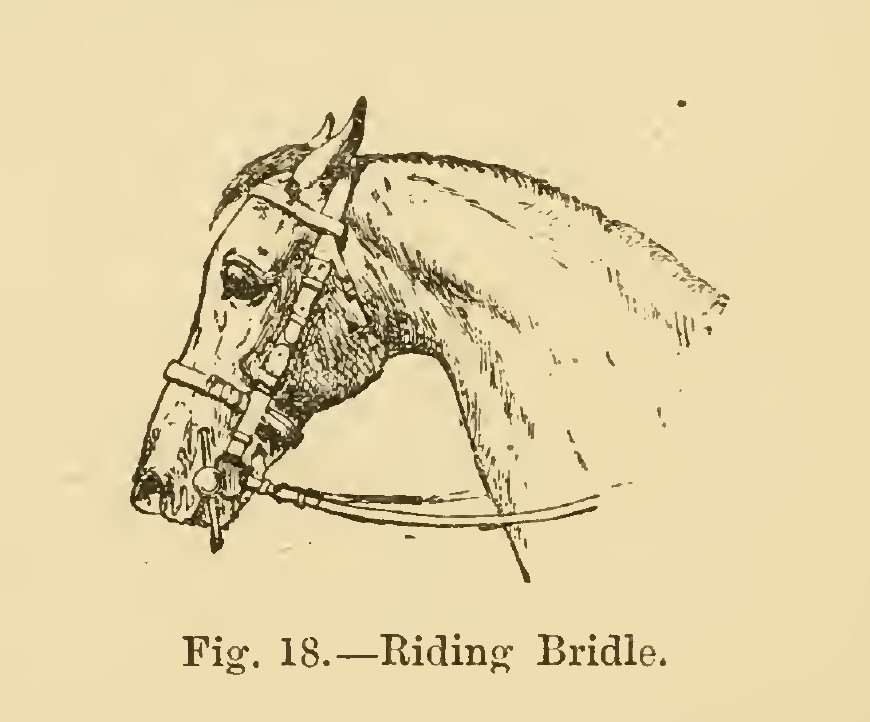
Snaffle Riding Bridle: Cheeks, Slit Head Strap, Front, Throat Lash and Reins (Hasluck, Saddlery, 1904)
Tex

Erstellt von

Tex

13. November 2026FO
2
0
0
0
0

Snaffle Riding Bridle: Cheeks, Slit Head Strap, Front, Throat Lash and Reins (Hasluck, Saddlery, 1904)

The plain riding bridle, "a single head and rein bridle", from Paul N. Hasluck's Saddlery (1904): two cheeks buckled to a snaffle bit, a head strap slit at each end into cheek and throat-lash straps, a front (browband), a throat lash and a pair of buckled reins. Every size is his; the bit is bought. It is the riding counterpart of the cart bridle.
Fortgeschritten
About 1 day

Anweisungen

1

Cutting list

Jupyter-Notebook wird geladen …
2

Read Saddlery, ch. VI

"All the stitching must be done from behind, so that the best face of the stitches will be next the horse when the bridle is on."
3

Make the cheeks

Cut two cheeks about 7/8 in wide and 9 in long. Each has a buckle at each end: one on a chape turned down, the other on the flat end of the strap without turning, with the billet underneath. Leave room for a loop before the buckle and the point of the cheek, and set the billet far enough behind the buckle for two loops; put a runner loop on the cheek and stitch another in with the chape. Cut the billets 9 in long. Stitch them in single-handed and back-stitch with linen thread, all from behind. Make one hole in each billet.

Materialien für diesen Schritt:

GeschirrlederGeschirrleder1 Stück
Messingschnalle mit DornMessingschnalle mit Dorn4 Stück
LeinenfadenLeinenfaden1 Stück

Benötigte Werkzeuge:

LedermesserLedermesser
KantenschärferKantenschärfer
FalzbeinFalzbein
Pricking-EisenPricking-Eisen
AhleAhle
Zwei SattlernadelnZwei Sattlernadeln
NähkluppeNähkluppe
SchlaufenholzSchlaufenholz
LederlocheisenLederlocheisen
4

Make the head strap

Cut the head strap 1-1/8 in by 1 ft 10 in and slit it 5 in at each end. For a 3/4 in cheek, slit 3/4 in on one side and 3/8 in for a 3/8 in throat lash, with the wide slits on the same side at both ends. Punch four holes in each wide slit and six, closer together, in each narrow one.

Materialien für diesen Schritt:

GeschirrlederGeschirrleder1 Stück

Benötigte Werkzeuge:

LedermesserLedermesser
LederlocheisenLederlocheisen
Bandmaß (Rollmeter)Bandmaß (Rollmeter)
5

Make the front

Cut the front 3/4 in by 1 ft 2-1/4 in from the end of one bend to the other, after bending. Turn it over the head strap and mark a line across close to it, so there is 1 ft 1 in between the cross lines. Stitch the ends down, with a row along each side.

Materialien für diesen Schritt:

GeschirrlederGeschirrleder1 Stück
LeinenfadenLeinenfaden1 Stück

Benötigte Werkzeuge:

LedermesserLedermesser
Pricking-EisenPricking-Eisen
AhleAhle
Zwei SattlernadelnZwei Sattlernadeln
6

Make the throat lash

Make the throat lash 3/8 in by 1 ft 7 in after turning down for the buckles. Put two runner loops on it besides the loops at the buckles of each end.

Materialien für diesen Schritt:

GeschirrlederGeschirrleder1 Stück
Messingschnalle mit DornMessingschnalle mit Dorn2 Stück
LeinenfadenLeinenfaden1 Stück

Benötigte Werkzeuge:

LedermesserLedermesser
AhleAhle
Zwei SattlernadelnZwei Sattlernadeln
SchlaufenholzSchlaufenholz
7

Make the reins

Cut the reins 1 in or 7/8 in by 4 ft. Prepare them for the bit buckles like the bottom of the cheeks, in the flat. Put a 3/4 in covered buckle on the other end of one rein, narrowing its chape to the buckle's width, and narrow the end of the other rein for buckling. Put in the billets, 10 in long, with one loop before the buckle and two behind, "and always put the strong end of the rein in the billet end".

Materialien für diesen Schritt:

GeschirrlederGeschirrleder1 Stück
Messingschnalle mit DornMessingschnalle mit Dorn3 Stück
LeinenfadenLeinenfaden1 Stück

Benötigte Werkzeuge:

LedermesserLedermesser
AhleAhle
Zwei SattlernadelnZwei Sattlernadeln
SchlaufenholzSchlaufenholz
8

Put it together

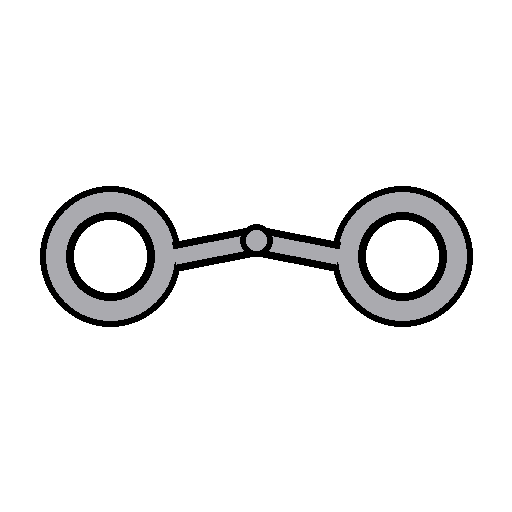
Buckle the cheeks to the head strap's wide slits and the throat lash to the narrow ones, run the front over the head strap, buckle the cheeks' lower ends and the reins to the snaffle bit's rings, and buckle the two reins together. Buckled billets let the bit be taken off, which he prefers to stitching the cheeks and reins fast to it.

Materialien für diesen Schritt:

TrensengebissTrensengebiss1 Stück
9

Troubleshooting

Riding bridle troubleshooting.

Flow

Loading...
10

History and honest limits

From **Saddlery**, edited by Paul N. Hasluck, David McKay, 1904 (archive.org saddlery00hasl), chapter VI, "Riding Bridles", the snaffle bridle; every fraction was read on the scan. Not made here: his Pelham, Weymouth, gag, exercising and stallion bridles. The bit is bought. The metric figures are ours.

Materialien

4

Benötigte Werkzeuge

10

Dieser Bauplan stellt her

CC0 Gemeinfrei

Dieser Blueprint ist unter CC0 veröffentlicht. Sie dürfen dieses Werk für jeden Zweck frei kopieren, ändern, verbreiten und verwenden, ohne um Erlaubnis zu fragen.

Unterstützen Sie den Maker, indem Sie Produkte über seinen Blueprint kaufen, wo er eine Maker-Provision von Anbietern festgelegt, verdient. Oder erstellen Sie eine neue Iteration dieses Blueprints und verbinden Sie ihn in Ihrem eigenen Blueprint, um Einnahmen zu teilen.

Diskussion

(0)

Anmelden um an der Diskussion teilzunehmen

Kommentare werden geladen...