Zusammenarbeit
KUNST
SCHÖNHEIT & WELLNESS
HANDWERK
KULTUR & GESCHICHTE
UNTERHALTUNG
UMFELD
ESSEN & GETRÄNKE
REVERSE ENGINEERING
WISSENSCHAFTEN
SPORT
TECHNOLOGIE
WEARABLES
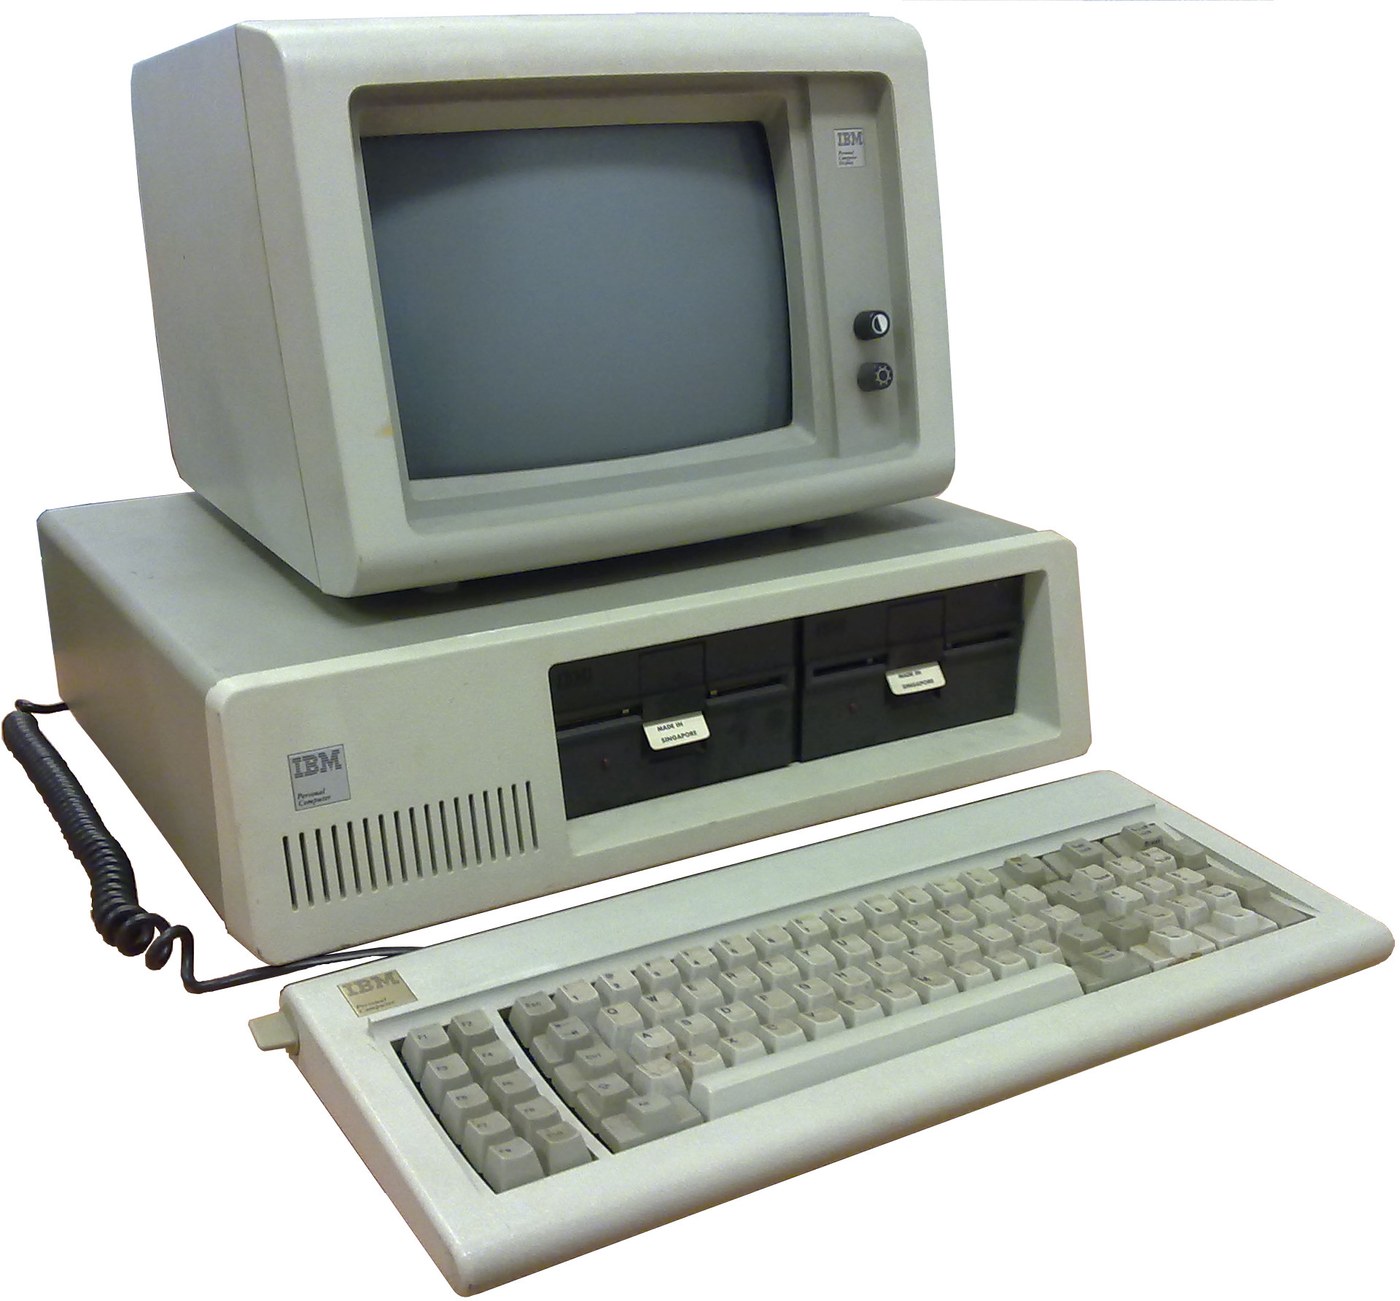


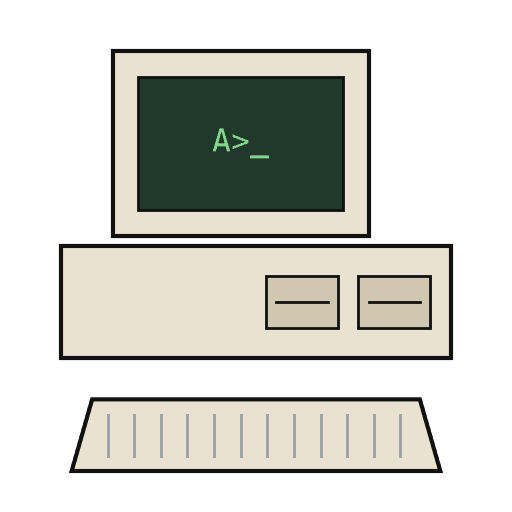
IBM Personal Computer (5150): System Unit, Keyboard and Display (IBM Technical Reference, 1981)
IBM's first personal computer, the machine today's desktop PCs descend from. One system unit holds an Intel 8088 system board, a power supply and five expansion slots. A keyboard, a display and 5-1/4 inch diskette drives complete it. IBM published its whole design, down to the BIOS program, in the Technical Reference.
Result: an IBM PC that tests itself at power-on and starts an operating system from diskette.
Source: IBM Personal Computer Technical Reference (1981; edition of April 1984). Unknown: the chassis and its sizes, the display and diskette adapter cards (described in IBM's separate Options and Adapters volumes), and how each part is made. Ours: the assembly order. Picture: Wikimedia Commons.
Erfahren
1 week
Anweisungen
1
1
Populate the system board
Populate the system board
On the system board, fit the Intel 8088 processor. It runs at 4.77 MHz, taken from a 14.31818 MHz crystal divided by 3; divided by 4, the same crystal gives the 3.58 MHz colour-burst signal for colour TVs. Fit its support chips: the 8237A-5 DMA controller, 8259A interrupt controller, 8253-5 timer and 8255A-5 peripheral interface. Add the ROM holding the BIOS, the read/write memory, the speaker circuit, five expansion slots, and 5-pin DIN sockets for the keyboard and a cassette recorder. The 8088 runs in maximum mode, so a coprocessor can be added later. Set switch SW1 to tell the machine what it has: whether to start from a 5-1/4 inch diskette drive, how much read/write memory is on the board, which display adapter is fitted, and how many diskette drives there are. Not given here: the board layout.
Materialien für diesen Schritt:
 Leiterplatte1 system board
 Integrierter Schaltkreis1 8088, 8237A-5, 8259A, 8253-5, 8255A-5, ROM, RAM
 Schwingquarz1 14.31818 MHz
 IBM-PC-BIOS1 in ROM
 DIP-Schalter1 SW1
 Lötdraht1 as needed
Benötigte Werkzeuge:
 Lötkolben
2
2
Fit the board and power supply in the chassis
Fit the board and power supply in the chassis
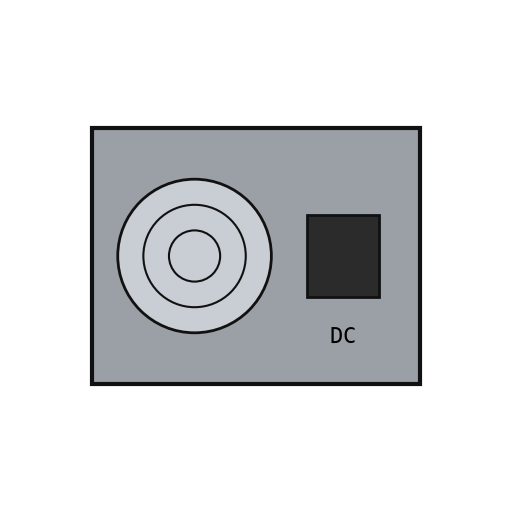
Screw the system board into the system-unit chassis. Fit the power supply at the right rear; its housing supports the rear panel and its fan cools the whole machine. It is rated for 63.5 W continuous, from a fused 120 V or 220/240 V input. Its four protected outputs are +5 V at 7 A, +12 V at 2 A, -5 V at 0.3 A and -12 V at 0.25 A, bussed to all five slots. It also has a power-good signal, a switched mains socket for the monochrome display and two drive power plugs. Not given: the chassis metal and sizes.
Materialien für diesen Schritt:
 Unbekanntes Metall1 chassis
 Computernetzteil1 63.5 W
 Maschinenschrauben1 Set
Benötigte Werkzeuge:
 Schraubendreher-Satz
 Unbekannte Maße
 Multimeter
3
3
Add the drives and adapter cards
Add the drives and adapter cards
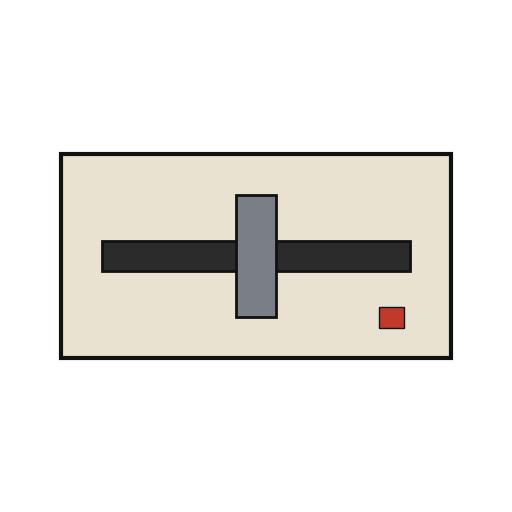
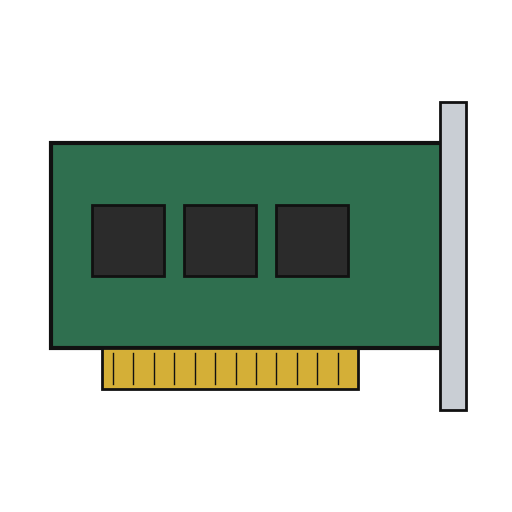
Fit up to two 5-1/4 inch diskette drives, each powered from its own plug on the supply. Only one drive runs at a time. Plug a diskette drive adapter and a display adapter (monochrome or colour/graphics) into expansion slots, and cable the drives to their adapter. Not given here: the adapter cards and cables, which IBM describes in its separate Options and Adapters volumes.
Materialien für diesen Schritt:
 5¼-Zoll-Diskettenlaufwerk2 up to two
 Erweiterungskarte2 diskette adapter, display adapter
 Flachbandkabel1 drive cable
Benötigte Werkzeuge:
Schraubendreher-Satz4
4
Connect keyboard and display, and power on
Connect keyboard and display, and power on
Plug in the keyboard: 83 keys, with the typewriter keys in the middle, 10 function keys on the left and a 15-key pad on the right. It sends scan codes, not letters, so the software decides what each key does. Connect the display to its adapter and to the switched socket. Switch on: the power-on self-test in the BIOS checks the machine, sets up its interrupt vectors, and looks for extra ROM on the adapter cards. The bootstrap loader then starts the operating system from a diskette.
Materialien für diesen Schritt:
 Computertastatur1 83 keys
 Computermonitor1 Stück
Benötigte Werkzeuge:
 Diskette
Materialien
14- 1 system boardPlatzhalter
- 1 8088, 8237A-5, 8259A, 8253-5, 8255A-5, ROM, RAMPlatzhalter
- 1 14.31818 MHzPlatzhalter
- 1 in ROMPlatzhalter
- Platzhalter
- 1 as neededPlatzhalter
- 1 chassisPlatzhalter
- 1 63.5 WPlatzhalter
- 1 SetPlatzhalter
- 2 up to twoPlatzhalter
- 2 diskette adapter, display adapterPlatzhalter
- Platzhalter
- 1 83 keysPlatzhalter
- 1 StückPlatzhalter
Materialien verbundener Blueprints
Dieser Bauplan stellt her
CC0 Gemeinfrei
Dieser Blueprint ist unter CC0 veröffentlicht. Sie dürfen dieses Werk für jeden Zweck frei kopieren, ändern, verbreiten und verwenden, ohne um Erlaubnis zu fragen.
Unterstützen Sie den Maker, indem Sie Produkte über seinen Blueprint kaufen, wo er eine Maker-Provision von Anbietern festgelegt, verdient. Oder erstellen Sie eine neue Iteration dieses Blueprints und verbinden Sie ihn in Ihrem eigenen Blueprint, um Einnahmen zu teilen.