Building a Clay Kiln — The First Furnace
Anweisungen
Prerequisite: Making Charcoal
Prerequisite: Making Charcoal
You need charcoal for kiln curing and temperature testing. Complete this blueprint first:

Voraussetzungs-Blueprint
Making Charcoal — The First Chemical Process
Materialien für diesen Schritt:
Benötigte Werkzeuge:
 Digging tool
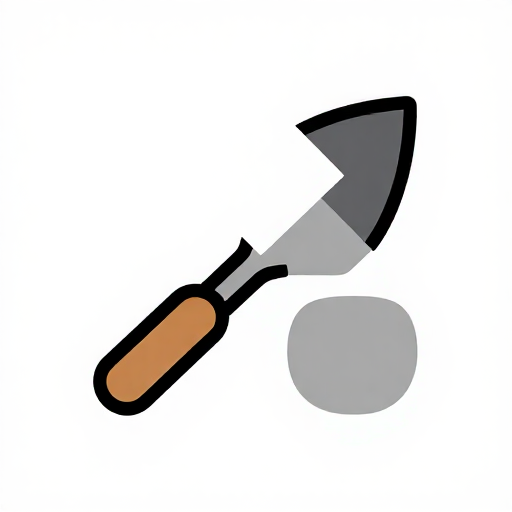 Flat stone (trowel)
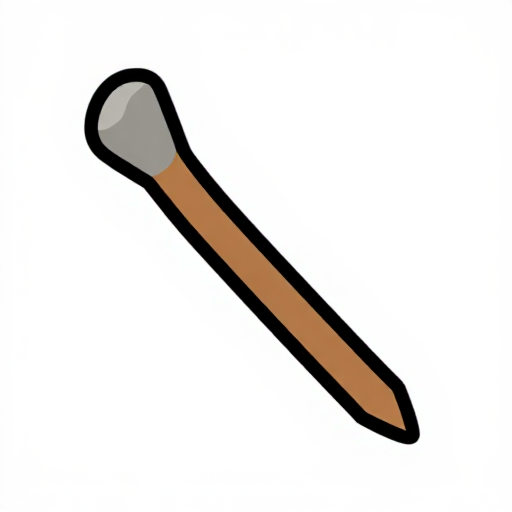
 Stick or bone (for air hole)
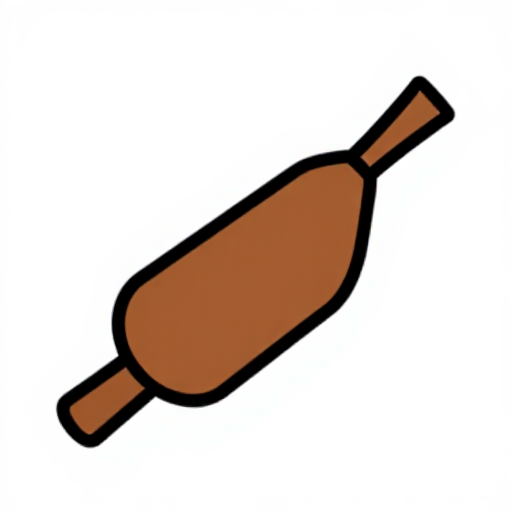 Bellows or blowpipe
Kiln Design — The Updraft Principle
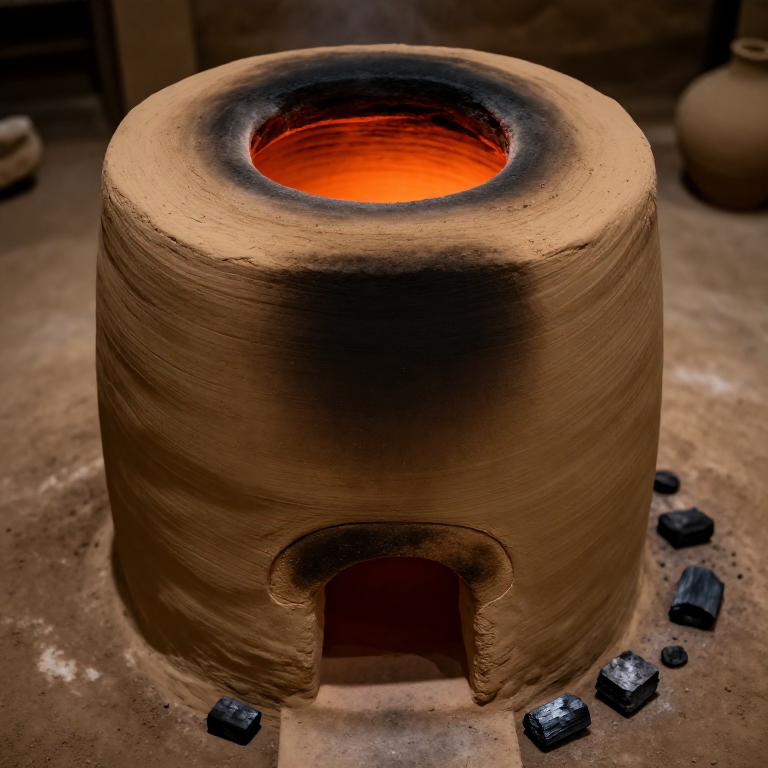
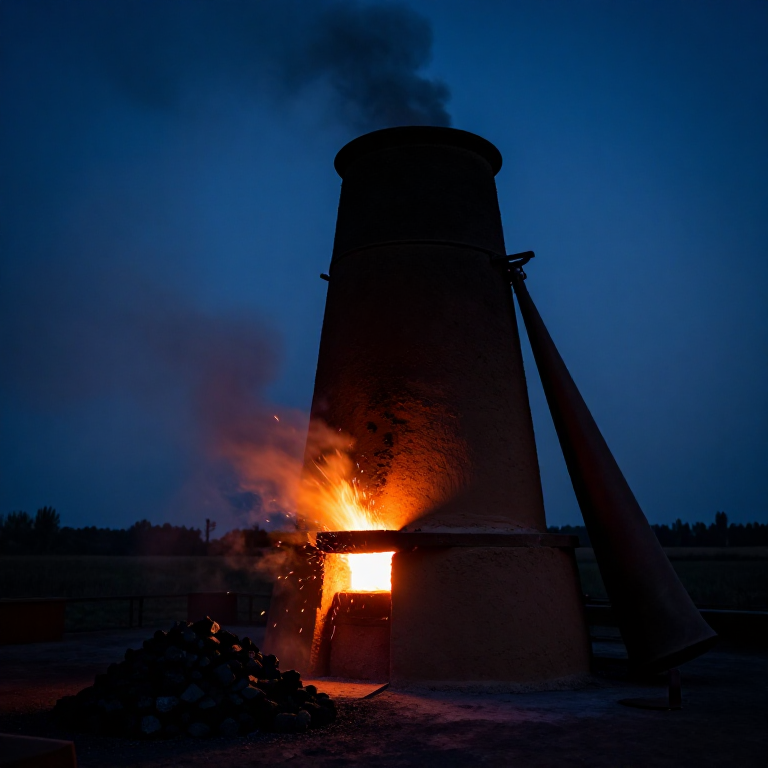
Kiln Design — The Updraft Principle
How a Kiln Works
A kiln is an insulated chamber with controlled airflow. The key principles:
- Insulation: Thick clay walls retain heat instead of radiating it into the air
- Updraft: Hot air rises. Cold air enters at the bottom (tuyère), hot exhaust exits at the top
- Forced air: Bellows or blowpipe through the tuyère increases oxygen supply, raising temperature
Design Specifications
We're building a simple updraft kiln — the oldest furnace design, dating to ~6000 BCE:
- Internal diameter: 30-40cm (enough for a crucible)
- Wall thickness: 8-12cm (thicker = better insulation)
- Height: 50-60cm
- Tuyère hole: 3-5cm diameter, positioned 5cm above the floor, angled slightly downward
- Top opening: 15-20cm diameter (partially sealed during operation)
Materialien für diesen Schritt:
Building the Kiln
Building the Kiln
Preparing the Clay Body
- Mix clay and sand in a 3:1 ratio (by volume). Too much clay = cracks. Too much sand = crumbles.
- Add chopped straw (~5% by volume). Knead thoroughly until uniform.
- The mix should hold its shape when squeezed but not stick excessively to your hands.
- Let the mix rest overnight (improves workability).
Construction Method: Coil Building
- Foundation: Create a flat clay disc, 50cm diameter, 5cm thick. This is the kiln floor.
- First course: Roll clay into coils (5cm diameter). Layer the first ring on the edge of the floor disc, 30cm inside diameter.
- Build up: Add coils one at a time, smoothing each into the one below. Overlap joints for strength.
- Tuyère: At the 3rd course (~5cm above floor), insert a stick horizontally to form the air inlet hole. Remove after clay firms up.
- Taper inward: From 30cm at the bottom, narrow gradually to 15-20cm at the top over 50cm height.
- Smooth interior: The inside surface should be as smooth as possible — rough surfaces waste heat.
Drying
Critical: Let the kiln dry slowly over 3-5 days in shade. Rapid drying causes cracks. If cracks appear, patch with wet clay.
Materialien für diesen Schritt:
 Straw or grass2 kg
 Fire bricks (optional, modern)20 pc
First Firing — Curing the Kiln
First Firing — Curing the Kiln
The Curing Process
A new clay kiln must be cured with progressively hotter fires. Jumping straight to full temperature will crack it.
- Day 1 — Warm fire: Small wood fire inside. Target ~200°C. Maintain for 2 hours. This drives out remaining moisture.
- Day 2 — Medium fire: Larger wood fire. Target ~500°C. Maintain for 2 hours. The straw burns out, creating insulating air pockets.
- Day 3 — Full fire: Switch to charcoal. Use bellows through the tuyère. Target 900-1000°C. The clay vitrifies (partially melts and hardens). The kiln is now a permanent structure.
Temperature Indicators (No Thermometer Needed)
| Temperature | Visual Indicator |
|---|---|
| ~400°C | Dull red glow barely visible in darkness |
| ~600°C | Dark cherry red, visible in shade |
| ~800°C | Cherry red, clearly visible |
| ~1000°C | Bright orange |
| ~1100°C | Yellow-orange (copper smelting range) |
Your Kiln is Ready
After curing, your kiln can reach 1100°C+ with charcoal and bellows. This unlocks:
- Pottery firing (900°C)
- Copper smelting from ore (1085°C)
- Bronze casting (~950°C)
- And eventually, with modifications, iron smelting (~1250°C)
Materialien für diesen Schritt:
Straw or grass2 kgMaterialien
5- 2 kgPlatzhalter
- 20 StückPlatzhalter
Materialien verbundener Blueprints
Related blueprints
Other builds that share materials, tools, or techniques with this one.


CC0 Gemeinfrei
Dieser Blueprint ist unter CC0 veröffentlicht. Sie dürfen dieses Werk für jeden Zweck frei kopieren, ändern, verbreiten und verwenden, ohne um Erlaubnis zu fragen.
Unterstützen Sie den Maker, indem Sie Produkte über seinen Blueprint kaufen, wo er eine Maker-Provision von Anbietern festgelegt, verdient. Oder erstellen Sie eine neue Iteration dieses Blueprints und verbinden Sie ihn in Ihrem eigenen Blueprint, um Einnahmen zu teilen.