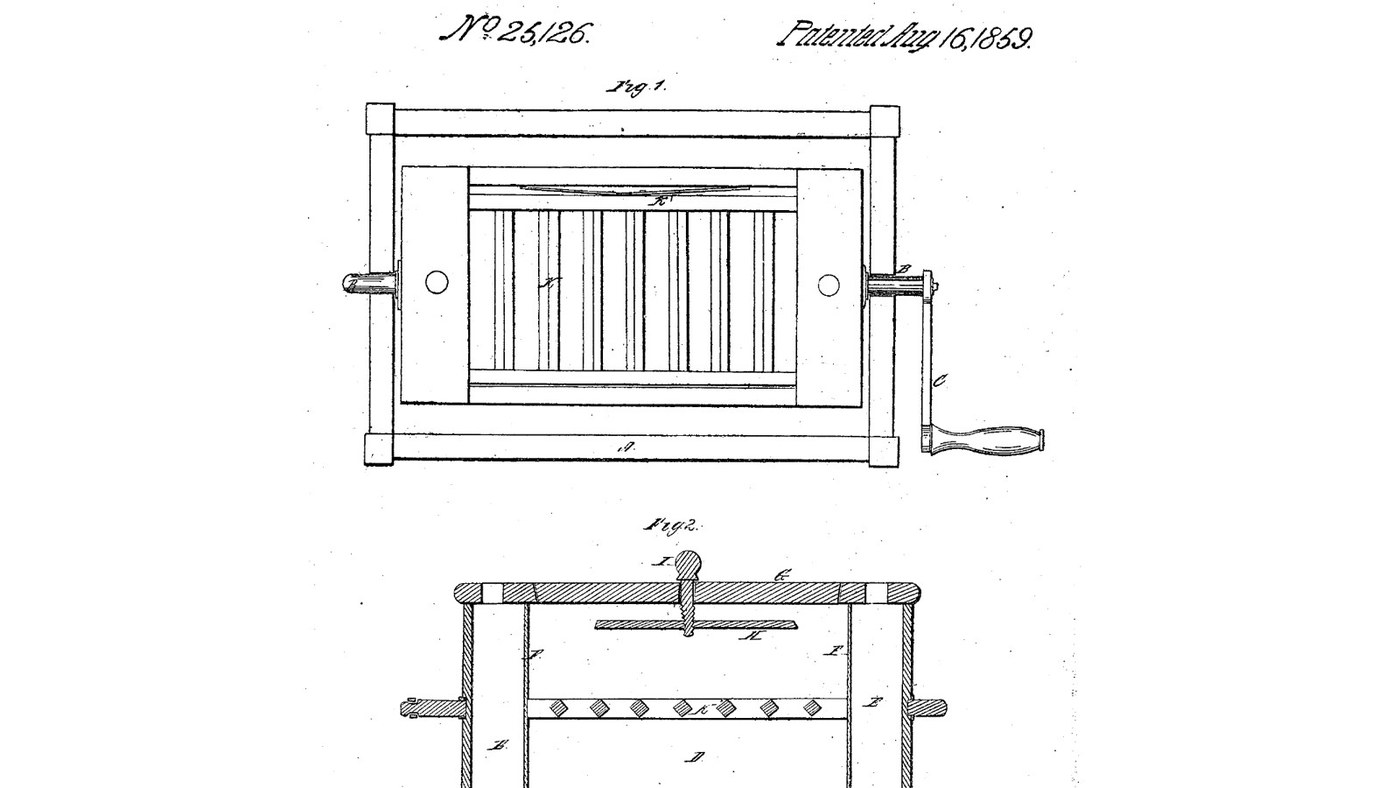

Water-Chamber Box Churn: A Turning Box With a Dash-Frame You Lower to Free the Butter
Anweisungen
How much cream, how much water
How much cream, how much water
A box churn tempered with water, before it
A box churn tempered with water, before it
Read US 25,126
Read US 25,126
Box and kerfs
Box and kerfs
Materialien für diesen Schritt:
 Hartholzbrett2 Stück
 Holzleim1 Stück
 Holzschrauben24 Stück
Benötigte Werkzeuge:
 Tischkreissäge
 Handsäge
 Akkubohrschrauber
 Bohrersatz
 Schraubzwinge mit Schiebebügel
 Anschlagwinkel
 Bandmaß (Rollmeter)
Partitions F and the water chambers E
Partitions F and the water chambers E
Materialien für diesen Schritt:
 Edelstahlblech1 Stück
 PETG-Filament1 Stück
Benötigte Werkzeuge:
 Blechschere
 Feilen (Handfeile)Akkubohrschrauber
 Flachfräsbohrer-Satz
 Wasser
 FDM-3D-Drucker
Print the plugs L
Print the plugs L
Dash-frame K and spring K'
Dash-frame K and spring K'
Materialien für diesen Schritt:
Hartholzbrett1 Stück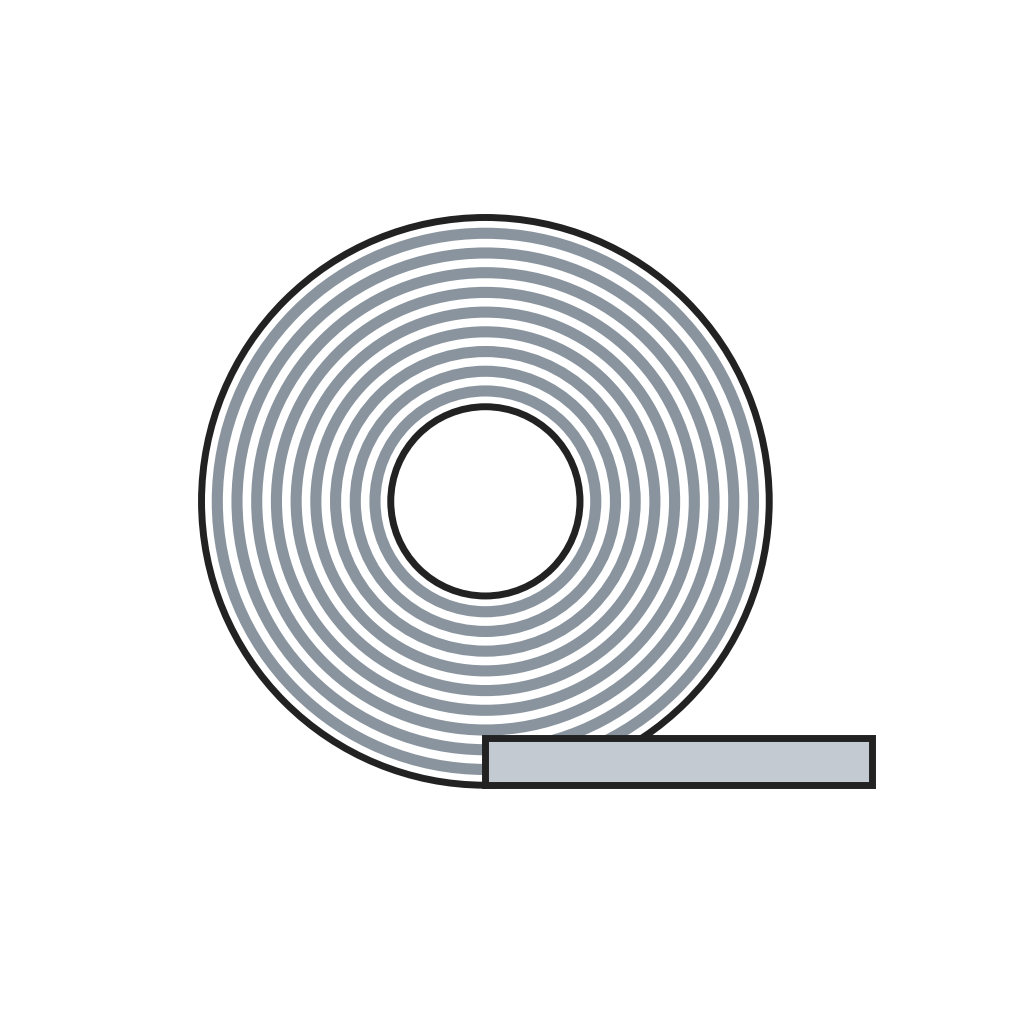 Kaltgewalztes Edelstahlband (420)1 StückHolzleim1 StückHolzschrauben14 Stück
Benötigte Werkzeuge:
TischkreissägeHandsägeAkkubohrschrauberBohrersatzBlechschereCover G, journals B, frame A and crank C
Cover G, journals B, frame A and crank C
Materialien für diesen Schritt:
 Sperrholzplatte1 Stück
 Sechskantschrauben-Sortiment6 Stück
 Handflügelmutter4 Stück
 Unterlegscheibe4 Stück
 Sicherungsmutter mit Kunststoffeinsatz2 StückHartholzbrett1 Stück
 Stahl-Stangenmaterial1 Stück
 Nadelholz 70x70 mm2 Stück
 Kiefernbrett1 StückHolzleim1 StückHolzschrauben24 Stück
Benötigte Werkzeuge:
HandsägeAkkubohrschrauberFlachfräsbohrer-SatzBohrersatz Bügelsäge (Metallsäge)
 RollgabelschlüsselAnschlagwinkelBandmaß (Rollmeter)
The build in 3D
The build in 3D
Temper and churn
Temper and churn
Materialien für diesen Schritt:
 Schlagsahne5 l
 Grobes Meersalz1 StückWasser1 Stück
Benötigte Werkzeuge:
 Einsteck-Fühlerthermometer
 Wasserkocher
 Stoppuhr
 Digitale Küchenwaage
 Große Rührschüssel aus Edelstahl
Troubleshooting
Troubleshooting
Flow
History and honest limits
History and honest limits
Materialien
17- 2 StückPlatzhalter
- 3 StückPlatzhalter
- 62 StückPlatzhalter
- 1 StückPlatzhalter
- 1 StückPlatzhalter
- Platzhalter
- 1 StückPlatzhalter
- 6 StückPlatzhalter
- 4 StückPlatzhalter
- 4 StückPlatzhalter
- Platzhalter
- 1 StückPlatzhalter
- 2 StückPlatzhalter
- 1 StückPlatzhalter
- 5 lPlatzhalter
- 1 StückPlatzhalter
- 1 StückPlatzhalter
Benötigte Werkzeuge
19- 1 vendor sell this, none ship to you yetPlatzhalter
- Platzhalter
- 1 vendor sell this, none ship to you yetPlatzhalter
- Platzhalter
- Platzhalter
- Platzhalter
- 1 vendor sell this, none ship to you yetPlatzhalter
- Platzhalter
- Platzhalter
- Platzhalter
- Platzhalter
- Platzhalter
- Platzhalter
- Platzhalter
- Platzhalter
- Platzhalter
- Platzhalter
- Platzhalter
- Platzhalter
Designdateien
2Dieser Bauplan stellt her


Verwandte Blueprints
Diese Blueprints teilen Wissen — Techniken, Materialien oder Prinzipien
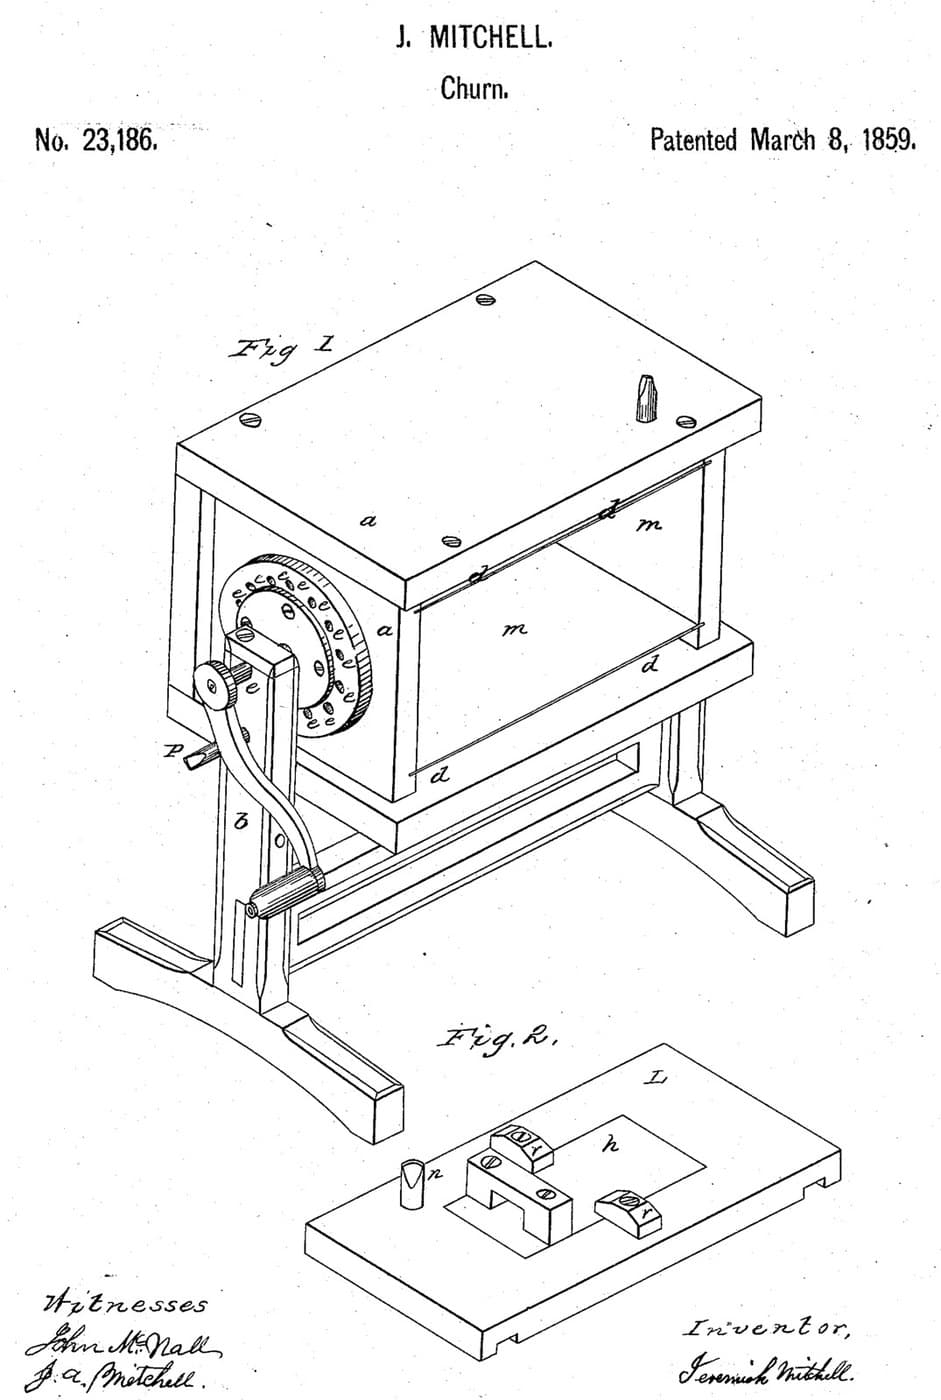
Water-Jacket Revolving Box Churn: A Box With No Dasher Turns on Stub Axles Inside Warm or Cold Water
von Martin
Holzbearbeitung
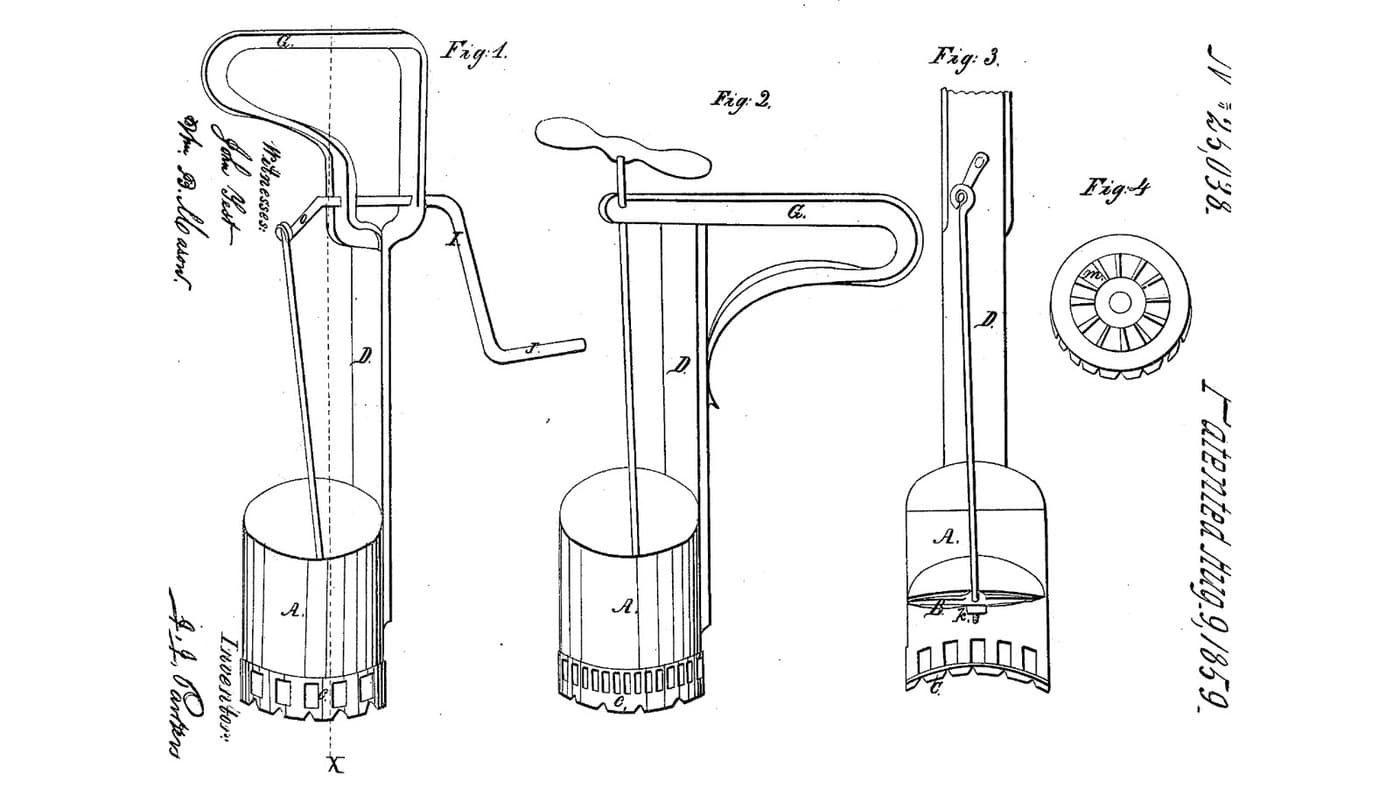
Pump Egg Beater: A Piston Draws the Eggs In and Out Through a Grate
von TheChef
ESSEN & GETRÄNKE
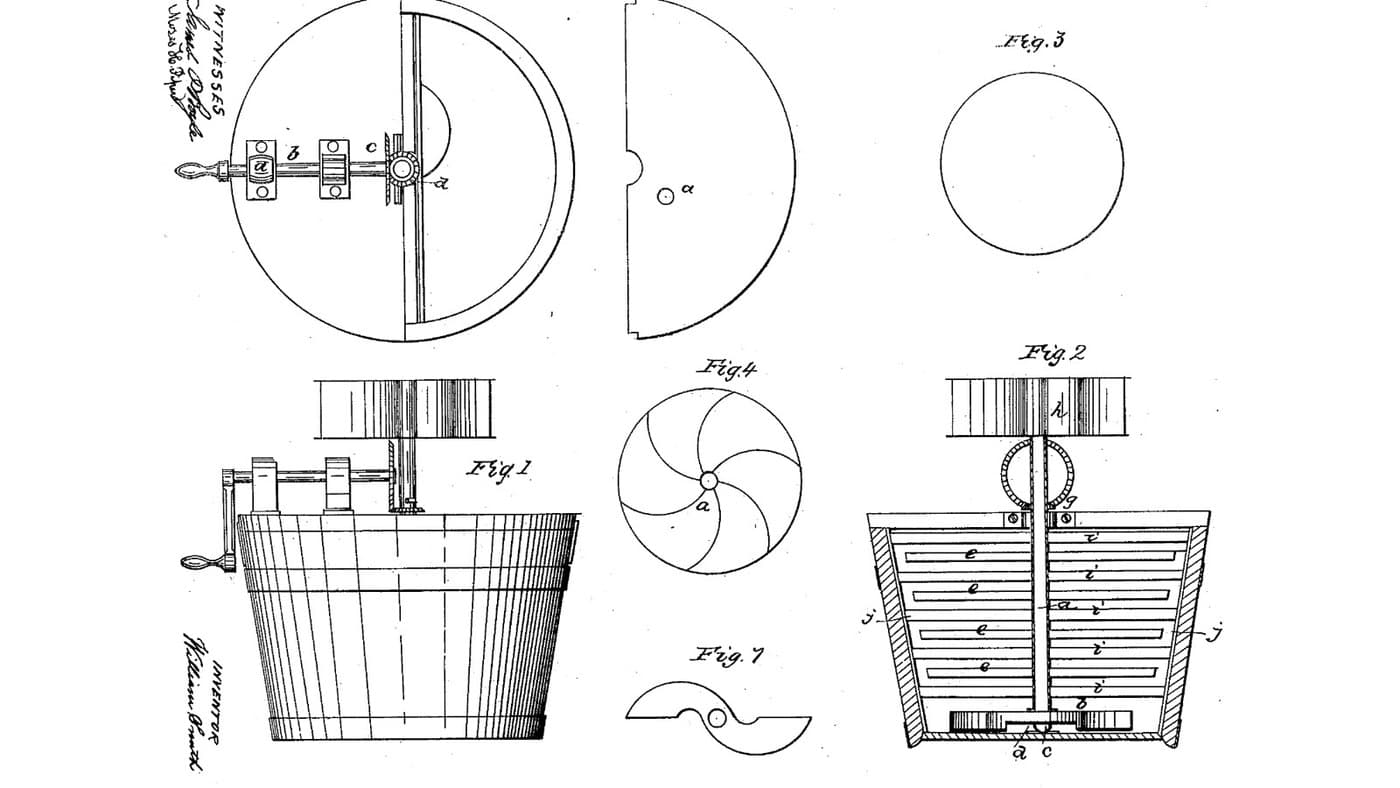
Atmospheric Combination Churn: A Fan Sends Air Down a Hollow Shaft and Out Through the Turning Arm
von Buttercup
ESSEN & GETRÄNKE

Churning Butter from Cream — The 5,000-Year-Old Fat Separation
von TheChef
HANDWERK
CC0 Gemeinfrei
Dieser Blueprint ist unter CC0 veröffentlicht. Sie dürfen dieses Werk für jeden Zweck frei kopieren, ändern, verbreiten und verwenden, ohne um Erlaubnis zu fragen.
Unterstützen Sie den Maker, indem Sie Produkte über seinen Blueprint kaufen, wo er eine Maker-Provision von Anbietern festgelegt, verdient. Oder erstellen Sie eine neue Iteration dieses Blueprints und verbinden Sie ihn in Ihrem eigenen Blueprint, um Einnahmen zu teilen.