Zusammenarbeit
KUNST
SCHÖNHEIT & WELLNESS
HANDWERK
KULTUR & GESCHICHTE
UNTERHALTUNG
UMFELD
ESSEN & GETRÄNKE
REVERSE ENGINEERING
WISSENSCHAFTEN
SPORT
TECHNOLOGIE
WEARABLES
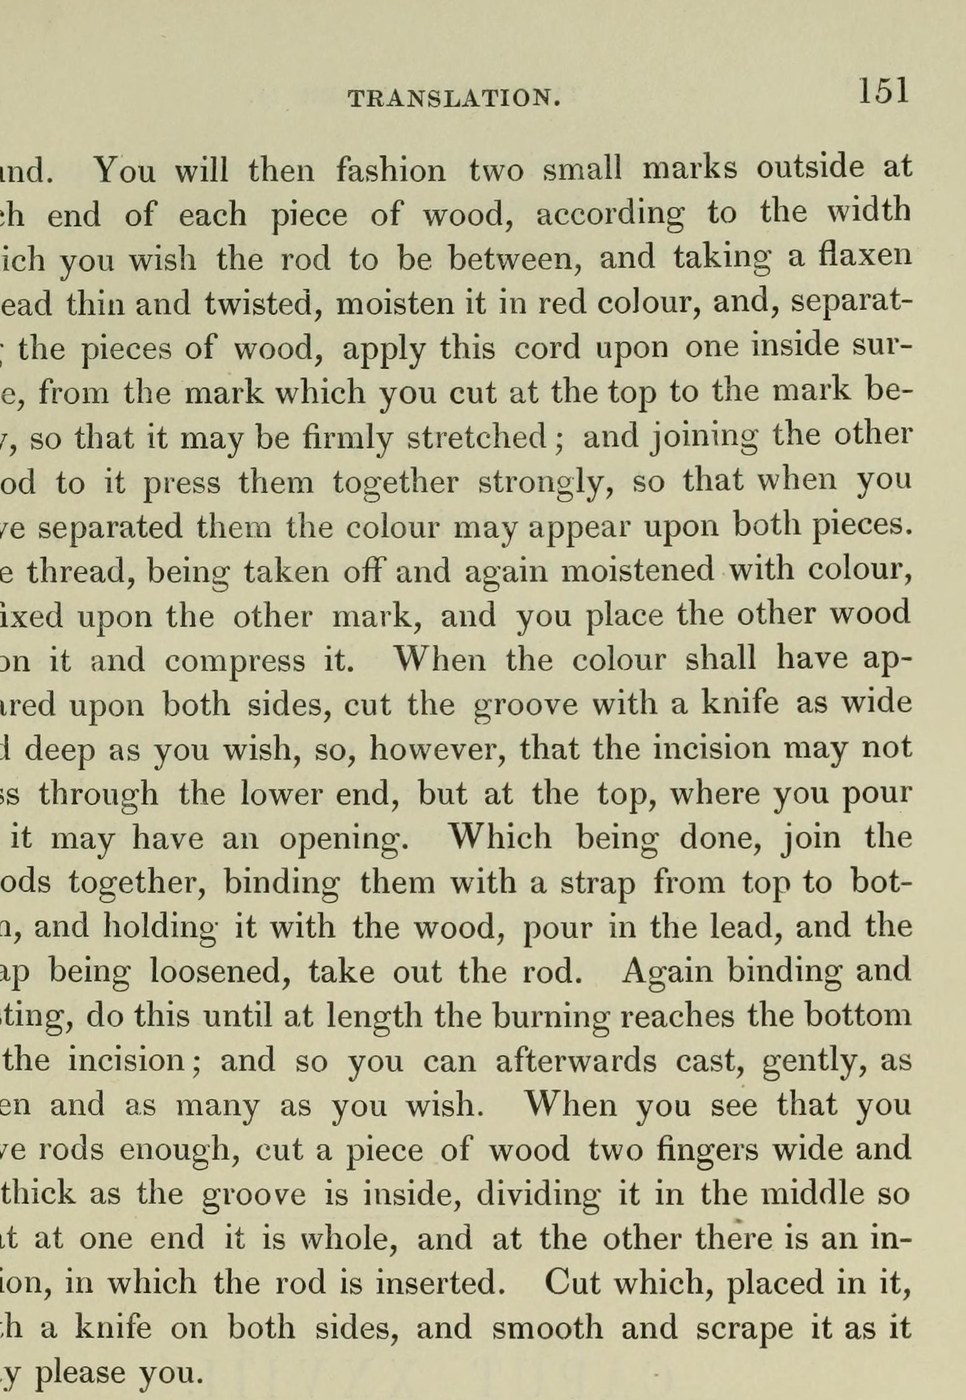


Lead Came: Window Rods Cast in a Split Wooden Mould (Theophilus, tr. Hendrie 1847)
Theophilus' way to cast window leads without an iron mould: a stick of fir is split, a groove marked with a red-dyed flax thread and cut along both halves, the halves bound with a strap and the lead poured in again and again until the hot lead has burnt the groove to the bottom.
Each rod is then trimmed in a slotted wooden gauge, cut with a knife on both sides and scraped smooth.
Source: Theophilus, De Diversis Artibus, Book II, ch. XXVI, tr. R. Hendrie (1847), pp. 149-151. Picture: p. 151.
Fortgeschritten
Unknown
Anweisungen
1
1
Split and mark the wood
Split and mark the wood
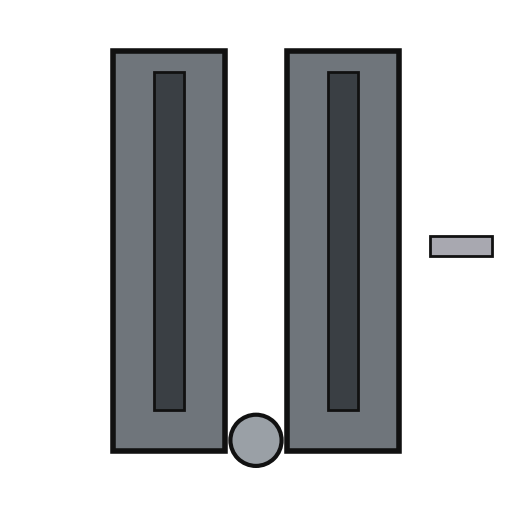
Take fir or another wood that splits smoothly, the size of the iron mould (a yard long, two fingers broad, a finger thick). Split it and round the outside. Mark each end of both pieces for the width of the rod. Stretch a thin twisted flax thread wet with red colour from mark to mark on one inner face and press the other piece against it, so the line shows on both; do the same for the second line.
Benötigte Werkzeuge:
 Bleiruten-Gießform
 Leinenfaden
 Bastelmesser
2
2
Cut the groove
Cut the groove
Cut the groove between the lines with a knife, as wide and deep as you wish, but not through the lower end; leave an opening at the top for pouring.
Benötigte Werkzeuge:
BastelmesserBleiruten-Gießform3
3
Cast the rods
Cast the rods
Melt the lead as for the iron mould. Bind the two halves together with a strap from top to bottom, hold the mould with a wooden holder and pour in the lead; loosen the strap and take out the rod. Bind and cast again until the burning reaches the bottom of the groove; after that you can cast gently as many as you wish.
Materialien für diesen Schritt:
 Bleibarren1 pure lead
Benötigte Werkzeuge:
Bleiruten-Gießform Lederriemen
 Tontopf
 Holzkohle
 Schöpfkelle
4
4
Trim the rods
Trim the rods
Cut a piece of wood two fingers wide and as thick as the inside of the groove, split in the middle at one end so the rod fits into the slit. With the rod in it, cut it with a knife on both sides, then smooth and scrape it as you like.
Benötigte Werkzeuge:
BastelmesserMaterialien
1- 1 pure leadPlatzhalter
Materialien verbundener Blueprints

Dieser Bauplan stellt her

CC0 Gemeinfrei
Dieser Blueprint ist unter CC0 veröffentlicht. Sie dürfen dieses Werk für jeden Zweck frei kopieren, ändern, verbreiten und verwenden, ohne um Erlaubnis zu fragen.
Unterstützen Sie den Maker, indem Sie Produkte über seinen Blueprint kaufen, wo er eine Maker-Provision von Anbietern festgelegt, verdient. Oder erstellen Sie eine neue Iteration dieses Blueprints und verbinden Sie ihn in Ihrem eigenen Blueprint, um Einnahmen zu teilen.