KUNST
SCHÖNHEIT & WELLNESS
HANDWERK
KULTUR & GESCHICHTE
UNTERHALTUNG
UMFELD
ESSEN & GETRÄNKE
REVERSE ENGINEERING
WISSENSCHAFTEN
SPORT
TECHNOLOGIE
WEARABLES
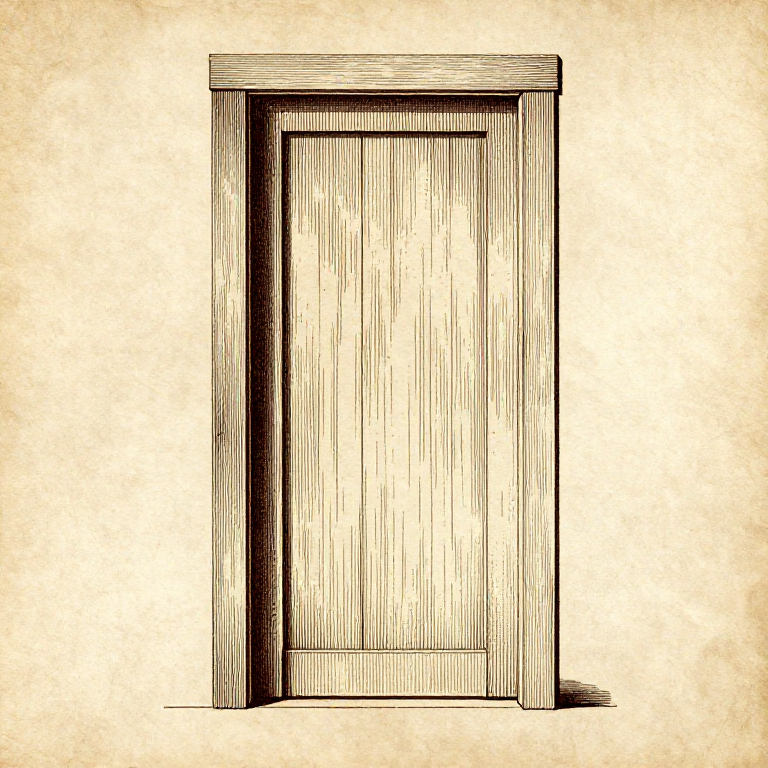


Let It Float: Panels, Tabletops and the Breadboard End
Every traditional solution to wood movement is the same solution: hold the piece in ONE place and let everything else slide.
A frame-and-panel door, a tabletop on buttons, a breadboard end, a drawer bottom in a groove — all four are that idea. Once you see it, the designs stop looking like tradition and start looking like the only thing that works.
The arithmetic for how much room to leave is the first rung of this batch: width times coefficient times the moisture swing, and then leave more than that. Leaving too much costs a visible gap; leaving too little costs a split.
Fortgeschritten
3 hours
Anweisungen
1
1
The frame and panel: the oldest answer there is
The frame and panel: the oldest answer there is
A wide panel sits loose in a groove in a frame of narrow parts. The frame is made of pieces narrow enough that their own movement is trivial; the panel does all the moving, inside the groove, where nobody can see it.
The panel must NOT be glued in. Glue it and you have a wide board trapped across its width, which is the cross-grain failure of the butt-joint rung with extra steps. A dab of glue at the exact centre of the top and bottom edges is acceptable and keeps it centred; anything more is a split waiting.
Leave room in the groove for the calculated movement plus a margin, and finish the panel BEFORE assembly. An unfinished edge that later shrinks out of the groove shows a bare line of raw wood, and there is no way to finish it then.
Materialien für diesen Schritt:
 Hartholzbrett1 StückHartholzbrett1 Stück
Benötigte Werkzeuge:
 Streichmaß
 Stechbeitel
 Lineal
 Schraubzwinge mit Schiebebügel
2
2
Fastening a tabletop so the top can still move
Fastening a tabletop so the top can still move
A solid top screwed hard to a rigid frame will split, every time. The top moves across its width and the frame's long rails do not, so something has to give.
Three fixings that all work the same way. **Buttons**: small blocks with a tongue that hooks into a groove in the rail, screwed to the top — they slide along the groove. **Slotted holes**: elongated across the direction of movement, with a washer under the screw head so it can slide. **Figure-8 fasteners**: let the screw pivot.
Fix the centre of the top solidly and let it move outward in both directions, or fix one edge and let it all move one way. Either is fine; what fails is fixing both edges.
Materialien für diesen Schritt:
Hartholzbrett1 Stück Hartholzblock1 Stück
Benötigte Werkzeuge:
StechbeitelStreichmaßLineal3
3
The breadboard end: three ideas in one joint
The breadboard end: three ideas in one joint
A breadboard end is a strip of wood running ACROSS the end of a tabletop, grain at right angles, to keep the top flat and hide the end grain. It is deliberately the cross-grain construction that the butt-joint rung says destroys things — and it survives because of how it is fixed.
Glue only the MIDDLE few centimetres. Then pin the rest through holes that are round in the breadboard and SLOTTED in the tenon, so the pins locate the end without stopping the top sliding underneath it.
Which means it is deliberately imperfect: in a dry winter the top narrows and the breadboard ends stand slightly proud at the corners; in summer they sit slightly short. That is the joint working, not failing, and trying to prevent it by gluing the whole length is how breadboard ends split tabletops.
Materialien für diesen Schritt:
Hartholzbrett1 Stück Holzdübelstange1 Stück
 Weißleim (PVAc)1 Stück
Benötigte Werkzeuge:
 Feinsäge mit RückenstegStechbeitelStreichmaß
 Holzhammer (Klüpfel)
4
4
Where floating is NOT the answer
Where floating is NOT the answer
Two situations where the whole problem disappears. Plywood and other manufactured panels barely move, so a plywood cabinet back can be glued and screwed all round and never complain.
And NARROW parts. A 60 mm rail moves a few tenths of a millimetre across its width, which no joint notices. Frame-and-panel construction is popular precisely because it turns a wide-board problem into narrow parts plus one floating panel.
So the design question is not "how do I stop this moving" but "is this part wide?" If it is wide and solid, it floats. If it is narrow, or it is plywood, fix it however you like.
Materialien für diesen Schritt:
Hartholzbrett1 StückHartholzbrett1 StückBenötigte Werkzeuge:
Lineal Rechner
Materialien
4- 1 StückPlatzhalter
- 1 StückPlatzhalter
- 1 StückPlatzhalter
- 1 StückPlatzhalter
Verwandte Blueprints
Diese Blueprints teilen Wissen — Techniken, Materialien oder Prinzipien

CC0 Gemeinfrei
Dieser Blueprint ist unter CC0 veröffentlicht. Sie dürfen dieses Werk für jeden Zweck frei kopieren, ändern, verbreiten und verwenden, ohne um Erlaubnis zu fragen.
Unterstützen Sie den Maker, indem Sie Produkte über seinen Blueprint kaufen, wo er eine Maker-Provision von Anbietern festgelegt, verdient. Oder erstellen Sie eine neue Iteration dieses Blueprints und verbinden Sie ihn in Ihrem eigenen Blueprint, um Einnahmen zu teilen.