Zusammenarbeit
KUNST
SCHÖNHEIT & WELLNESS
HANDWERK
KULTUR & GESCHICHTE
UNTERHALTUNG
UMFELD
ESSEN & GETRÄNKE
REVERSE ENGINEERING
WISSENSCHAFTEN
SPORT
TECHNOLOGIE
WEARABLES
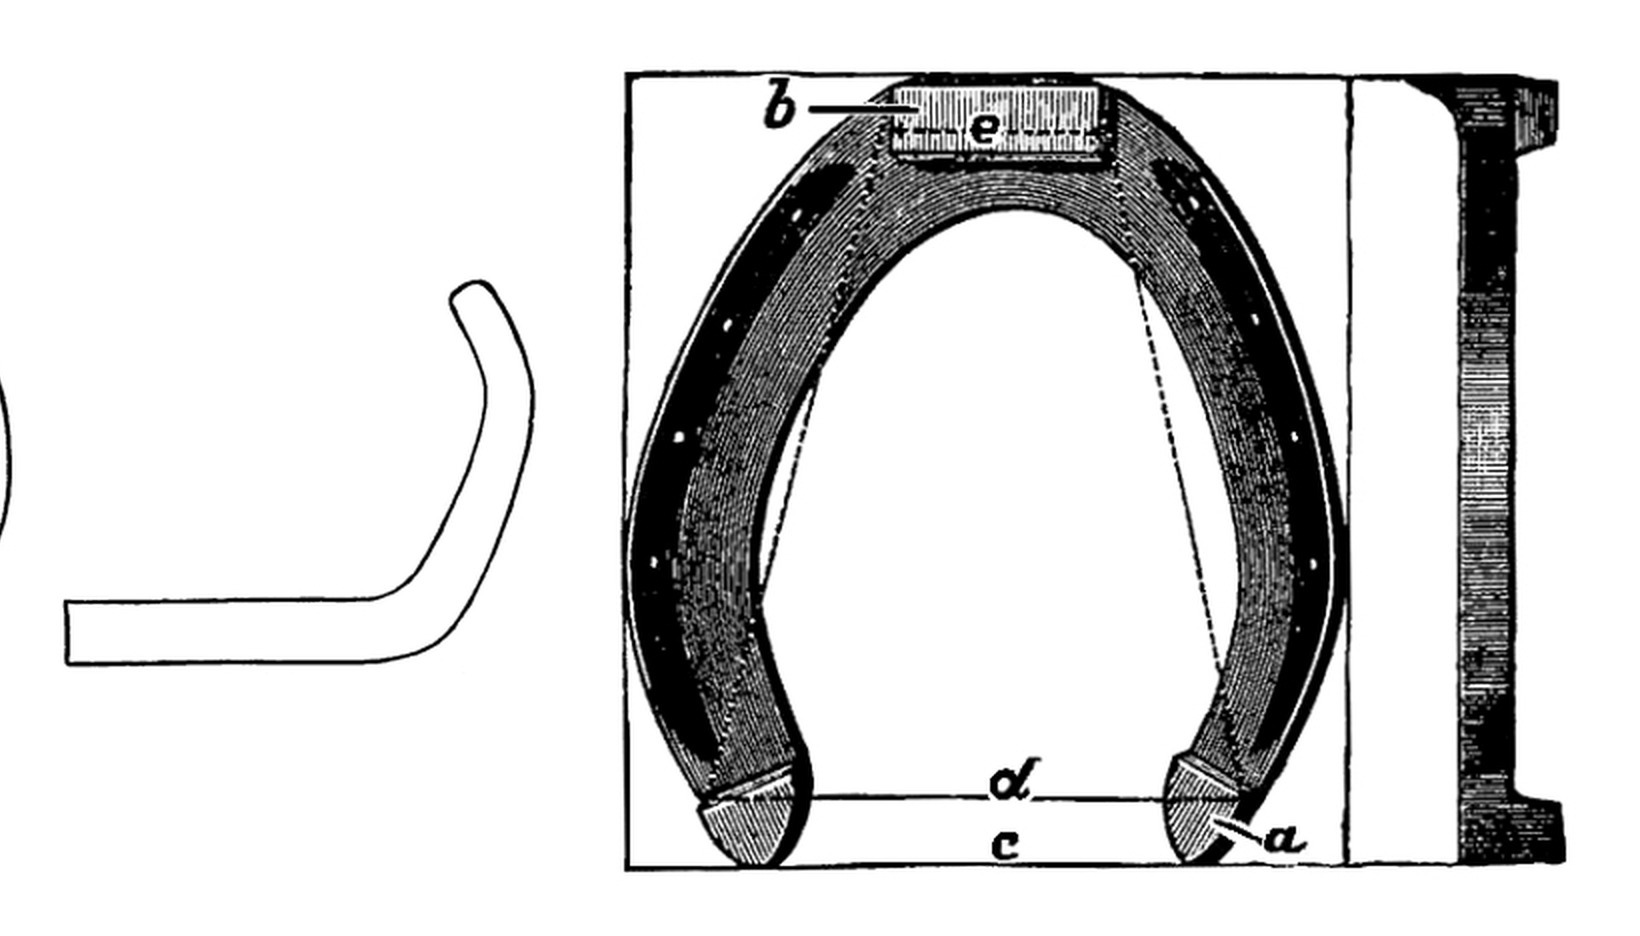


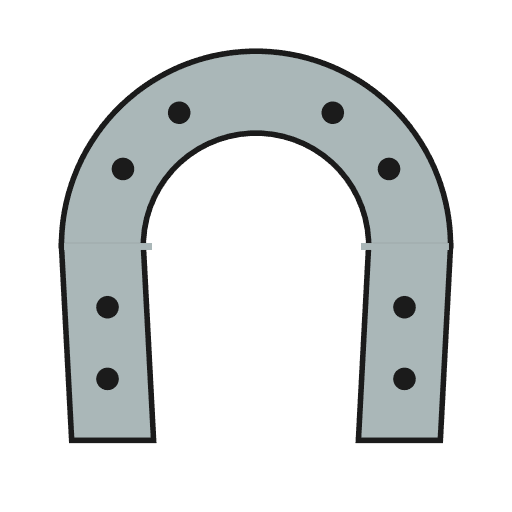
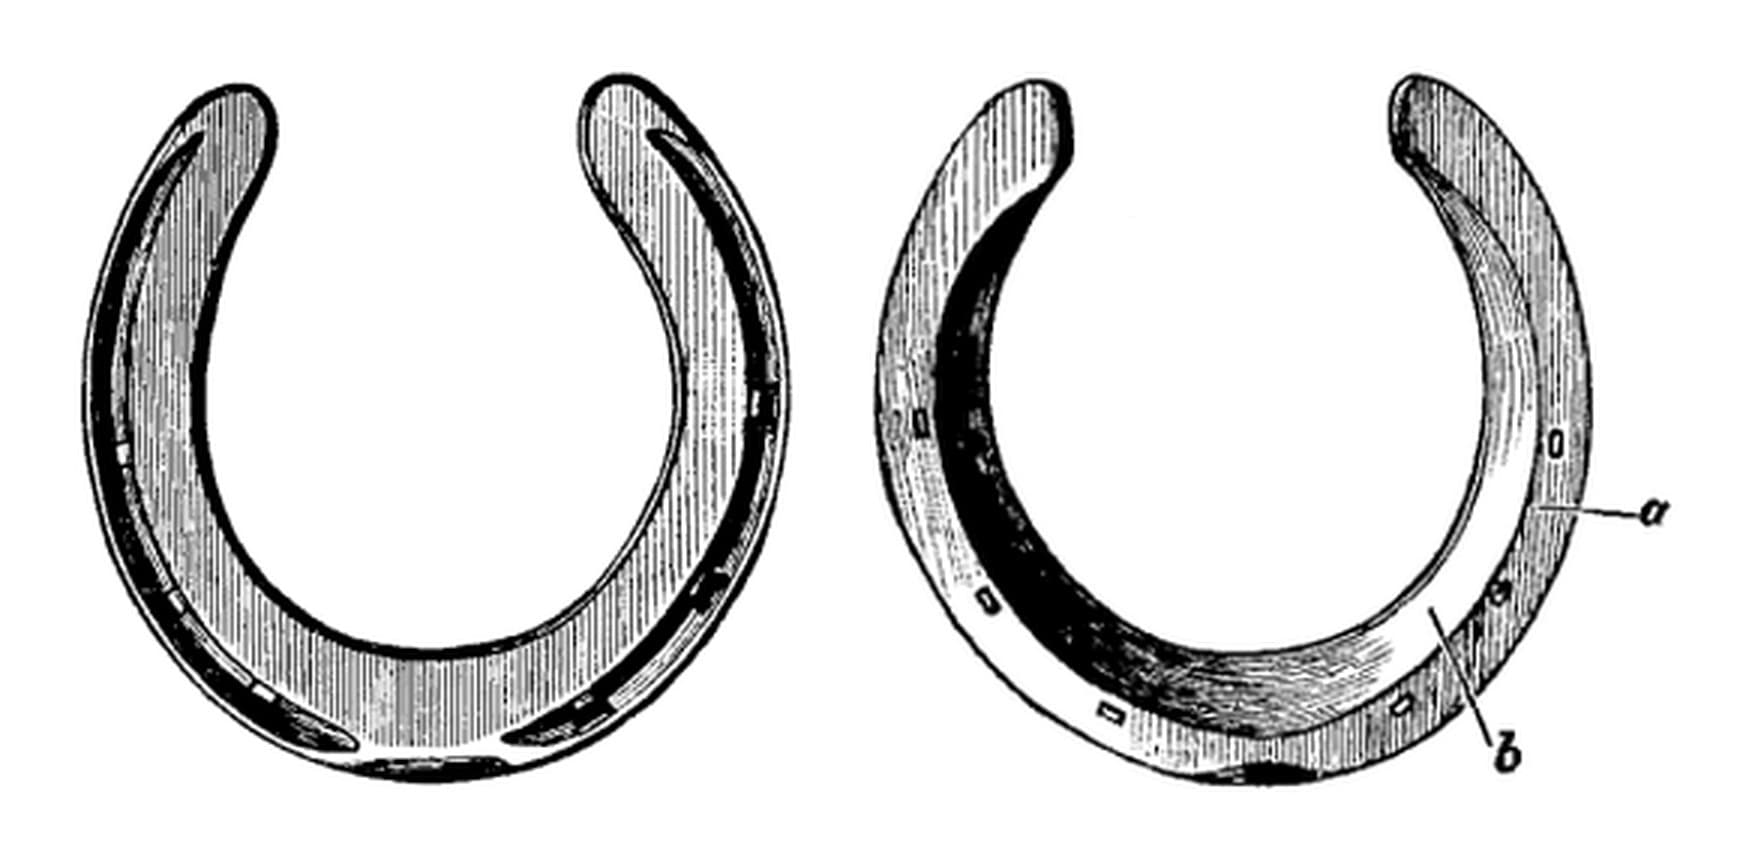
Hind Horseshoe: Round-Pointed Toe, No Seating, Nail Holes in the Front Two-Thirds (Lungwitz and Adams, Text-Book of Horseshoeing, 1913)
A flat hind horseshoe from Lungwitz and Adams, A Text-Book of Horseshoeing (1913). It is made "in like manner" as the front shoe, but the branches are bent to a different curve, giving a round-pointed toe, the hoof side is not concaved, and the nail holes run further back.
Fitting and nailing the shoe to the horse, calks and clips are not covered here.
Fortgeschritten
8-15 minutes a pair, once practised
Anweisungen
1
1
Bar length and sizes
Bar length and sizes
Jupyter-Notebook wird geladen …
2
2
Read Lungwitz and Adams
Read Lungwitz and Adams
"The hind shoe is made in like manner, but the branches are not bent in a circle but given that form shown in Fig. 106."
3
3
Measure and cut the bar
Measure and cut the bar
Measure the hoof from the point of the toe to the buttress and its greatest width; add them for the bar length. Trace the outline on stiff paper if you want to keep it. Cut the bar.
Materialien für diesen Schritt:
 Schmiedeeisenstange1 Stück
Benötigte Werkzeuge:
 Bandmaß (Rollmeter)
 Bleistift
 Schwere Papierbögen
 Schmiedeesse
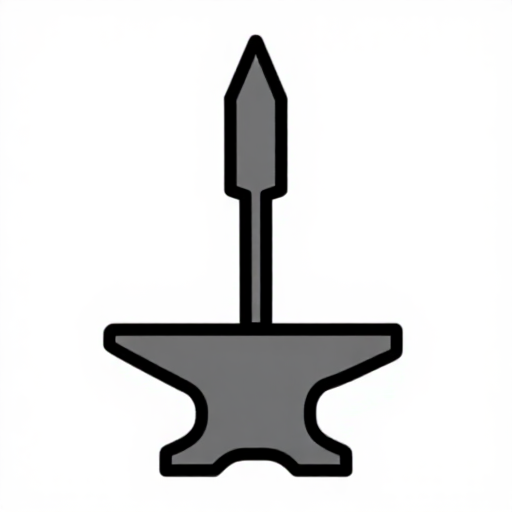 Abschrot
 Schmiedezange
4
4
Bend the outer branch to the hind curve
Bend the outer branch to the hind curve
Heat the bar white-hot just beyond its middle and bend it over the sledge head on the anvil face with the turning hammer, as for the front shoe, but bend the branch to the flatter, angled curve of his Fig. 106, not to a circle. The outer branch is made first, the right shoe first in a pair. Draw out the end with the sledge.
Benötigte Werkzeuge:
Schmiedeesse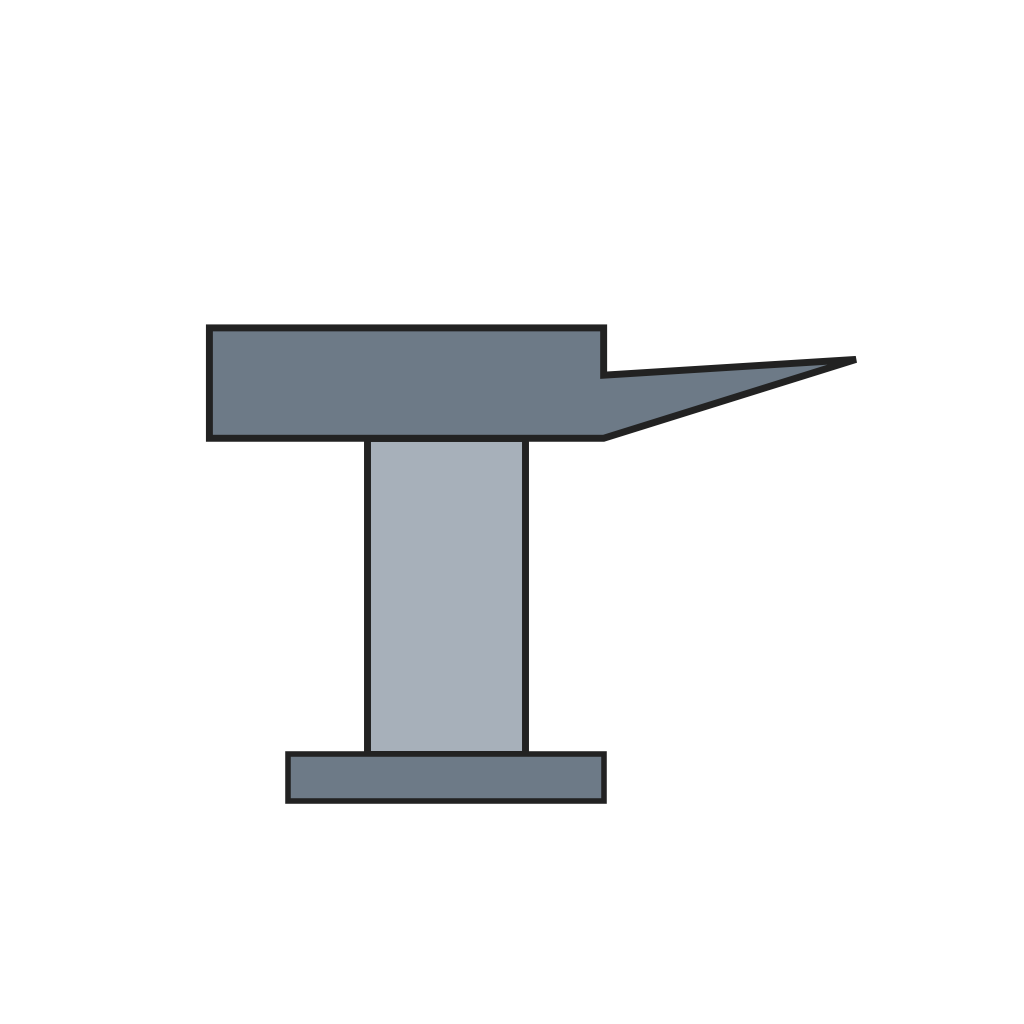 Schnabelamboss (Hornamboss)
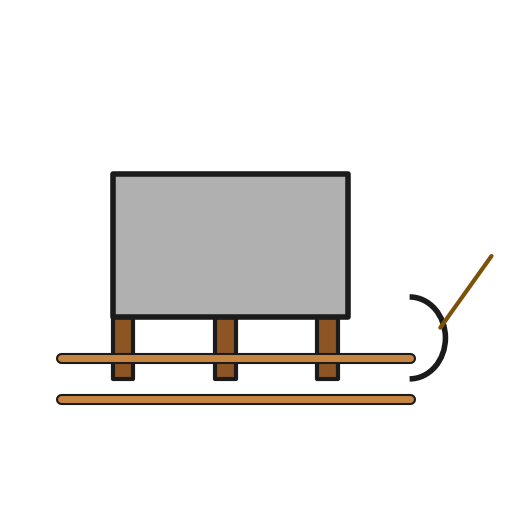 Schlitten
 RundhammerSchmiedezange
5
5
Bevel, flatten and shape
Bevel, flatten and shape
Bevel the branch on the horn, then flatten it. Bending the toe of a hind shoe backs up the inner edge and thins the outer, so hammer the shoe smooth and even. Shape it so the toe is round-pointed, "yet not too much so", as in his Fig. 116.
Benötigte Werkzeuge:
Schnabelamboss (Hornamboss)RundhammerSchmiedezange6
6
Round the inner edge and fuller
Round the inner edge and fuller
Concaving is not necessary: just round the inner edge of the web. Fuller the ground side as for the front shoe, to about two-thirds of the thickness.
Benötigte Werkzeuge:
Schnabelamboss (Hornamboss) Fuller (Ausbreitgesenk)SchlittenRundhammerSchmiedezange
7
7
Stamp the nail holes
Stamp the nail holes
Stamp and pritchel the nail holes in the front two-thirds of the shoe, none at the toe: usually one more than a front shoe, seldom more than eight. Set each as far from the outer edge as the wall is thick; on a hind hoof the wall is nearly as thick at the quarters as at the toe.
Benötigte Werkzeuge:
Schnabelamboss (Hornamboss) Warmlocheisen
 LochdornRundhammerSchmiedezange
8
8
Make the second branch and finish
Make the second branch and finish
Make the inner branch the same way, turned to the left. Go over the outer edge on the horn and hammer the bearing surface smooth and level. Rough it out in two heats if you can.
Benötigte Werkzeuge:
SchmiedeesseSchnabelamboss (Hornamboss)RundhammerFuller (Ausbreitgesenk)WarmlocheisenLochdornSchmiedezange9
9
Troubleshooting
Troubleshooting
Hind shoe troubleshooting.
Flow
Loading...
10
10
History and honest limits
History and honest limits
From **A Text-Book of Horseshoeing**, by A. Lungwitz and John W. Adams, 11th edition, J. B. Lippincott, 1913 (Project Gutenberg 66786), chapter III F. His Fig. 116 shows a hind shoe with toe- and heel-calks; the calks and the toe-clip are not made here, as this chapter gives no method for forging heel-calks or drawing clips. Fitting and nailing are not covered. The metric figures are ours.
Materialien
1- 1 StückPlatzhalter
Benötigte Werkzeuge
12- 1 vendor sell this, none ship to you yetPlatzhalter
- 1 vendor sell this, none ship to you yetPlatzhalter
- Platzhalter
- Platzhalter
- Platzhalter
- Platzhalter
- Platzhalter
- Platzhalter
- Platzhalter
- Platzhalter
- Platzhalter
- Platzhalter
Dieser Bauplan stellt her
Verwandte Blueprints
Diese Blueprints teilen Wissen — Techniken, Materialien oder Prinzipien
CC0 Gemeinfrei
Dieser Blueprint ist unter CC0 veröffentlicht. Sie dürfen dieses Werk für jeden Zweck frei kopieren, ändern, verbreiten und verwenden, ohne um Erlaubnis zu fragen.
Unterstützen Sie den Maker, indem Sie Produkte über seinen Blueprint kaufen, wo er eine Maker-Provision von Anbietern festgelegt, verdient. Oder erstellen Sie eine neue Iteration dieses Blueprints und verbinden Sie ihn in Ihrem eigenen Blueprint, um Einnahmen zu teilen.