

KUNST
SCHÖNHEIT & WELLNESS
HANDWERK
KULTUR & GESCHICHTE
UNTERHALTUNG
UMFELD
ESSEN & GETRÄNKE
GRÜNE ZUKUNFT
REVERSE ENGINEERING
WISSENSCHAFTEN
SPORT
TECHNOLOGIE
WEARABLES
Nalbinding a Wool Sock in the Oslo Stitch — The Looped Fabric Before Knitting
Tex

Erstellt von

Tex

2. Juli 2026FO
19
0
0
0
0

Nalbinding a Wool Sock in the Oslo Stitch — The Looped Fabric Before Knitting

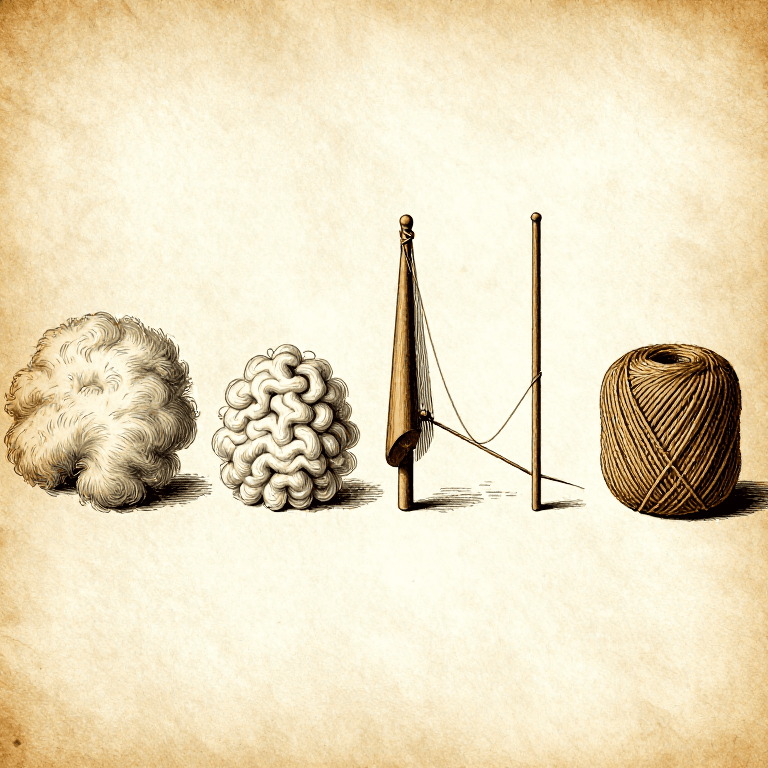
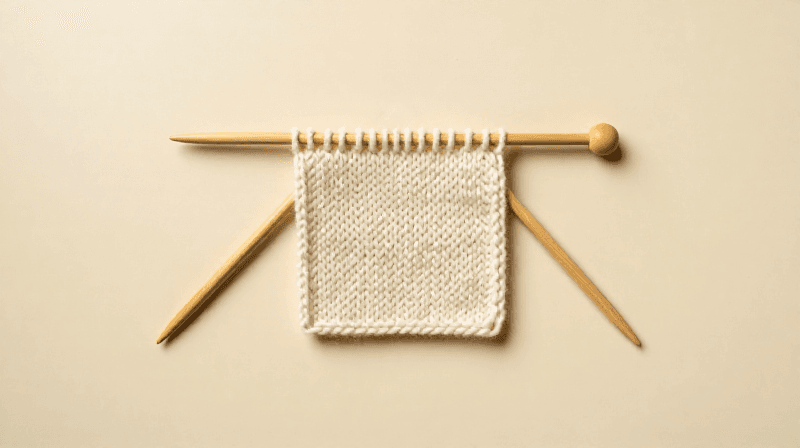
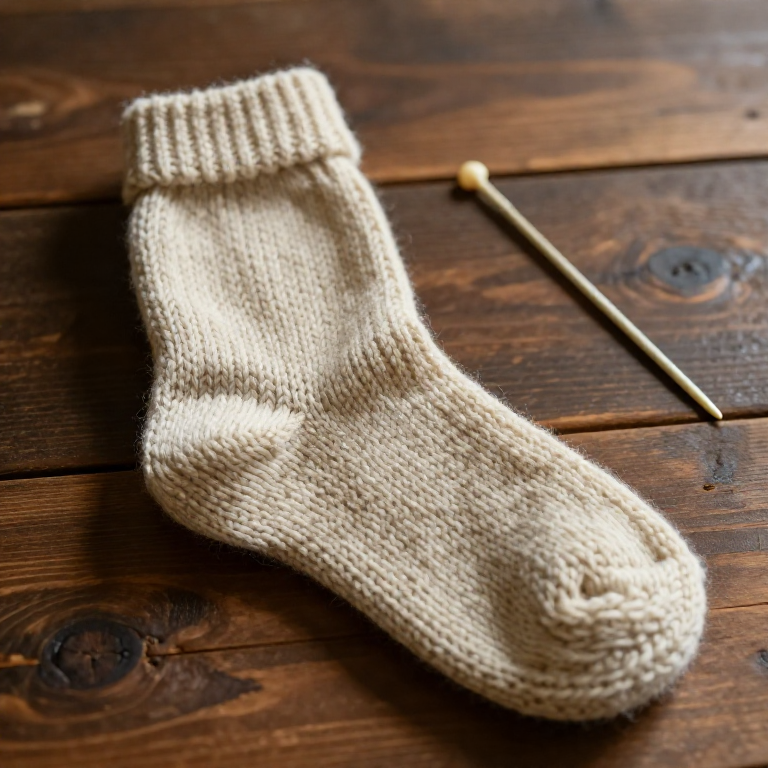
Long before knitting, people made warm, hard-wearing socks and mittens by nalbinding — looping short lengths of wool with a single flat needle. Unlike knitting, which pulls loops through loops with two rods and can unravel, nalbinding passes the whole working thread through each stitch, giving a dense, felt-firm fabric that will not run. This blueprint works the simple Oslo stitch into a tube for a sock or mitten, joining new wool with a felted splice rather than a knot — exactly as the Vikings did.
Fortgeschritten
4

Anweisungen

1

Cut a short working length

Cut about an arm's length of wool yarn — not a whole ball. In nalbinding the entire length is pulled through every stitch, so you work with short pieces and splice on more as needed.

Materialien für diesen Schritt:

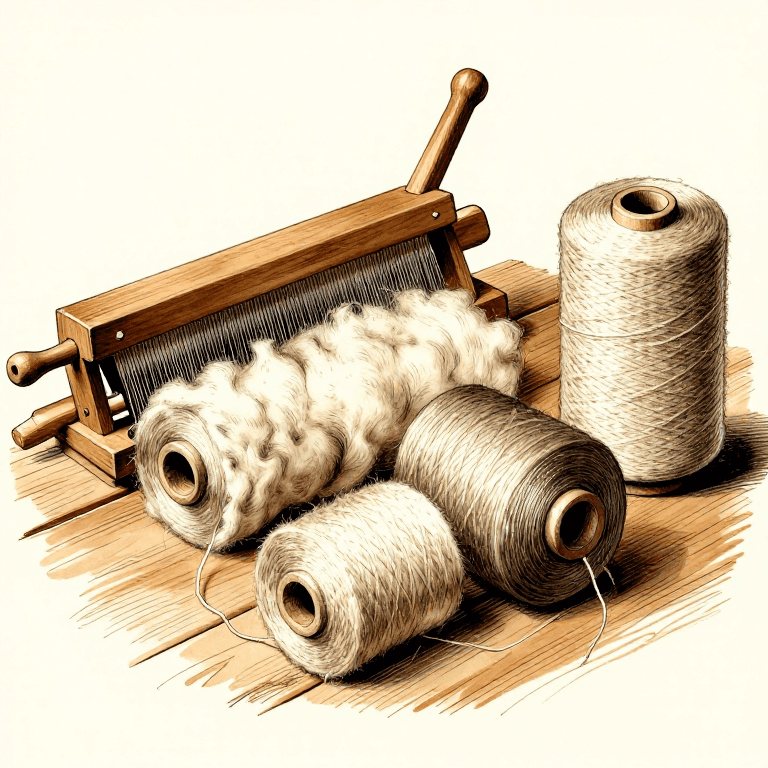
Wool Yarn Skein (Undyed)Wool Yarn Skein (Undyed)1 Stück

Benötigte Werkzeuge:

Sharp ScissorsSharp Scissors
2

Thread the flat needle

Thread the yarn through the eye of the flat nalbinding needle. The needle is broad, blunt and eyed at one end — bone, antler or wood — and never has a hook.

Benötigte Werkzeuge:

Nalbinding NeedleNalbinding Needle
3

Make the foundation loops

Loop the yarn around your thumb and make a short chain of starting loops. These foundation loops are the base row that every following stitch will anchor into.

Benötigte Werkzeuge:

Nalbinding NeedleNalbinding Needle
4

Work the Oslo stitch

Pass the needle under the thumb loop and up through the working loop to form the Oslo stitch — the simplest nalbinding stitch. Draw each stitch snug and even, building the first row.

Benötigte Werkzeuge:

Nalbinding NeedleNalbinding Needle
5

Join into a round

For a sock or mitten, connect the ends of the first row into a ring by stitching the last stitch into the first, so you can then work round and round to form a tube.

Benötigte Werkzeuge:

Nalbinding NeedleNalbinding Needle
6

Work in a spiral

Continue in a spiral, anchoring each new Oslo stitch into the loop of the row below. Keep the tension steady so the tube grows even in width — this becomes the leg of the sock.

Benötigte Werkzeuge:

Nalbinding NeedleNalbinding Needle
7

Splice in new yarn

When the length runs short, join a new piece with a felted splice, not a knot: untwist and overlap the two wool ends, wet them, and roll them briskly between your palms until the fibres felt into one continuous thread.

Materialien für diesen Schritt:

Wool Yarn Skein (Undyed)Wool Yarn Skein (Undyed)1 Stück

Benötigte Werkzeuge:

Nalbinding NeedleNalbinding Needle
8

Shape the tube

Increase by working two stitches into one loop and decrease by skipping a loop, shaping the tube — narrowing for an ankle, turning a heel, or rounding a mitten — as the piece requires.

Benötigte Werkzeuge:

Nalbinding NeedleNalbinding Needle
9

Close the toe

At the end, decrease steadily until only a few loops remain, then pass the needle through them and draw them tight to close the toe or mitten tip.

Benötigte Werkzeuge:

Nalbinding NeedleNalbinding Needle
10

Secure and trim the tail

Weave the final yarn tail back through several stitches on the inside to lock it, then trim it flush. Because the fabric is looped, not knitted, it cannot unravel from the cut end.

Benötigte Werkzeuge:

Nalbinding NeedleNalbinding Needle
Sharp ScissorsSharp Scissors

Materialien

1

Benötigte Werkzeuge

2

Materialien verbundener Blueprints

CC0 Gemeinfrei

Dieser Blueprint ist unter CC0 veröffentlicht. Sie dürfen dieses Werk für jeden Zweck frei kopieren, ändern, verbreiten und verwenden, ohne um Erlaubnis zu fragen.

Unterstützen Sie den Maker, indem Sie Produkte über seinen Blueprint kaufen, wo er eine Maker-Provision von Anbietern festgelegt, verdient. Oder erstellen Sie eine neue Iteration dieses Blueprints und verbinden Sie ihn in Ihrem eigenen Blueprint, um Einnahmen zu teilen.

Diskussion

(0)

Anmelden um an der Diskussion teilzunehmen

Kommentare werden geladen...