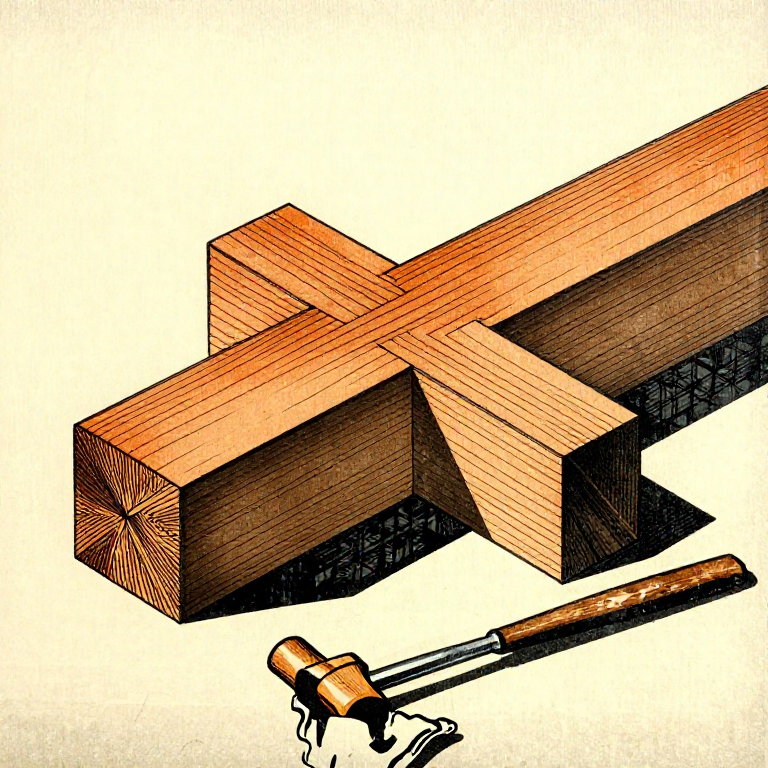
Cutting a Mortise-and-Tenon Timber Joint — Medieval Joinery
Anweisungen
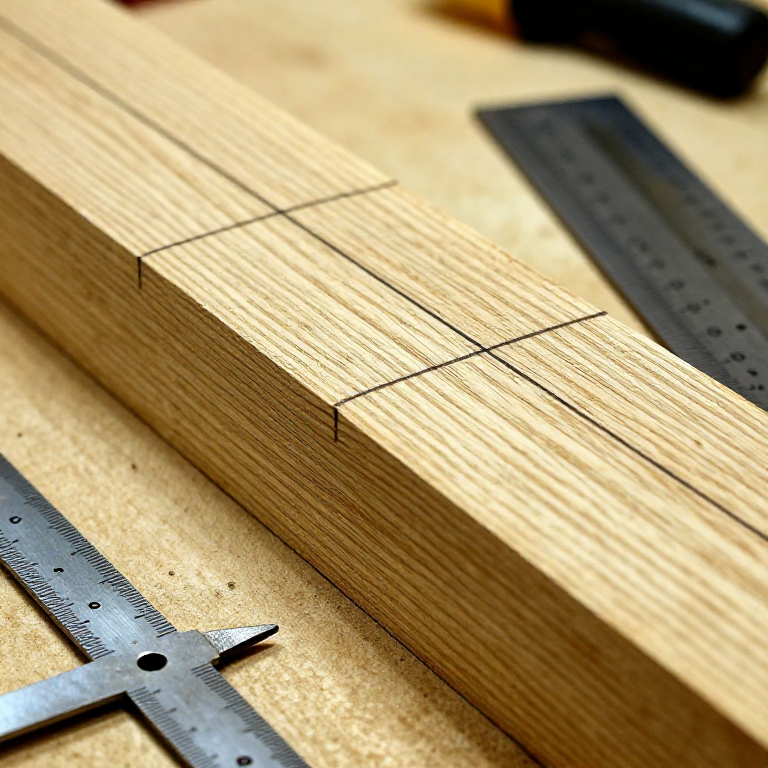
Mark Out the Mortise and Tenon
Mark Out the Mortise and Tenon
The mortise and tenon must be marked to matching dimensions. The tenon width should be approximately one-third the thickness of the timber it is cut from — this is the traditional proportion that provides the best balance of joint strength and wood remaining around the mortise. Set a marking gauge to the tenon width and scribe parallel lines on both the mortise timber (marking the slot position) and the tenon timber (marking the shoulder lines and tenon width) on all relevant faces. Use a try square to mark the shoulder lines on the tenon piece — these must be perfectly square to ensure the joint seats flush. Mark the mortise length on its timber — it should match the tenon width exactly. Medieval carpenters marked their joints with Roman numeral assembly marks (marriage marks) so each joint pair could be identified during the raising of the frame.
Materialien für diesen Schritt:
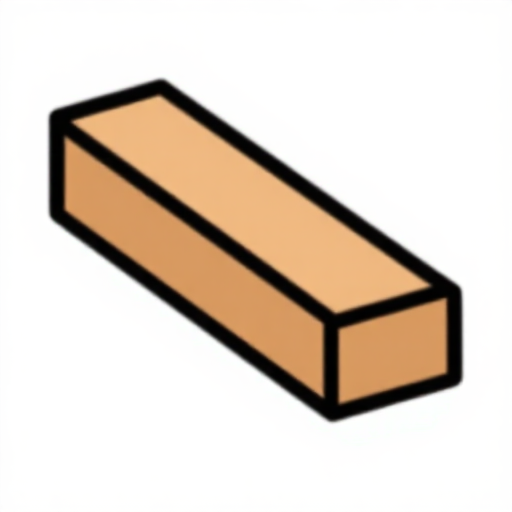
 Oak Hardwood Plywoodas needed for project Stück
 Hardwood Dowel Rods 1/4"1-2 per joint Stück
Benötigte Werkzeuge:
 Iron Chisel
 Tenon saw (backsaw)
 Marking Gauge
 Try Square
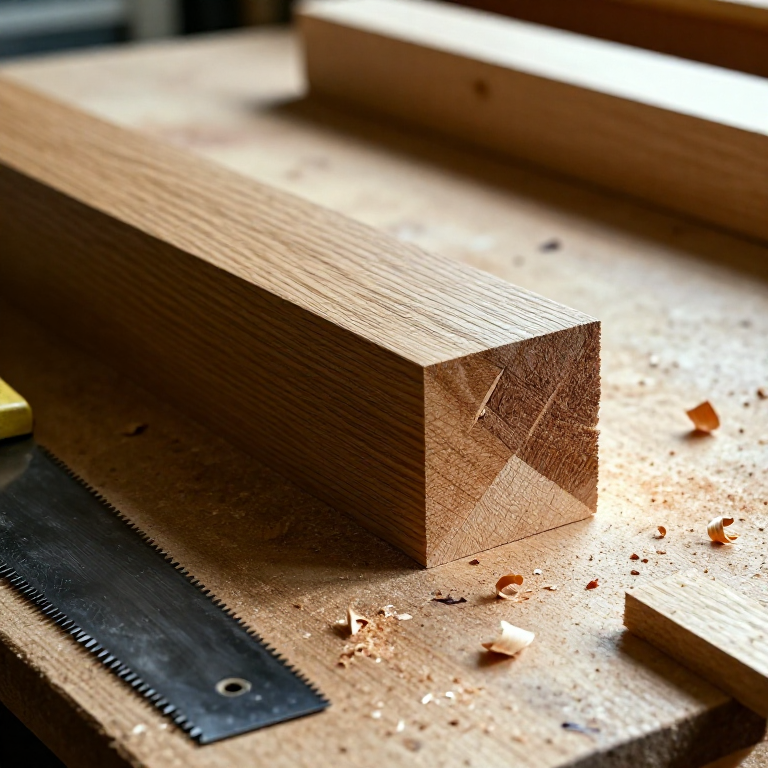
Chop the Mortise
Chop the Mortise
Clamp the mortise timber securely. Begin chopping the mortise from the centre of the marked area, working outward toward each end. Drive the mortise chisel vertically with the mallet, levering out the waste chips between strokes. Work from both faces of the timber if cutting a through-mortise (one that passes completely through the timber), meeting in the middle to prevent blowout on the exit face. Keep the chisel perpendicular to the timber face and the mortise walls straight and clean. Do not chop right to the marked end lines initially — leave 2 to 3 mm and pare to the final dimension with careful, controlled chisel cuts. The mortise walls must be flat and parallel for the tenon to seat properly. A well-cut mortise should have clean, square corners and flat walls with no ragged chisel marks.
Cut the Tenon
Cut the Tenon
Clamp the tenon timber vertically in a vice or against a bench stop. Using a tenon saw, cut along the shoulder lines down to the depth lines, removing the waste on both sides of the tenon (the cheek cuts). Then cut along the depth lines (the shoulder cuts) from each face to meet the cheek cuts, removing the waste and leaving the projecting tenon. Test-fit the tenon in the mortise — it should slide in with moderate hand pressure. If too tight, pare the tenon cheeks with a sharp chisel, removing thin shavings until the fit is snug. If too loose, the joint will be weak. A well-fitted mortise-and-tenon should require a few taps with a mallet to seat fully but should not need heavy driving that could split the mortise timber.
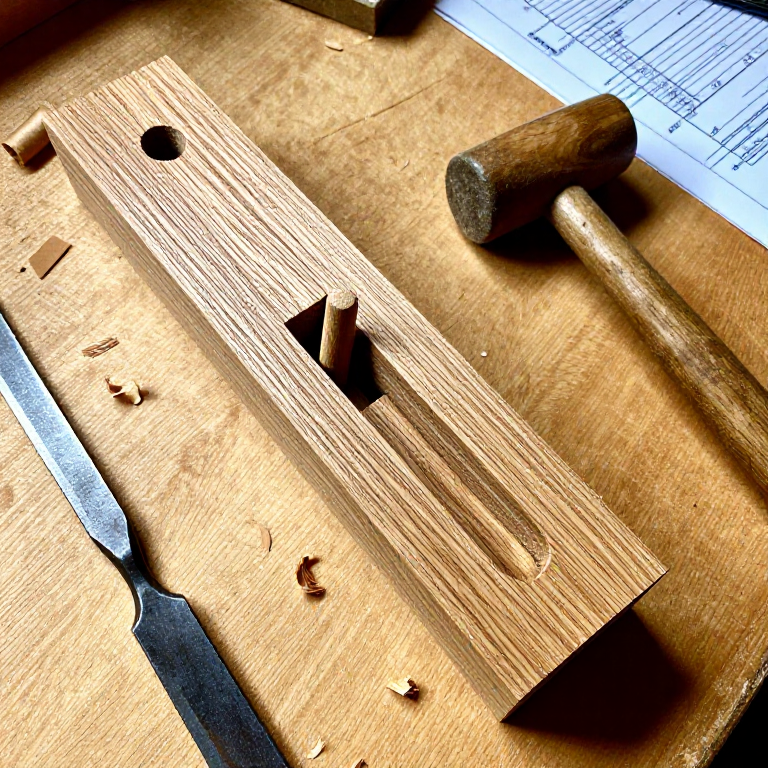
Drill and Drawbore the Peg Holes
Drill and Drawbore the Peg Holes
With the joint assembled dry (without glue), drill a hole through the mortise timber and through the tenon using a brace and bit. The hole should pass through the centre of the tenon's width. For maximum strength, medieval carpenters used a technique called drawboring: after drilling through the assembled joint, they disassembled it and re-drilled the tenon's hole offset by 2 to 3 mm closer to the tenon shoulder. When the tapered peg is driven through the aligned mortise holes and the offset tenon hole, it pulls the tenon tight into the mortise, creating a permanently tightened joint with no play. The hole diameter should match the peg diameter (typically 12 to 20 mm for structural timbers). Using green (unseasoned) wood for the peg in a dry timber adds additional tightening as the peg dries and shrinks radially while expanding slightly in length.
Drive the Peg and Finish
Drive the Peg and Finish
Reassemble the joint fully, ensuring the shoulders seat flush. Taper one end of the hardwood peg slightly to ease entry. Drive the peg through the holes with a mallet. If the holes were drawbored, the peg will pull the tenon progressively tighter as it passes through the offset tenon hole. The peg should protrude slightly on the exit side — trim it flush with a saw and chisel. The completed joint should be tight with no visible gaps at the shoulders. A properly cut and pegged mortise-and-tenon joint will last for centuries — medieval timber-frame buildings across Europe have survived 500 to 800 years with their original joints intact, demonstrating the extraordinary structural integrity of this simple but effective connection.
Materialien
2- as needed for project StückPlatzhalter
- 1-2 per joint StückPlatzhalter
Benötigte Werkzeuge
6- Platzhalter
- Platzhalter
- Platzhalter
- Platzhalter
Required Equipment
Equipment this kind of build typically needs — buy from any maker below.
- CriticalHand Saw·
 Portable Band Saw
 Track-Mounted Chain Saw Quarry Cutter
 Band Saw (9-inch, Benchtop)
 Miter Box with Saw
 Small Hand Saw
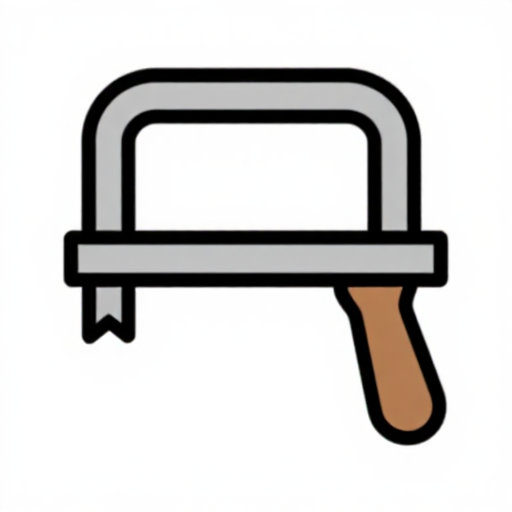 Jeweler's Saw
 - CriticalTape Measure·
 Barrier Tape
 Bias Tape
 Finish Line Tape Dispenser
 Measuring Tape 3m
 Plumber's Tape (PTFE)
 Measuring Tape (30m)
 - RecommendedChisel·
 Thin Flat Chisel (10mm)
 Cold Chisel (flat, 25mm)
 Copper Chisel
 Cold Chisel (pointed)
 Chisel Set (Wood)
 Steel Chisel
 - RecommendedClamps·
 Injection Mold Clamp Kit
 Parallel Clamp
 Wheel Loader with Marble Clamp
 C-Clamp
 Utility Clamp (Burette/Flask)
 Toggle Clamp Set (4 Types)
 - RecommendedDust Mask / Respirator·
 Full-Face Gas Mask (ABEK multi-gas cartridge)
 Dust Mask
 Venetian Mask Blank (Papier-Mache)
 Full-Face Respirator
 Respirator Fit Test Kit
 Respirator with Acid Gas Cartridge
 - RecommendedSafety Glasses·
 Safety Sign (Caution/Warning)
 Splash-Proof Safety Goggles
 Reflective Safety Vest Kit (DIY)
 Chemical Splash Goggles
 Safety Netting for Rockfall
 Steel-Toed Safety Boots
 - RecommendedSandpaper·
 Sandpaper (120 Grit)
 Sandpaper (1000 Grit)
 Sandpaper (80 Grit)
 Wet/Dry Sandpaper Pack (400-3000 Grit)
 Sandpaper 220 Grit (Fine)
 Sandpaper (320 Grit)
 - RecommendedWork Gloves·
 Boxing Gloves (Training)
 Leather Gauntlet Gloves
 Cotton Gloves
 Welding Gloves
 Heavy-Duty Gloves
 Leather Work Gloves
 - OptionalFire Extinguisher·
 ABC Fire Extinguisher
 Fire Extinguisher
 - OptionalFirst Aid Kit·
 First Aid Kit
 Mountain First Aid Kit (Altitude)
 Workshop First Aid Kit
 Bow Release Aid
You can swap these in
Can't get one of the materials? Swap it for an equivalent — these work just as well.
- Instead of Drill Press, try:
 Cloth Screw Press
 - Instead of Oak Hardwood Plywood, try:
 Baltic Birch Plywood (1/8 inch, 12x12, 10-Pack)
 Bendable Plywood (Wiggle Board)
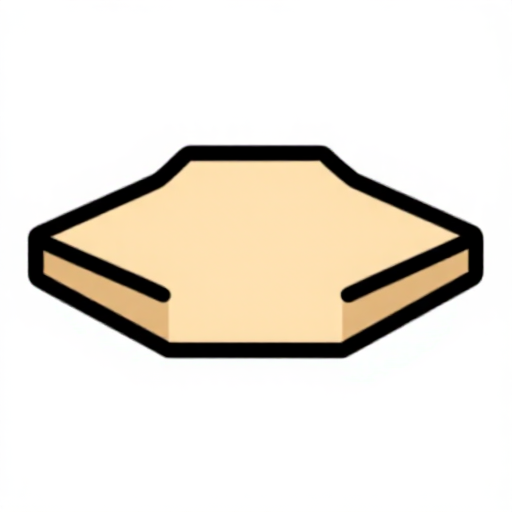 CDX Softwood Plywood
 Fire-Rated Plywood
 - Instead of Hand Saw, try: Portable Band SawBand Saw (9-inch, Benchtop)
- Instead of Try Square, try:
 Machinist Square
 Speed Square
 - Instead of Marking Gauge, try:
 Stainless Steel 316 Sheet 16 Gauge
 Sterling Silver Wire 925 20 Gauge
 Wire Tension Monitoring Gauge
Recommended for this build
Products makers often use with builds like this one.
 Douglas Fir Timber BeamUsed together and in similar builds
 Hardwood BlockFrequently used with this build's materials
 Japanese Pull Saw (Ryoba)Used in similar builds
 Hardwood AshUsed together and in similar builds
 AwlUsed together and in similar builds
 Iron NailsFrequently used with this build's materials
 Sharp KnifeFrequently used with this build's materials
 Hemp CordFrequently used with this build's materials
Related blueprints
Other builds that share materials, tools, or techniques with this one.

CC0 Gemeinfrei
Dieser Blueprint ist unter CC0 veröffentlicht. Sie dürfen dieses Werk für jeden Zweck frei kopieren, ändern, verbreiten und verwenden, ohne um Erlaubnis zu fragen.
Unterstützen Sie den Maker, indem Sie Produkte über seinen Blueprint kaufen, wo er eine Maker-Provision von Anbietern festgelegt, verdient. Oder erstellen Sie eine neue Iteration dieses Blueprints und verbinden Sie ihn in Ihrem eigenen Blueprint, um Einnahmen zu teilen.