
Zusammenarbeit
KUNST
SCHÖNHEIT & WELLNESS
HANDWERK
KULTUR & GESCHICHTE
UNTERHALTUNG
UMFELD
ESSEN & GETRÄNKE
REVERSE ENGINEERING
WISSENSCHAFTEN
SPORT
TECHNOLOGIE
WEARABLES
Woven-Reed Footstool: Nailed Dowel Frame, Wound Posts, Woven Top and Pairing-Weave Apron (Boy Mechanic, 1919)
Tex

Erstellt von

Tex

14. November 2026FO
1
0
0
0
0

Woven-Reed Footstool: Nailed Dowel Frame, Wound Posts, Woven Top and Pairing-Weave Apron (Boy Mechanic, 1919)

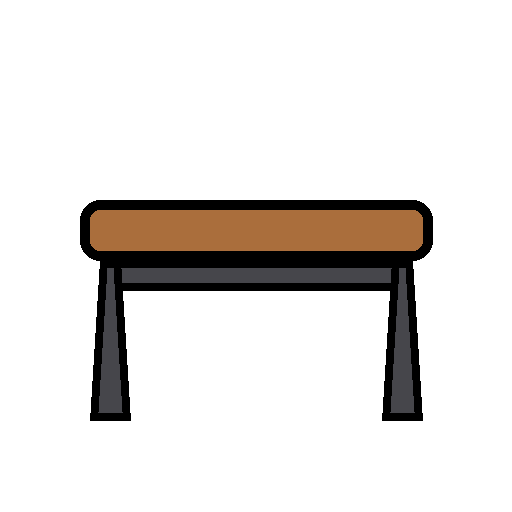
Charles M. Miller's reed footstool from The Boy Mechanic, Book 3 (1919): a frame of 3/4 in dowel rails and posts with crossed 5/8 in braces, nailed through drilled holes, the posts and rails wound with flat reed, the top woven over No. 4 spokes and the apron in pairing weave, finished with a broken-down roll.
Fortgeschritten
About 2 days

Anweisungen

1

Cut list

Jupyter-Notebook wird geladen …
2

Read The Boy Mechanic, Book 3

"Each piece of reed furniture has a framework, usually of dowels." The reed sizes are those of his reed basket (Boy Mechanic, Book 2).
3

Cut and drill the frame

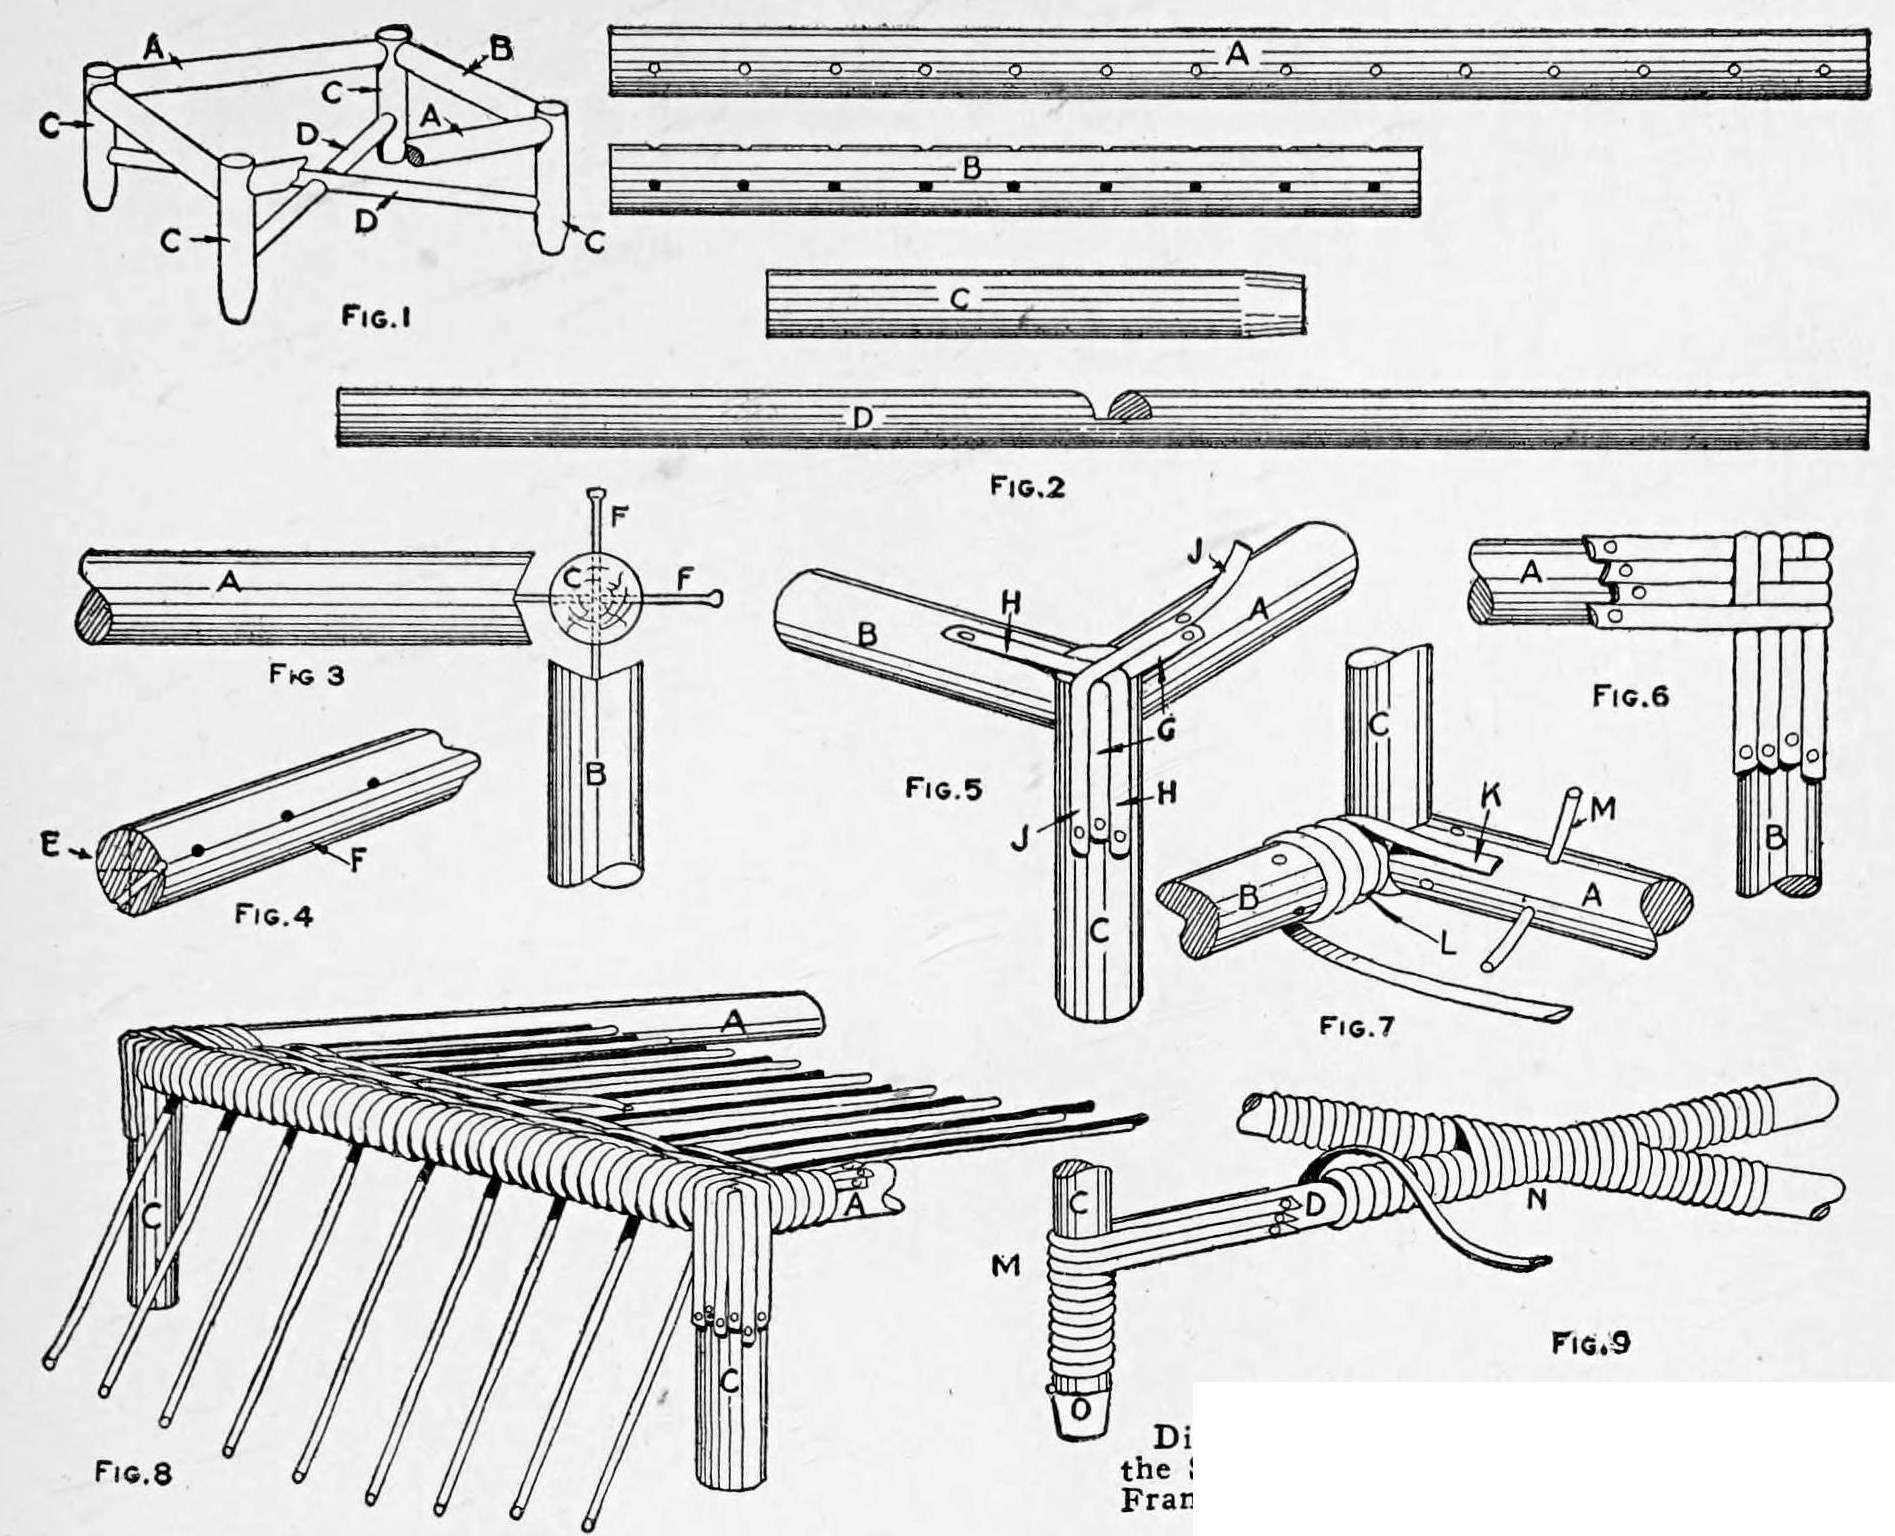
Cut two side rails 3/4 by 14 in, two end rails 3/4 by 9 in, four posts 3/4 by 7 in and two braces 5/8 by 17 in (trimmed to fit later). Notch the rail and brace ends with a coping saw to seat on the posts. Before assembly drill the spoke holes, 1/8 in for No. 4 reed, combining the top and end-side spoke holes as in Fig. 4 and drilling the side-rail holes straight (Fig. 2).

Materialien für diesen Schritt:

HolzdübelstangeHolzdübelstange4 Stück

Benötigte Werkzeuge:

Laubsäge (Schweifsäge)Laubsäge (Schweifsäge)
HandbohrerHandbohrer
BleistiftBleistift
Bandmaß (Rollmeter)Bandmaß (Rollmeter)
4

Nail the frame

Run the posts to the top of the frame and nail through them into the rail ends with ordinary 4-penny nails, drilling 1/16 in holes first. Set the side rails about 1/16 in below the post tops. Halve the braces at the centre on a slant so their tops lie level, try them, and nail them without pulling the frame out of square (Fig. 1).

Materialien für diesen Schritt:

NägelNägel1 Stück

Benötigte Werkzeuge:

HandbohrerHandbohrer

HammerHammer
Laubsäge (Schweifsäge)Laubsäge (Schweifsäge)
5

Wind the posts and end rails

Cover the post tops with short pieces of winding reed tacked on with shoemaker's tacks, crossing in turn (Figs. 5, 6). Wind the end rails, marking each hole with pencil as the winding passes it; then open each hole through the winding with a bodkin (Fig. 7).

Materialien für diesen Schritt:

Gespaltenes RohrGespaltenes Rohr1 Stück
ZwickstifteZwickstifte1 Stück

Benötigte Werkzeuge:

HammerHammer

AhleAhle
BleistiftBleistift
6

Weave the top

Put the 32 in No. 4 spokes through one end rail, down and out at the ends. Weave with a single No. 3 weaver, and after 3/4 in add a short extra spoke beside each spoke, weaving the pair as one; wind the weaver twice round the side rail each time. Insert the spokes in the other end rail before the weaving is within 2 or 3 in of it (Fig. 8).

Materialien für diesen Schritt:

RattanRattan1 Stück

Benötigte Werkzeuge:

SchereSchere
20-Liter-Eimer20-Liter-Eimer
SchwammSchwamm
7

Wind braces and posts, weave the apron

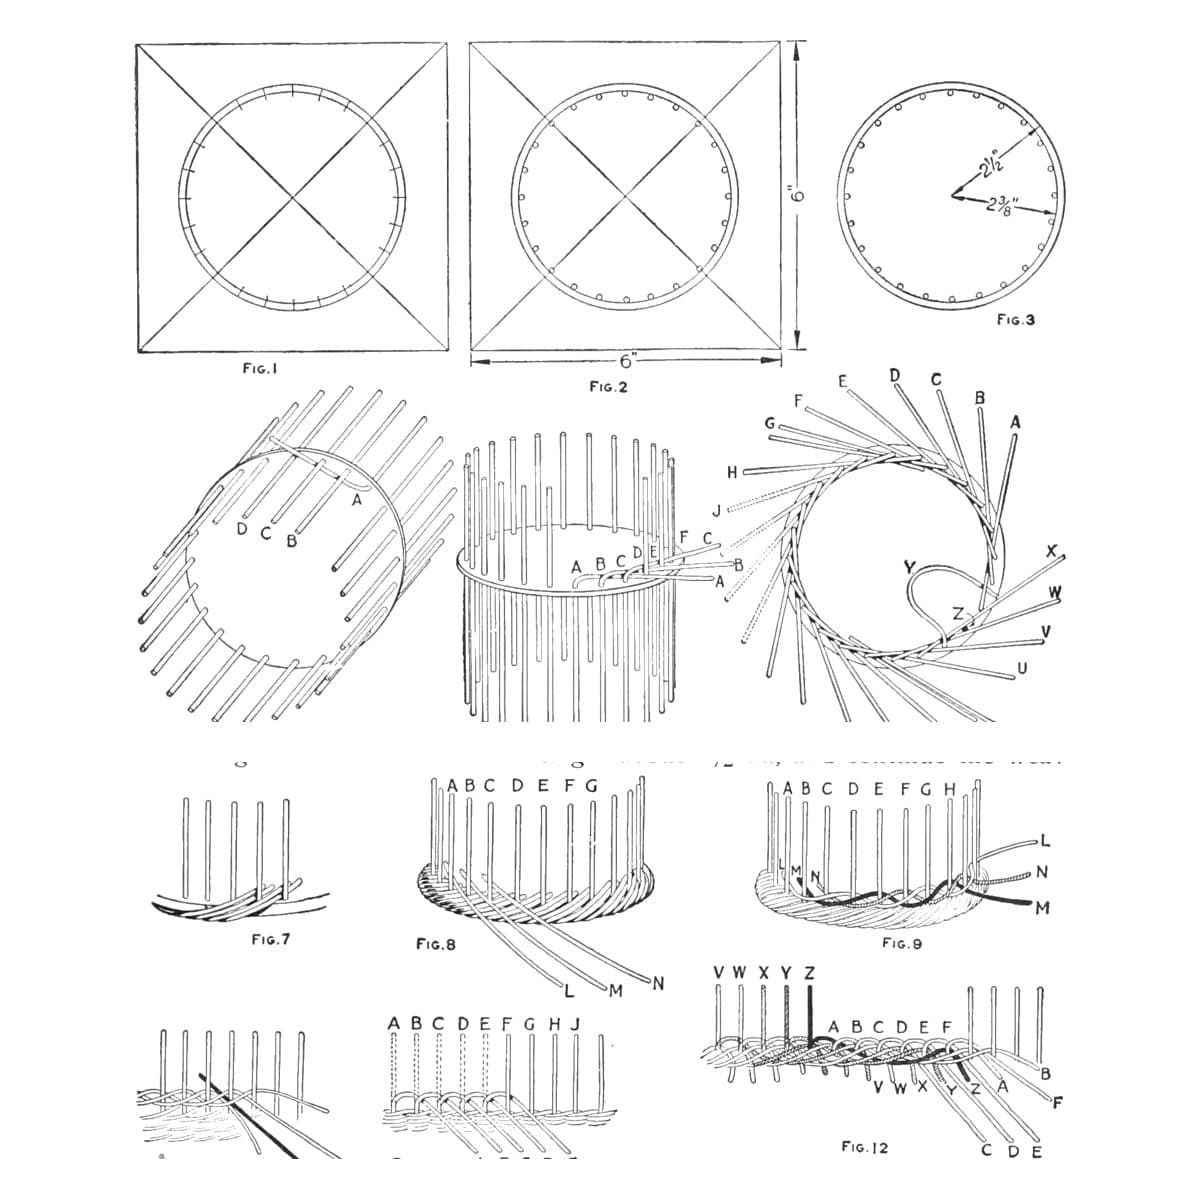
Wind the braces and posts, three strips round the post and tacked where each brace meets it, and both braces together where they cross (Fig. 9); finish the posts with brass caps or wind to within 1/8 in of the bottom. With the stool upside down, insert short spokes in the under side of the side rails and weave the apron in pairing weave, always passing one weaver twice round each post (Figs. 10-12). Cut the extra spokes even and break down the spokes into a roll, tucking the ends inside (Figs. 13-15). Singe off stray fibres carefully with a gas flame or blowtorch.

Materialien für diesen Schritt:

Gespaltenes RohrGespaltenes Rohr1 Stück
RattanRattan1 Stück
ZwickstifteZwickstifte1 Stück

Benötigte Werkzeuge:

SchereSchere
PropanbrennerPropanbrenner
SchwammSchwamm
20-Liter-Eimer20-Liter-Eimer
8

Troubleshooting

Reed weaving troubleshooting.

Flow

Loading...
9

History and honest limits

From "A Woven-Reed Footstool" by Charles M. Miller, in **The Boy Mechanic, Book 3**, Popular Mechanics, 1919 (Project Gutenberg 71856; checked on the archive.org scan boymechanic0003unse, pp. 255-258). Fig. 2 shows the hole positions without figures, and he mentions an optional chloride-of-lime bleach that we leave out. The tools and metric figures are ours.

Materialien

5

Benötigte Werkzeuge

10

Dieser Bauplan stellt her

Verwandte Blueprints

Diese Blueprints teilen Wissen — Techniken, Materialien oder Prinzipien
CC0 Gemeinfrei

Dieser Blueprint ist unter CC0 veröffentlicht. Sie dürfen dieses Werk für jeden Zweck frei kopieren, ändern, verbreiten und verwenden, ohne um Erlaubnis zu fragen.

Unterstützen Sie den Maker, indem Sie Produkte über seinen Blueprint kaufen, wo er eine Maker-Provision von Anbietern festgelegt, verdient. Oder erstellen Sie eine neue Iteration dieses Blueprints und verbinden Sie ihn in Ihrem eigenen Blueprint, um Einnahmen zu teilen.

Diskussion

(0)

Anmelden um an der Diskussion teilzunehmen

Kommentare werden geladen...