KUNST
SCHÖNHEIT & WELLNESS
HANDWERK
KULTUR & GESCHICHTE
UNTERHALTUNG
UMFELD
ESSEN & GETRÄNKE
REVERSE ENGINEERING
WISSENSCHAFTEN
SPORT
TECHNOLOGIE
WEARABLES
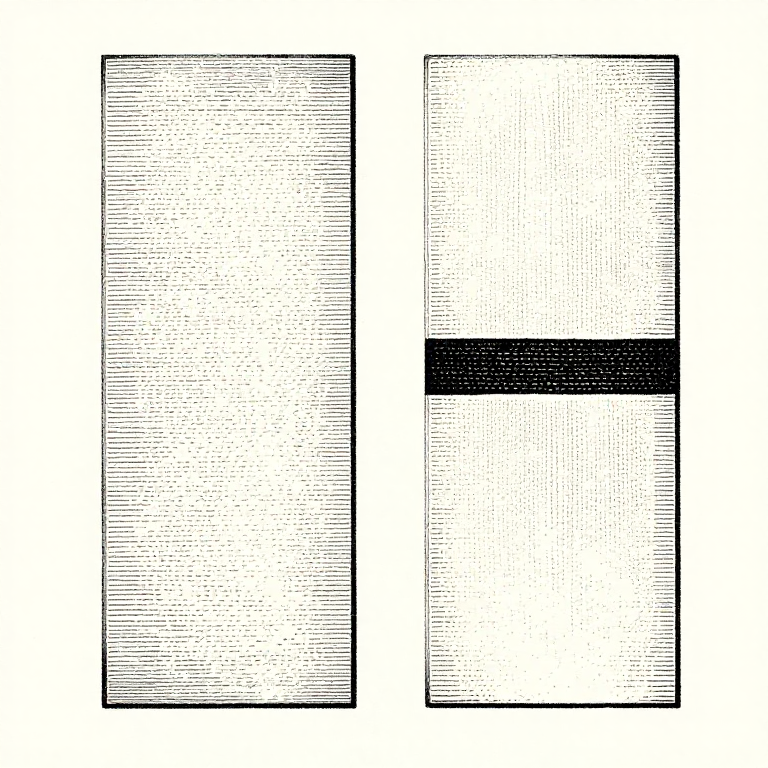


Penetration and Fusion: A Weld That Sits on Top Is Not a Weld
Welding joins metal by melting both parts so that one pool forms across the joint and freezes as a single grain structure. If only the filler melts and the parent metal merely gets hot, the result is a bead stuck on the surface — it looks like a weld, takes paint like a weld, and comes off under load.
This is the fault that kills people, because it is invisible from outside. The bead can be beautifully rippled and hold nothing.
This rung is about the difference between fusion and adhesion, what controls how deep the pool reaches, and how to prove penetration on a test piece before trusting it on a real one.
Fortgeschritten
3 hours
Anweisungen
1
1
Fusion means one pool, not two surfaces touching
Fusion means one pool, not two surfaces touching
In a fused joint the parent metal at the joint face has melted and mixed with the filler, so the boundary between them disappears — cut and etch the section and you see one continuous grain structure crossing where the joint used to be.
In a joint with lack of fusion the filler froze against a solid face. There is a sharp line there, and it is a crack by another name: zero thickness, ready-made, exactly where the stress is highest.
Brazing and soldering are adhesion on purpose — the filler wets the parent metal and the parent metal never melts — and they are perfectly sound joints because they are designed as such, with large overlapping areas and a filler chosen to wet that metal. The failure here is a joint designed for fusion that only achieved adhesion.
Materialien für diesen Schritt:
 Baustahlplatte2 Stück
Benötigte Werkzeuge:
 Einschlaglupe
 Bügelsäge (Metallsäge)
 Feilensatz
2
2
What actually controls the depth
What actually controls the depth
In rough order of how much difference each one makes:
**Current.** The strongest control by far. Penetration rises with current roughly in proportion. If the root is not fusing, this is the first dial.
**Electrode type.** A deep-penetration rod such as E6010/E6011 has a cellulose coating whose gas blast digs into the plate; E6013 has a rutile coating that runs a softer arc with a much shallower bite. Changing from an E6013 to an E6011 at the same current changes penetration more than any adjustment of hand.
**Arc length.** A short arc concentrates the heat and digs; a long arc spreads it and rides on the surface.
**Travel speed.** Slower is deeper — up to a point. Go too slow and the pool runs ahead of the arc, so the arc is heating liquid metal instead of the plate and the penetration goes down again.
**Joint preparation.** A bevel and a root gap do not increase penetration; they remove the metal the arc would otherwise have to penetrate. That is usually the cheaper answer.
Materialien für diesen Schritt:
 Schweißelektrode2 PackungenBaustahlplatte2 Stück
Benötigte Werkzeuge:
 Lichtbogen-Schweißgerät
 Automatikschweißhelm
 Schweißerhandschuhe
3
3
Proving it: cut the coupon and look
Proving it: cut the coupon and look
Penetration cannot be judged from the top of a bead, so it is proved on a test coupon welded at exactly the settings the real job will use — same rod, same current, same thickness, same position.
**Section and etch.** Cut across the weld with a hacksaw, file and abrade the cut face smooth, and swab it with a dilute acid etch. The weld metal, the heat affected zone and the parent metal etch at different rates, so the fusion boundary appears as a clear outline. Measure the depth against the plate thickness.
**Nick-break.** Saw a nick in each end of the weld, then break the coupon through the weld in a vice. The fracture face shows the full length of the weld: any unfused face shows as a flat, smooth, often shiny area against the torn grey of properly fused metal.
**Bend test.** Bend a strip with the weld at the outside of the bend. A sound weld bends with the parent metal; an unfused root opens.
Do this once for every new combination of rod, current and thickness and it stops being a guess.
Materialien für diesen Schritt:
Baustahlplatte2 Stück Baustahl-Flachstahl1 Stück
Benötigte Werkzeuge:
Bügelsäge (Metallsäge)FeilensatzEinschlaglupe Lineal
4
4
The special case that catches everyone: the tee joint root
The special case that catches everyone: the tee joint root
In a tee joint the two members meet in a corner, and the heat has three ways to go — into the upright, into the base, and out along both. The very corner is the hardest part of the joint to melt and the part carrying the most stress.
Two failures follow from that.
**A cold root.** The bead bridges the corner, fused to the two faces on either side but never quite reaching into the angle. Section a fillet and this shows as a notch at the root.
**One-sided fusion.** The work angle is not 45 deg, so the arc favours one member. The other gets a bead lying against it. Under load the whole fillet peels off that face.
Both are fixed the same way: enough current, a work angle genuinely halving the corner, and a short arc aimed into the root rather than at either face. On heavy sections, preheat so the corner is not quenching the pool as fast as the arc makes it.
Materialien für diesen Schritt:
Baustahlplatte1 Stück Winkelstahl aus Baustahl1 StückSchweißelektrode1 Packung
Benötigte Werkzeuge:
Lichtbogen-SchweißgerätAutomatikschweißhelmSchweißerhandschuhe Digitaler WinkelmesserBügelsäge (Metallsäge)
Materialien
4- 2 StückPlatzhalter
- 2 PackungenPlatzhalter
- 1 StückPlatzhalter
- 1 StückPlatzhalter
Verwandte Blueprints
Diese Blueprints teilen Wissen — Techniken, Materialien oder Prinzipien

CC0 Gemeinfrei
Dieser Blueprint ist unter CC0 veröffentlicht. Sie dürfen dieses Werk für jeden Zweck frei kopieren, ändern, verbreiten und verwenden, ohne um Erlaubnis zu fragen.
Unterstützen Sie den Maker, indem Sie Produkte über seinen Blueprint kaufen, wo er eine Maker-Provision von Anbietern festgelegt, verdient. Oder erstellen Sie eine neue Iteration dieses Blueprints und verbinden Sie ihn in Ihrem eigenen Blueprint, um Einnahmen zu teilen.