KUNST
SCHÖNHEIT & WELLNESS
HANDWERK
KULTUR & GESCHICHTE
UNTERHALTUNG
UMFELD
ESSEN & GETRÄNKE
REVERSE ENGINEERING
WISSENSCHAFTEN
SPORT
TECHNOLOGIE
WEARABLES
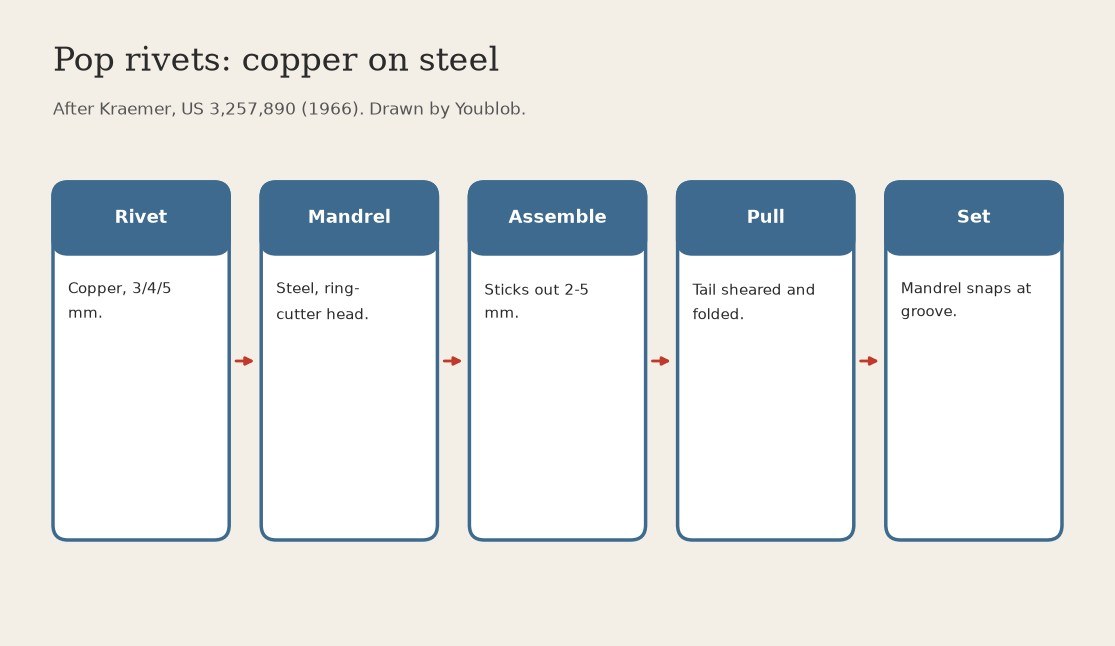


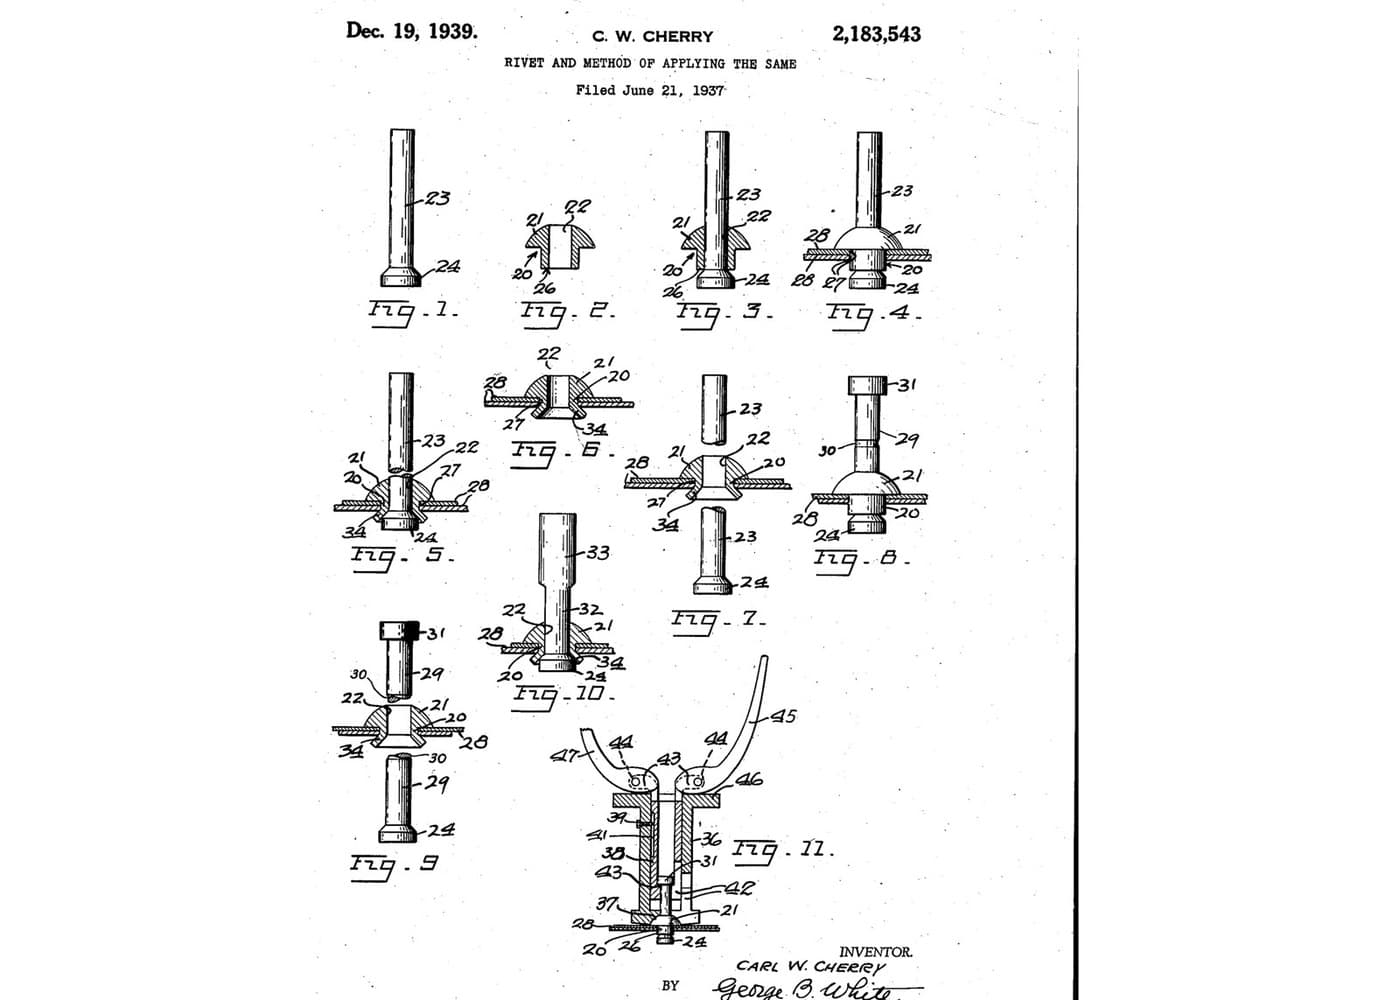
Pop Rivets: Copper Hollow Rivet on a Steel Break Mandrel with a Ring-Cutter Head (Kraemer, US 3,257,890)
A blind rivet set from one side. Kraemer's mandrel head has a sharp ring edge that shears the inner part of the rivet's tail and pushes it into the bore, while the outer part folds round the head. The pull needed is about half, and the set rivet is about as strong in shear as a solid one.
Result: copper pop rivets, 3, 4 or 5 mm, each on its steel mandrel.
Source: Kraemer, US 3,257,890 (1966). His other rivet metals, aluminium-magnesium and 80/20 copper-nickel, are separate compositions. Not given: die design. Picture drawn by Youblob.
Erfahren
Factory process
Anweisungen
1
1
Stamp the copper rivet
Stamp the copper rivet
Form a hollow rivet with a flange (set head) at one end and a straight bore. Kraemer says the parts can be made e.g. by stamping. Sizes (mm), outside / bore: 5 / 3, 4 / 2.6, 3 / 1.8. Ours: from copper sheet.
Materialien für diesen Schritt:
 Kupferblech1 as required
Benötigte Werkzeuge:
 Stanzpresse
2
2
Form the steel mandrel
Form the steel mandrel
Shape a steel mandrel: draw shaft, a groove as the breaking point, a cone tapering up to the bore size, and a near-hemispherical button head. Head edge diameter (mm): 4.3, 3.6, 2.6 for the 5, 4, 3 mm rivets, so it covers 55-70 % of the rivet's end face. Ours: from steel wire.
Materialien für diesen Schritt:
 Stahldraht1 as required
Benötigte Werkzeuge:
Stanzpresse3
3
Assemble and size for the work
Assemble and size for the work
Push the mandrel fully into the rivet; it is supplied this way. Pick a length that sticks out past the sheets by 3-5 mm (5 mm rivet), 2.5-3.5 mm (4 mm) or 2-4 mm (3 mm).
Benötigte Werkzeuge:
 Blindnietzangen-Set
4
4
Set it from one side
Set it from one side
Put the rivet in the hole, grip the draw shaft and press the tool's head on the flange while pulling. The ring edge shears the tail, the rest bulges and folds round the button head, and the mandrel breaks at its groove.
Benötigte Werkzeuge:
Blindnietzangen-SetMaterialien
2- 1 as requiredPlatzhalter
- 1 as requiredPlatzhalter
Benötigte Werkzeuge
2- Platzhalter
- Platzhalter
Dieser Bauplan stellt her

Verwandte Blueprints
Diese Blueprints teilen Wissen — Techniken, Materialien oder Prinzipien

CC0 Gemeinfrei
Dieser Blueprint ist unter CC0 veröffentlicht. Sie dürfen dieses Werk für jeden Zweck frei kopieren, ändern, verbreiten und verwenden, ohne um Erlaubnis zu fragen.
Unterstützen Sie den Maker, indem Sie Produkte über seinen Blueprint kaufen, wo er eine Maker-Provision von Anbietern festgelegt, verdient. Oder erstellen Sie eine neue Iteration dieses Blueprints und verbinden Sie ihn in Ihrem eigenen Blueprint, um Einnahmen zu teilen.