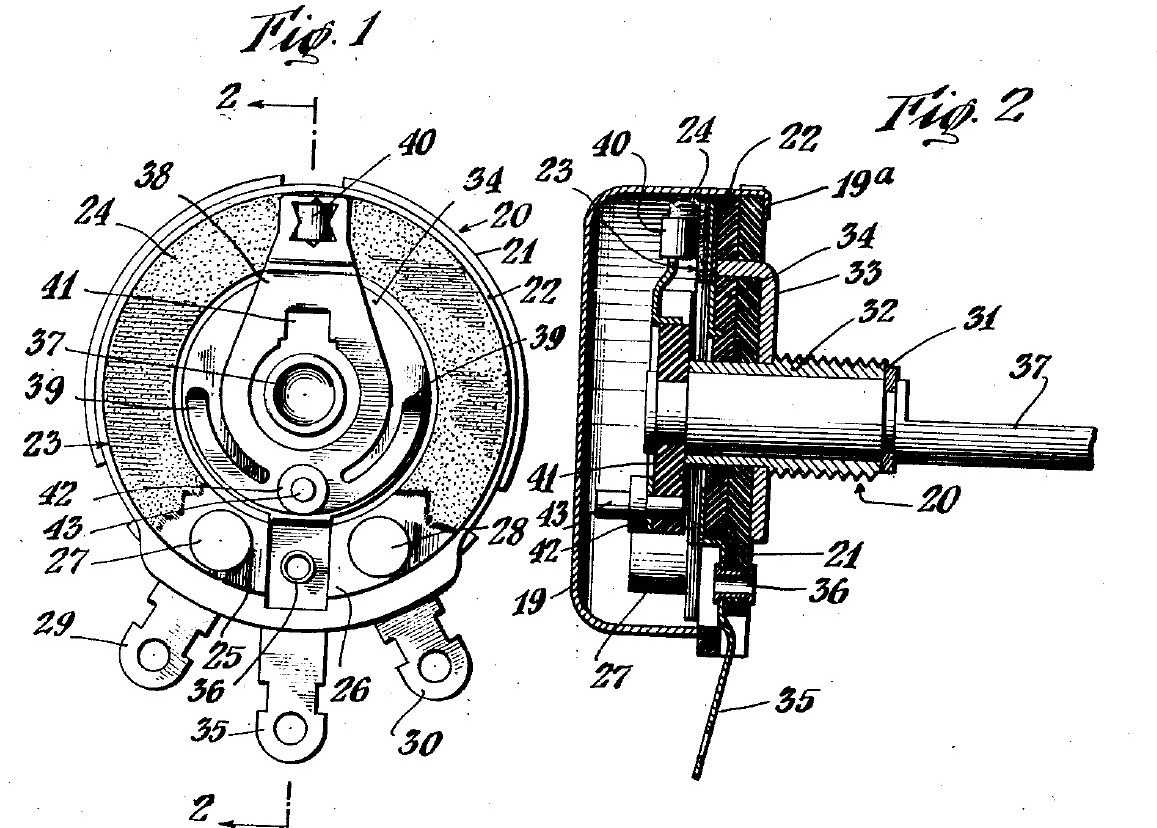


Potentiometer: Mallory Volume Control on a Tung-Oil Paper Ring
Anweisungen
Clamp the two base discs on the bushing
Clamp the two base discs on the bushing
Materialien für diesen Schritt:
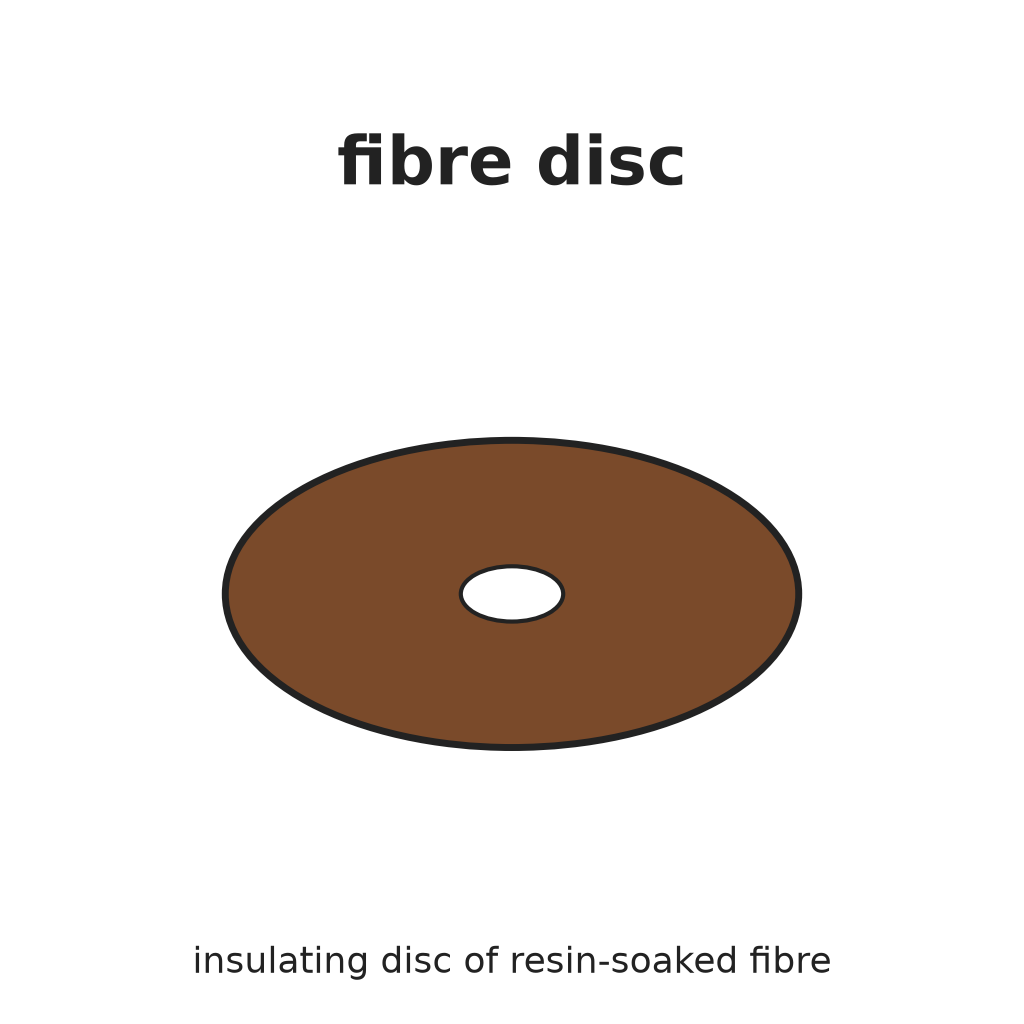 Harzgetränkte Faserscheibe2 Stück
 Metallbuchse1 Stück
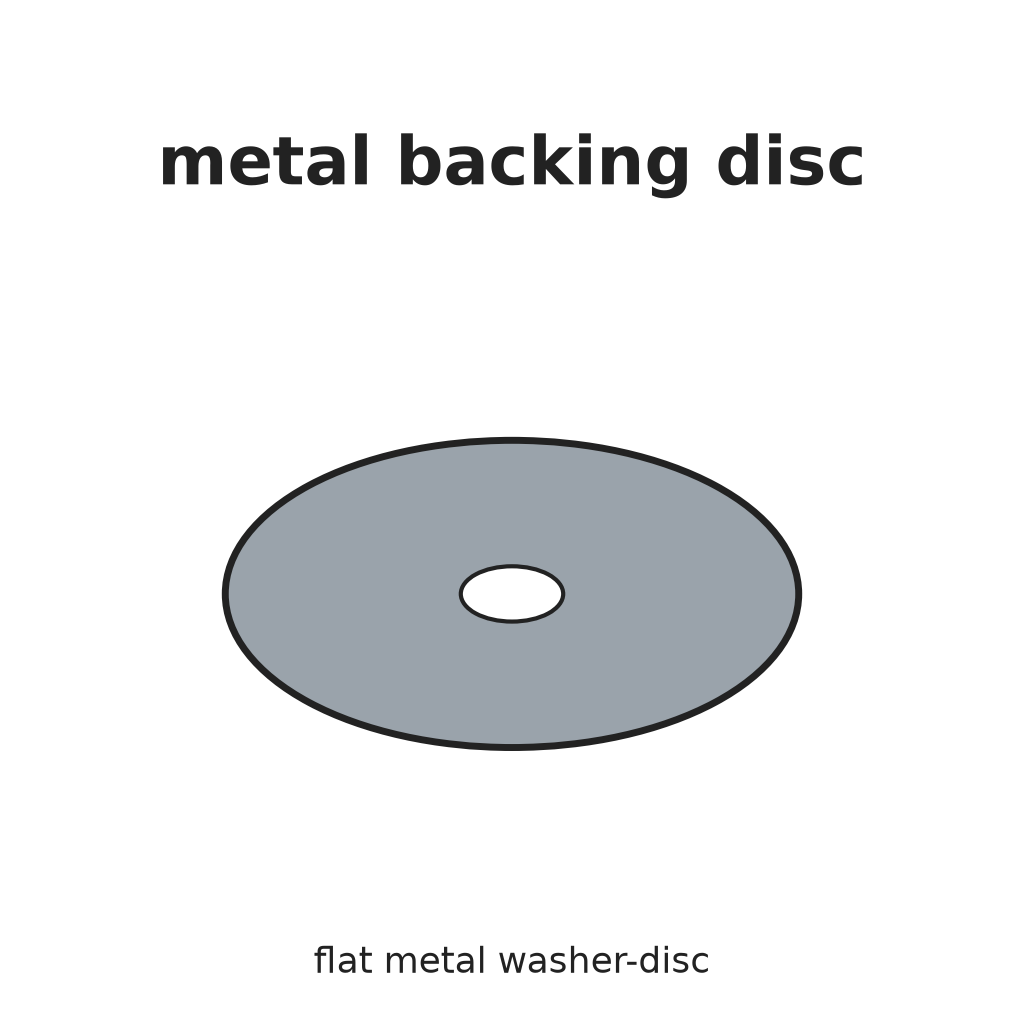 Metall-Stützscheibe1 Stück
Benötigte Werkzeuge:
 Niethammer
 Nietsatz
Fit the centre contact ring
Fit the centre contact ring
Materialien für diesen Schritt:
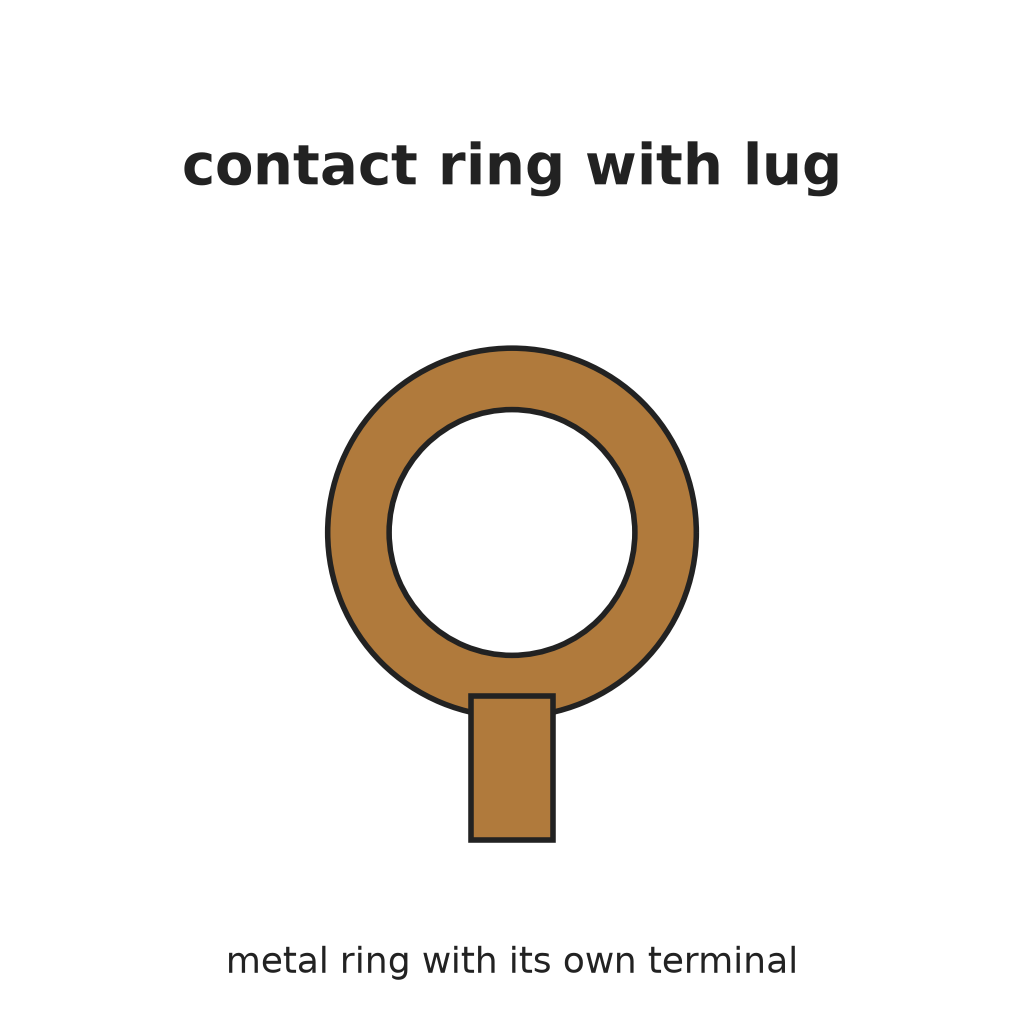 Kontaktring mit Anschlussfahne1 Stück
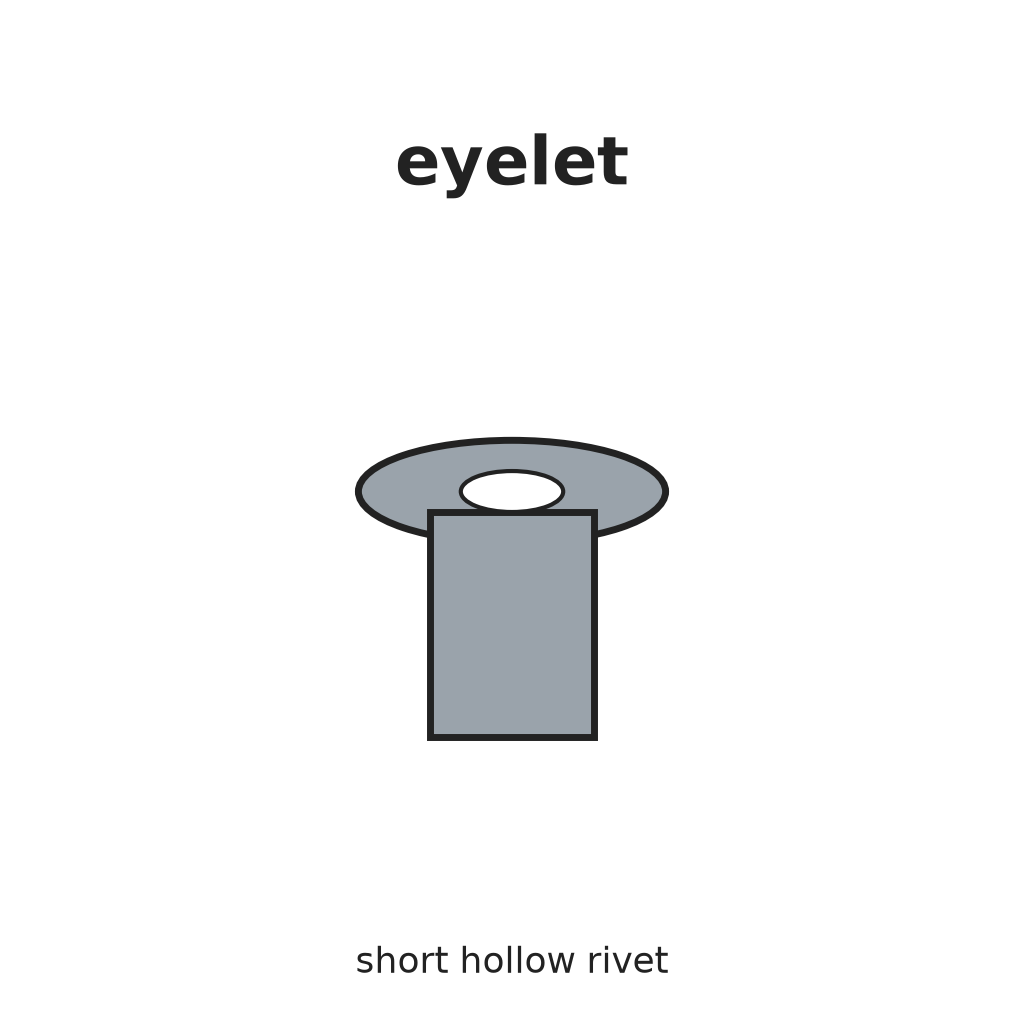 Hohlniet1 Stück
Benötigte Werkzeuge:
NiethammerNietsatzBolt on the resistance ring
Bolt on the resistance ring
Materialien für diesen Schritt:
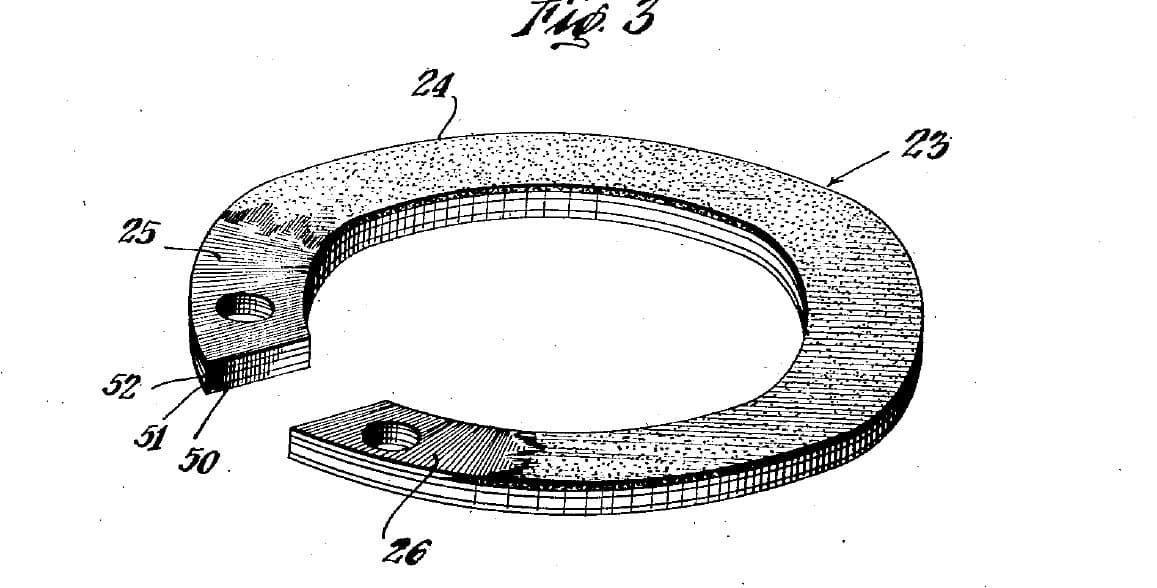
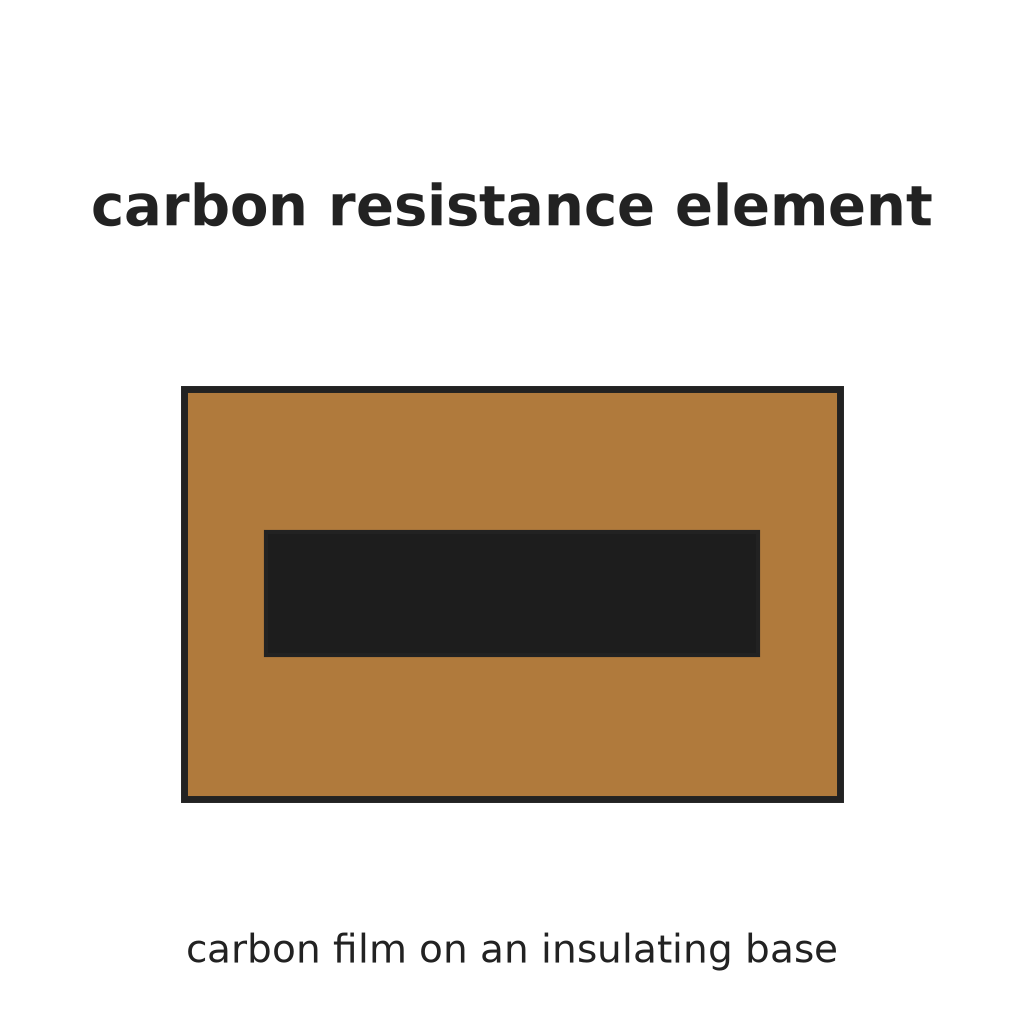 Kohlewiderstandselement1 Stück
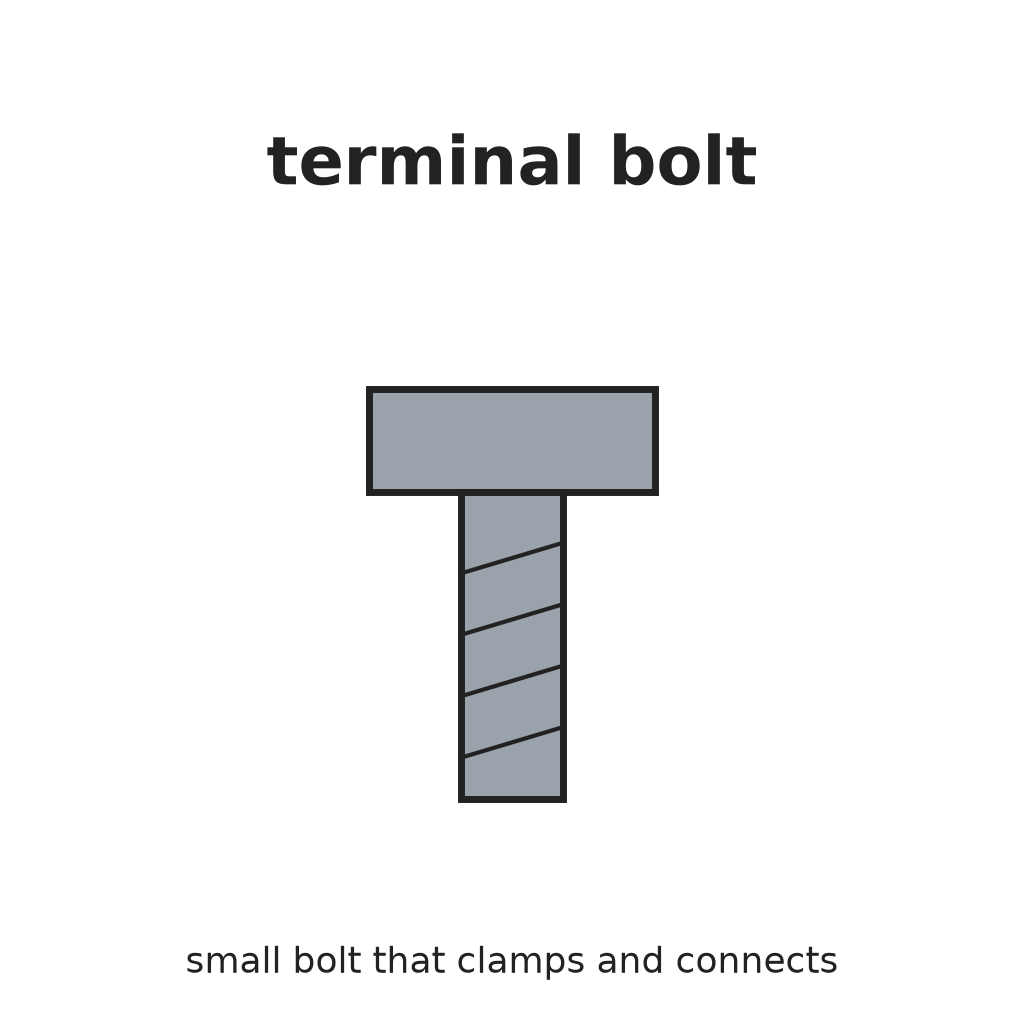 Anschlussbolzen2 Stück
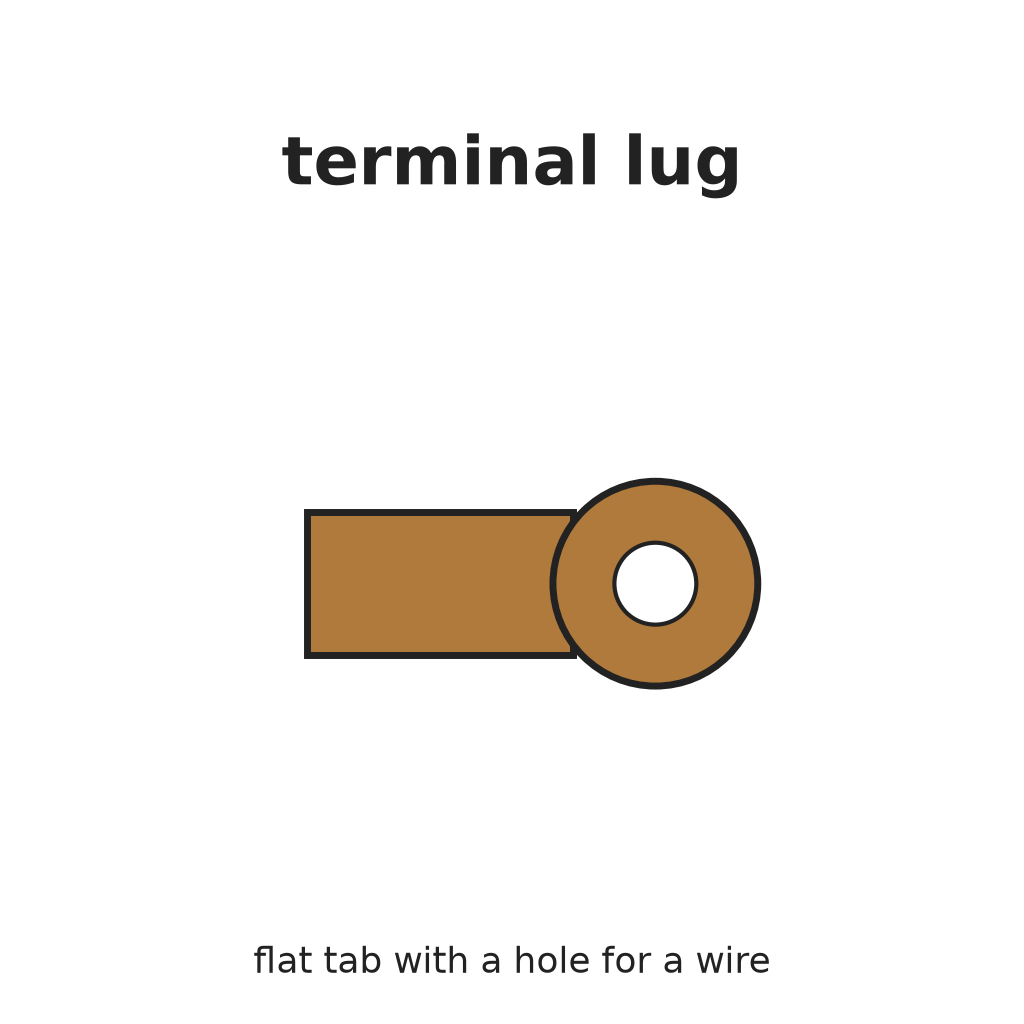 Anschlussfahne2 Stück
Benötigte Werkzeuge:
 Flachrundzange
Fit shaft and spring contact arm
Fit shaft and spring contact arm
Materialien für diesen Schritt:
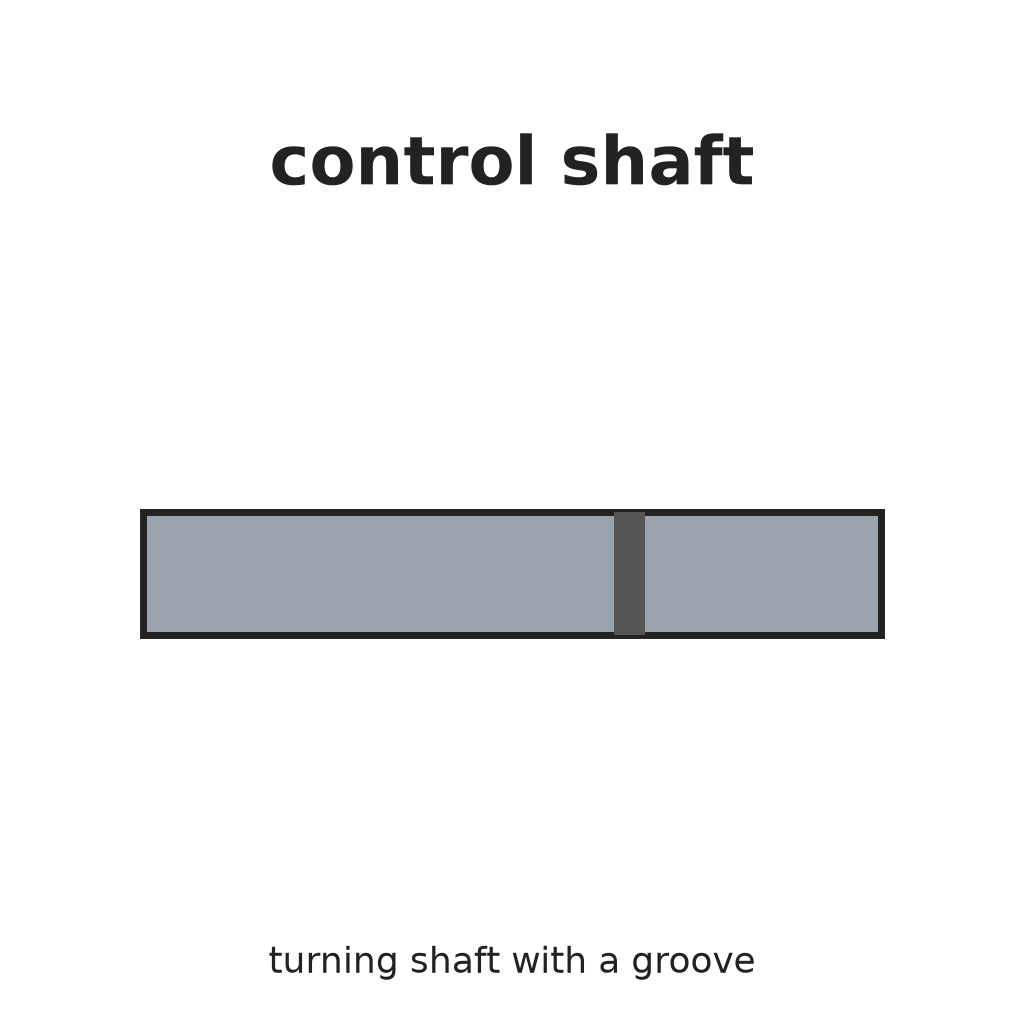 Steuerwelle1 Stück
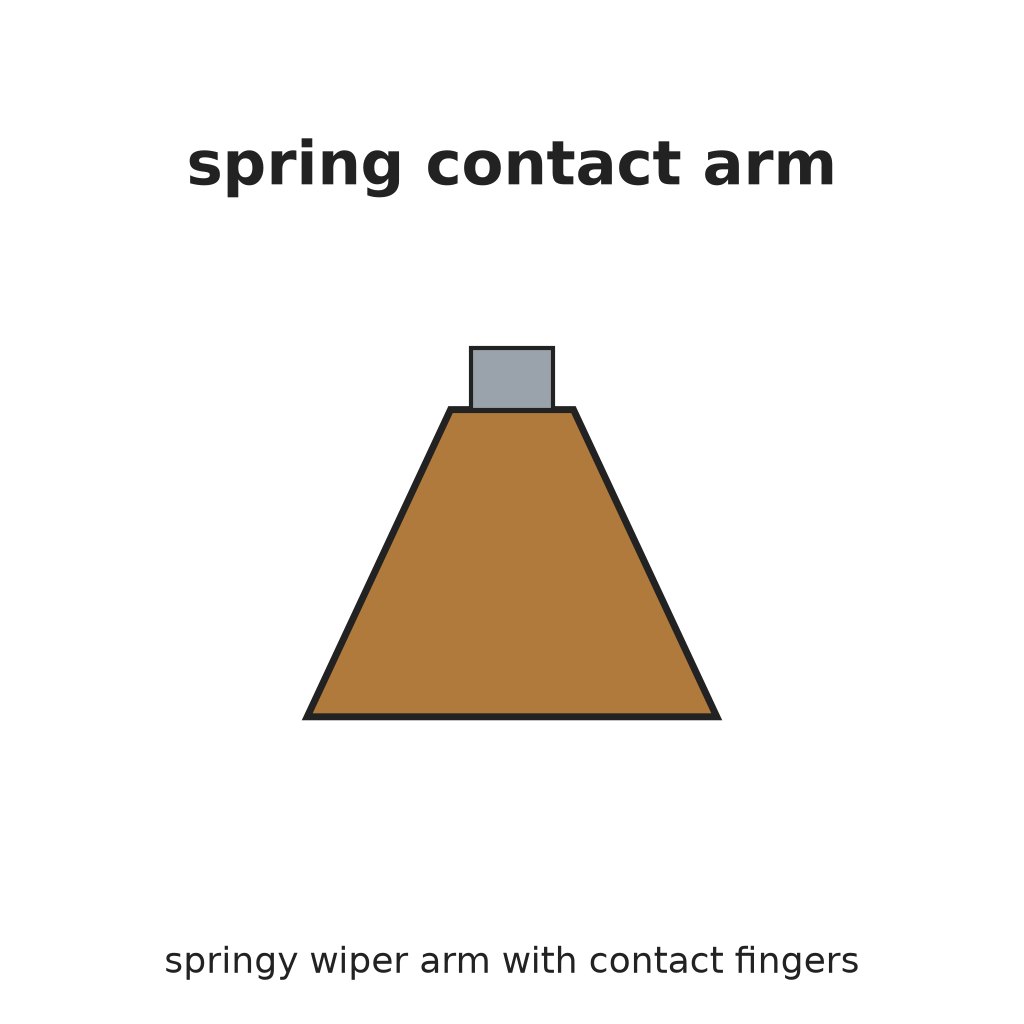 Federkontaktarm1 Stück
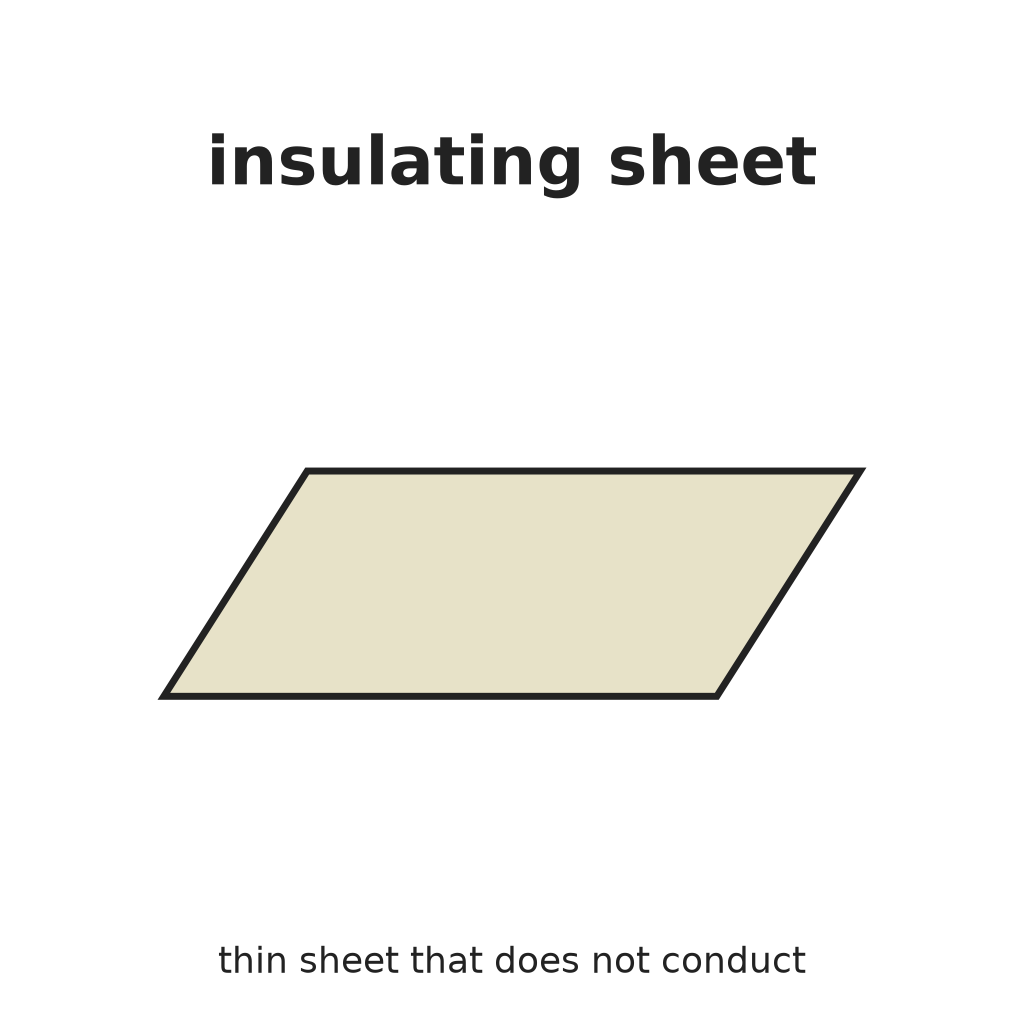 Isolierplatte1 Stück
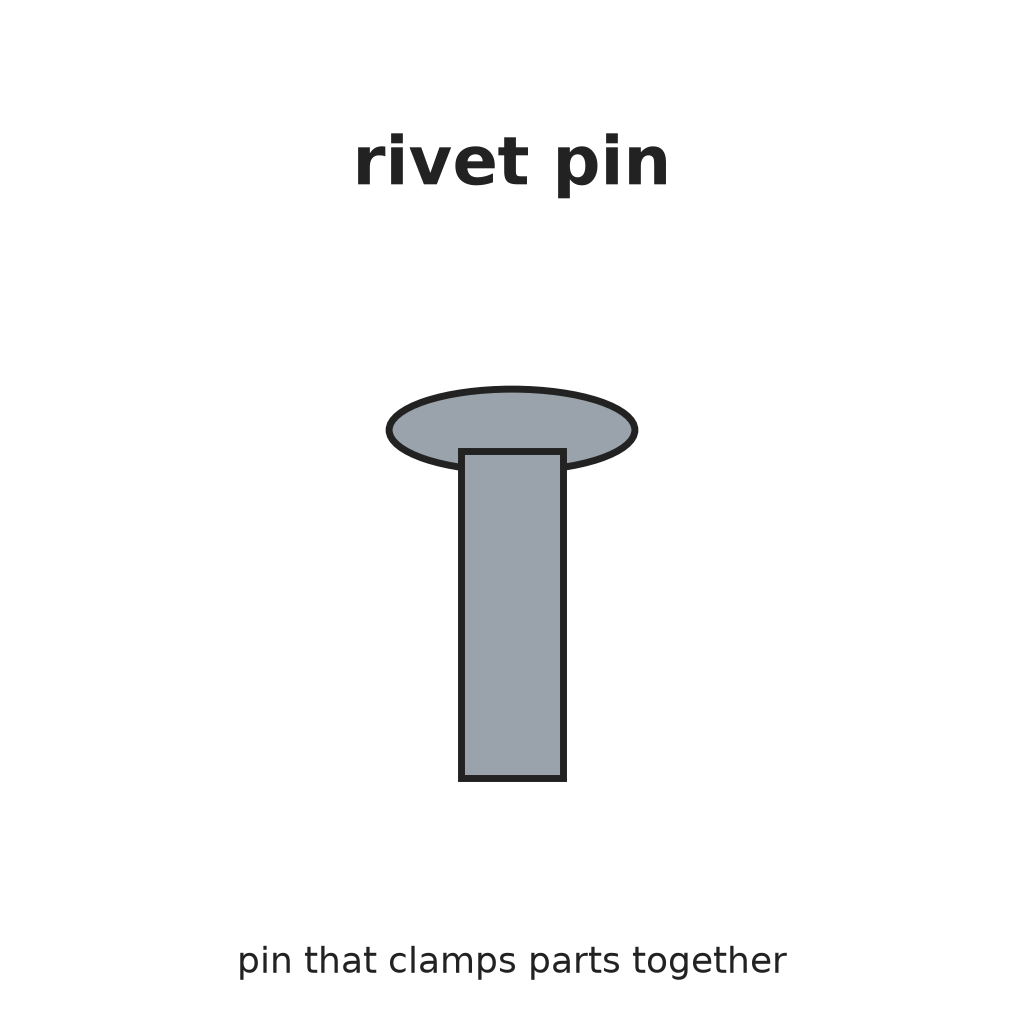 Nietstift1 Stück
Benötigte Werkzeuge:
NiethammerNietsatzClip washer and cover
Clip washer and cover
Materialien für diesen Schritt:
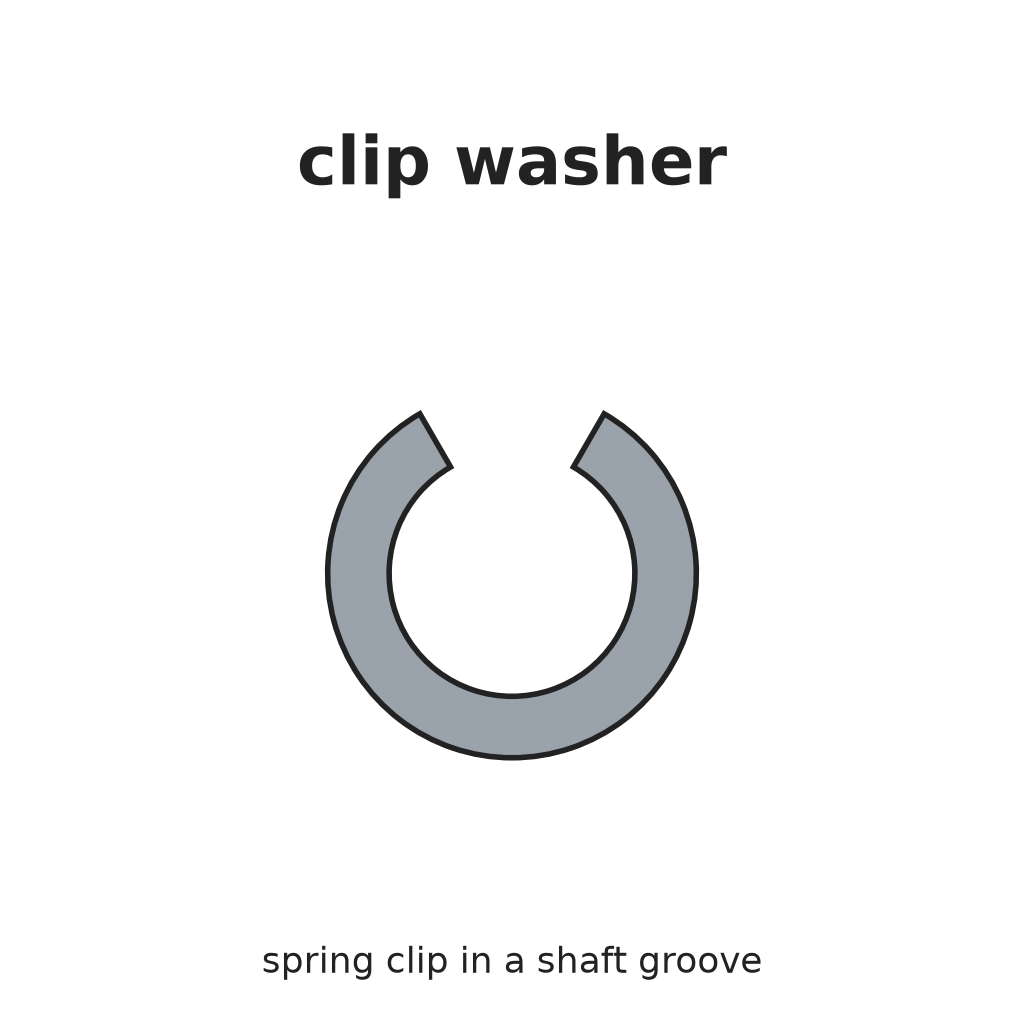 Klemmscheibe1 Stück
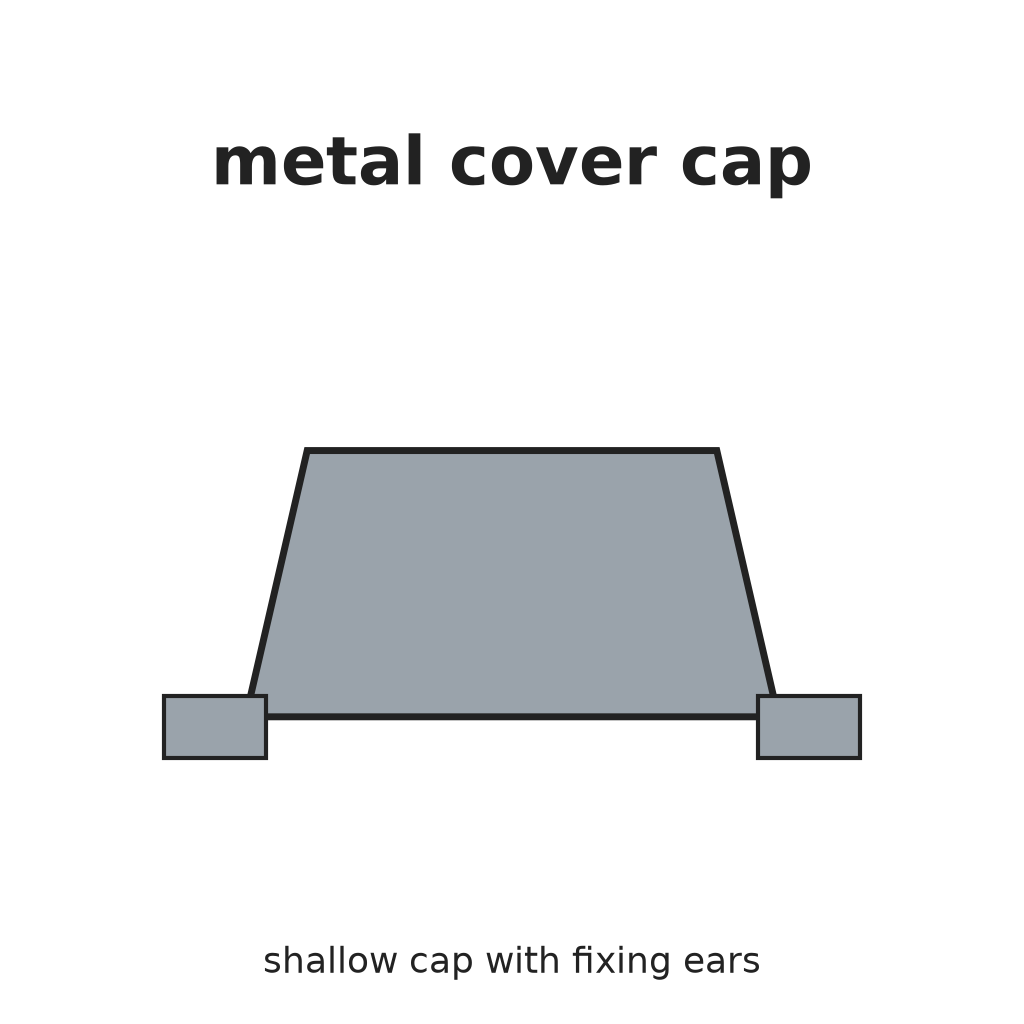 Metall-Abdeckkappe1 Stück
Benötigte Werkzeuge:
Flachrundzange Flachzange
Materialien
14- 2 StückPlatzhalter
- 1 StückPlatzhalter
- 1 StückPlatzhalter
- Platzhalter
- 1 StückPlatzhalter
- 1 StückPlatzhalter
- 2 StückPlatzhalter
- 2 StückPlatzhalter
- 1 StückPlatzhalter
- 1 StückPlatzhalter
- 1 StückPlatzhalter
- 1 StückPlatzhalter
- 1 StückPlatzhalter
- 1 StückPlatzhalter
Dieser Bauplan stellt her

Verwandte Blueprints
Diese Blueprints teilen Wissen — Techniken, Materialien oder Prinzipien
CC0 Gemeinfrei
Dieser Blueprint ist unter CC0 veröffentlicht. Sie dürfen dieses Werk für jeden Zweck frei kopieren, ändern, verbreiten und verwenden, ohne um Erlaubnis zu fragen.
Unterstützen Sie den Maker, indem Sie Produkte über seinen Blueprint kaufen, wo er eine Maker-Provision von Anbietern festgelegt, verdient. Oder erstellen Sie eine neue Iteration dieses Blueprints und verbinden Sie ihn in Ihrem eigenen Blueprint, um Einnahmen zu teilen.