Shaping an Antler Mining Pick — Red Deer Antler Tool
Anweisungen
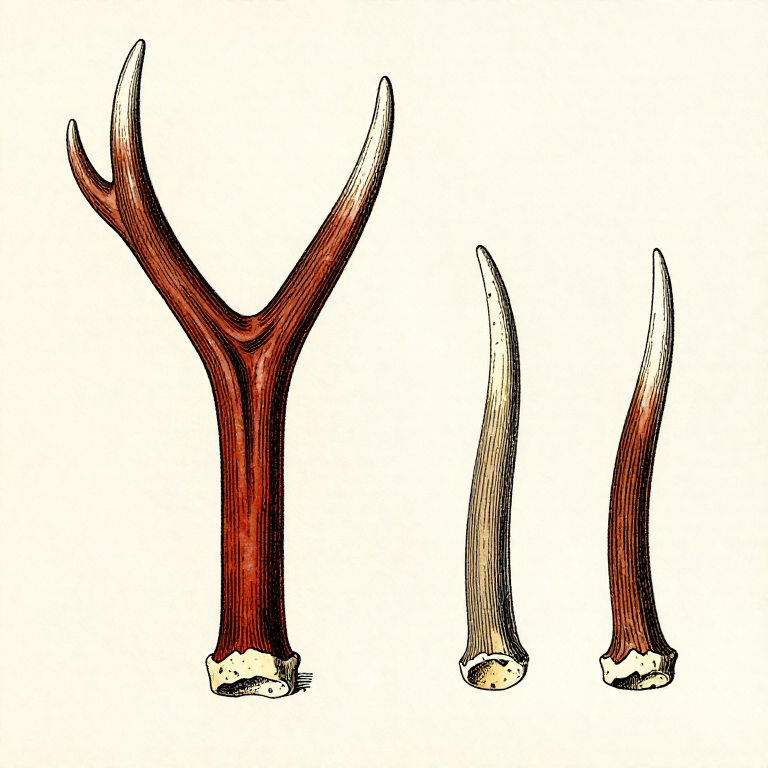
Select and Soak the Antler
Select and Soak the Antler
Choose a red deer antler (or elk, moose, or other large cervid) with a strong main beam and at least one solid tine (point). Shed antlers found on the ground work perfectly — there is no need to harvest from a live animal. Fresh shed antler is easier to work than old, sun-bleached antler, which becomes brittle. Soak the antler in water for 24-48 hours to soften it. Soaking restores moisture to the collagen matrix within the bone structure, making the antler more flexible and easier to cut without cracking or splintering.
Materialien für diesen Schritt:
Benötigte Werkzeuge:
 Hammerstone
 Sandstone (Abrasive)
Trim Unnecessary Tines
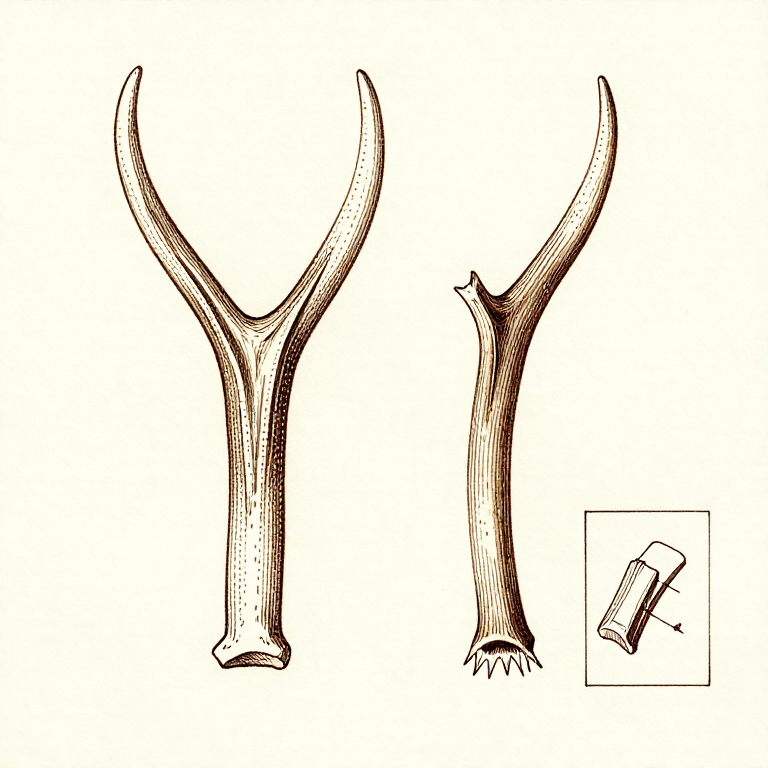
Trim Unnecessary Tines
Decide which tine will serve as the pick point — choose the strongest, most forward-angled tine relative to the main beam. Remove all other tines by scoring around their base with a flint saw (a serrated flint flake) and then snapping them off with a sharp blow from a hammerstone. Leave the brow tine intact if it provides a useful footrest for driving the pick downward with body weight, as documented at Neolithic flint mines. The main beam becomes the handle and should be left at a comfortable length of 30-50 cm.
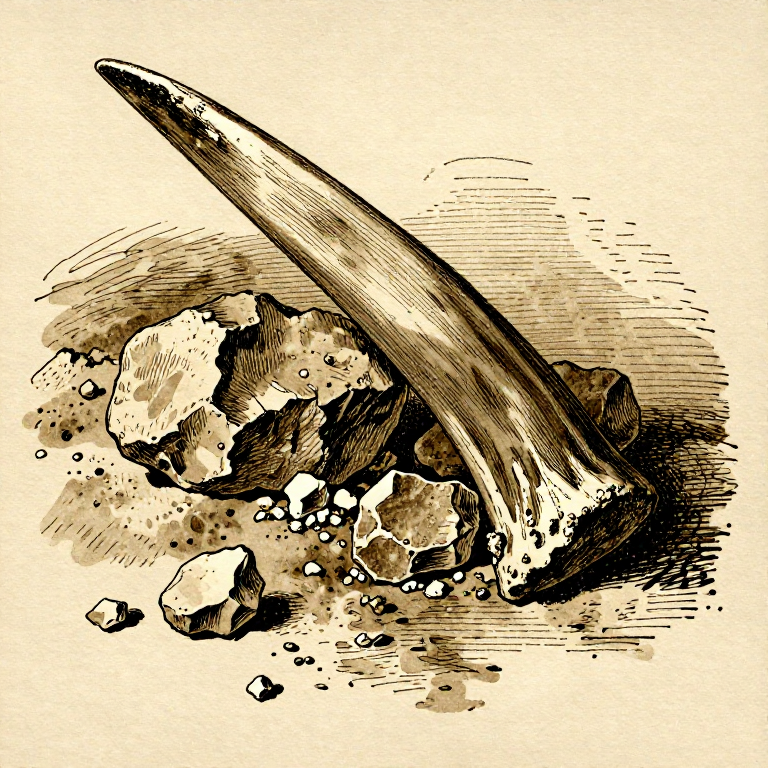
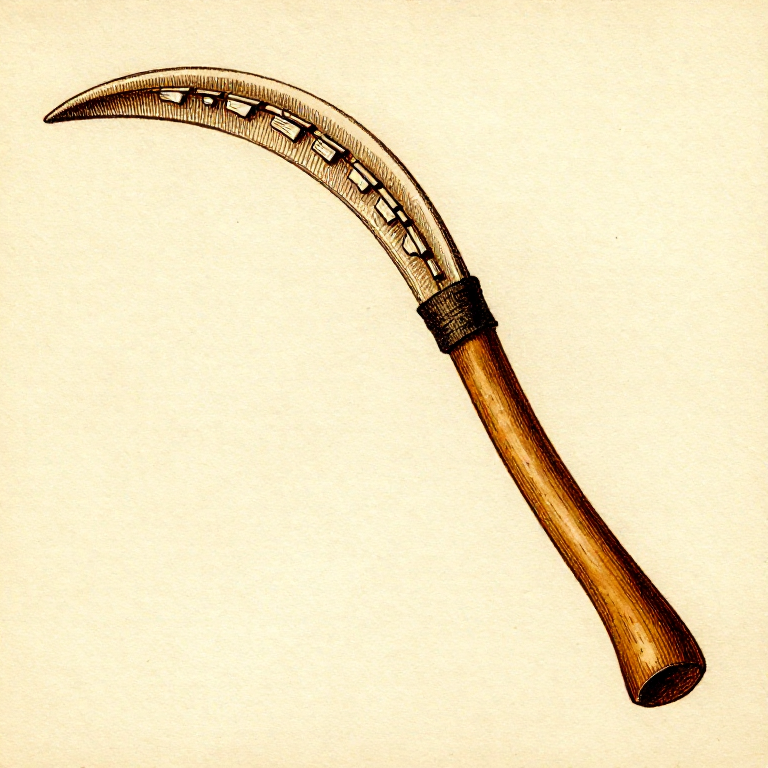
Shape the Pick Point
Shape the Pick Point
Sharpen the working tine by grinding it on a sandstone slab to create a chisel-like or pointed tip. The tip does not need to be razor-sharp — antler picks work by prying and levering rather than cutting. A slightly blunt, wedge-shaped point is more durable than a fine point that chips on contact with rock. If the tine is naturally pointed, simply remove any rough surface irregularities. The tip should be oriented so that when you swing the main beam as a handle, the tine point strikes the ground or rock face at approximately 45-60 degrees.
Smooth the Handle
Smooth the Handle
Scrape the main beam smooth using a flint scraper to remove any rough burrs or sharp edges that would cause blisters during prolonged use. The natural texture of antler provides good grip even when wet. If desired, wrap the handle section with leather or rawhide for additional comfort. The butt end of the main beam (the burr, where the antler attached to the skull) provides a natural striking surface if you need to use the pick as a hammer for driving wedges into cracks.
Use and Maintenance
Use and Maintenance
Swing the pick by gripping the main beam and driving the tine into the target material — chalk, soft limestone, or packed earth. Use a combination of swinging strikes and levering motions to dislodge material. Antler absorbs impact energy through its composite structure of mineral crystite and collagen fibers, making it far more shock-resistant than stone or bone. When the tip becomes blunt after extended use, re-sharpen by grinding on sandstone. Re-soak the antler periodically if it dries out and becomes brittle. At Grimes Graves, archaeologists found over 200 antler picks discarded in the mine shafts, each showing extensive wear patterns from hours of digging through chalk to reach flint nodules.
Materialien
2- 1 antler with strong tine StückPlatzhalter
Benötigte Werkzeuge
3- Platzhalter
- Platzhalter
- Platzhalter
Related blueprints
Other builds that share materials, tools, or techniques with this one.
CC0 Gemeinfrei
Dieser Blueprint ist unter CC0 veröffentlicht. Sie dürfen dieses Werk für jeden Zweck frei kopieren, ändern, verbreiten und verwenden, ohne um Erlaubnis zu fragen.
Unterstützen Sie den Maker, indem Sie Produkte über seinen Blueprint kaufen, wo er eine Maker-Provision von Anbietern festgelegt, verdient. Oder erstellen Sie eine neue Iteration dieses Blueprints und verbinden Sie ihn in Ihrem eigenen Blueprint, um Einnahmen zu teilen.