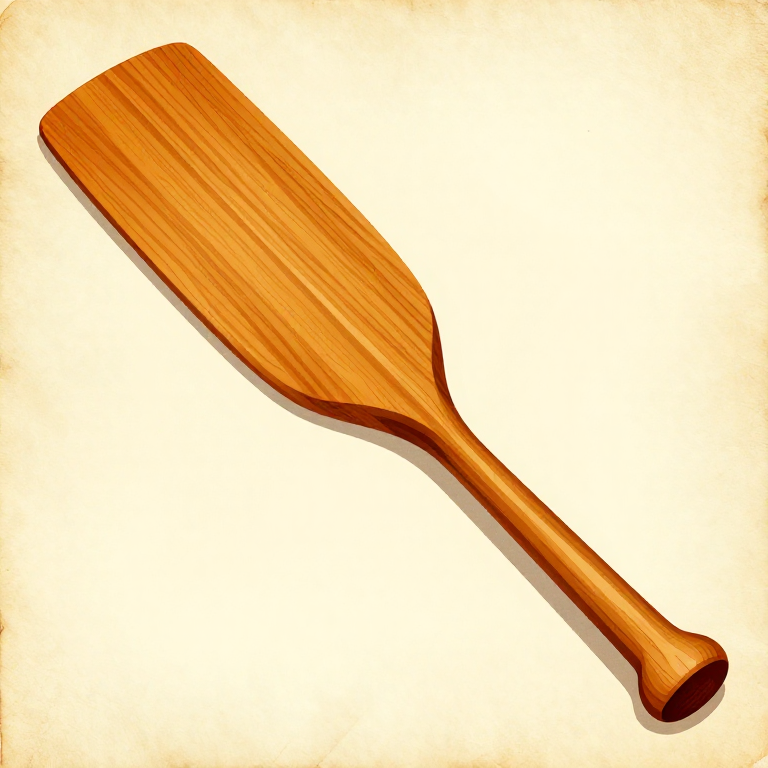
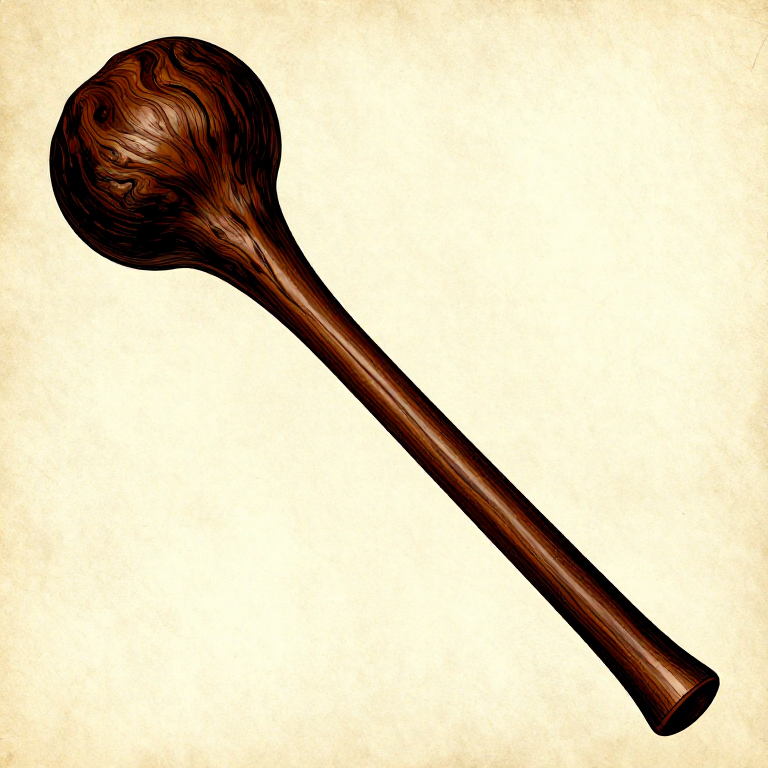
Carving a Wooden Paddle from a Single Piece of Hardwood — Prehistoric Watercraft Propulsion
Anweisungen
Select Straight-Grained Hardwood
Select Straight-Grained Hardwood
Materialien für diesen Schritt:
 Hardwood Sapling1 Stück
Split the Log into a Rough Blank
Split the Log into a Rough Blank
Benötigte Werkzeuge:
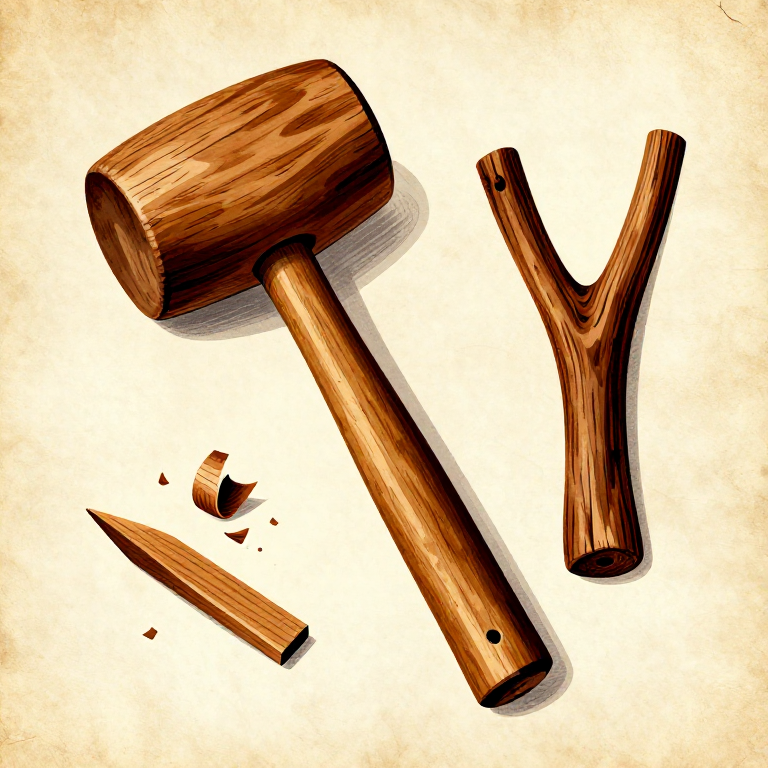
 Hammerstone
Mark Out the Paddle Shape
Mark Out the Paddle Shape
Benötigte Werkzeuge:
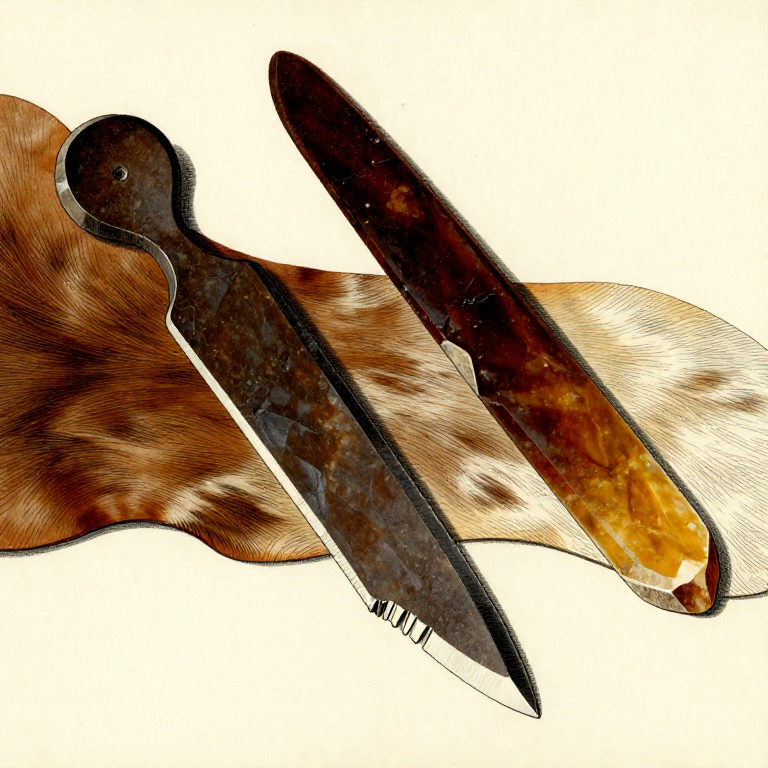
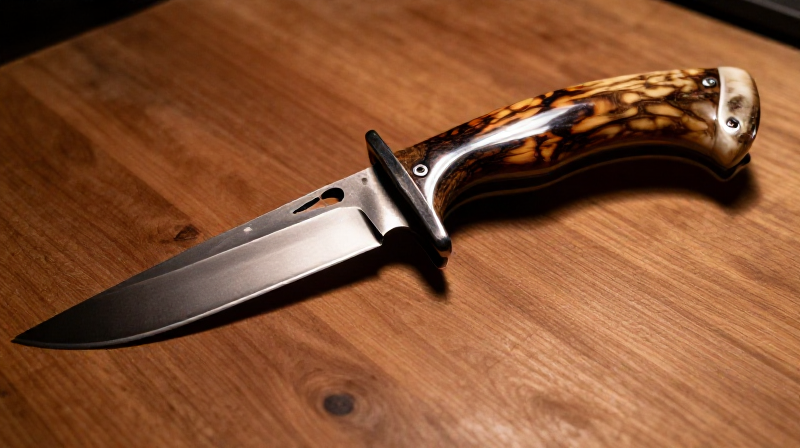
 Flint Knife
Rough Out the Shape with a Stone Adze
Rough Out the Shape with a Stone Adze
Benötigte Werkzeuge:
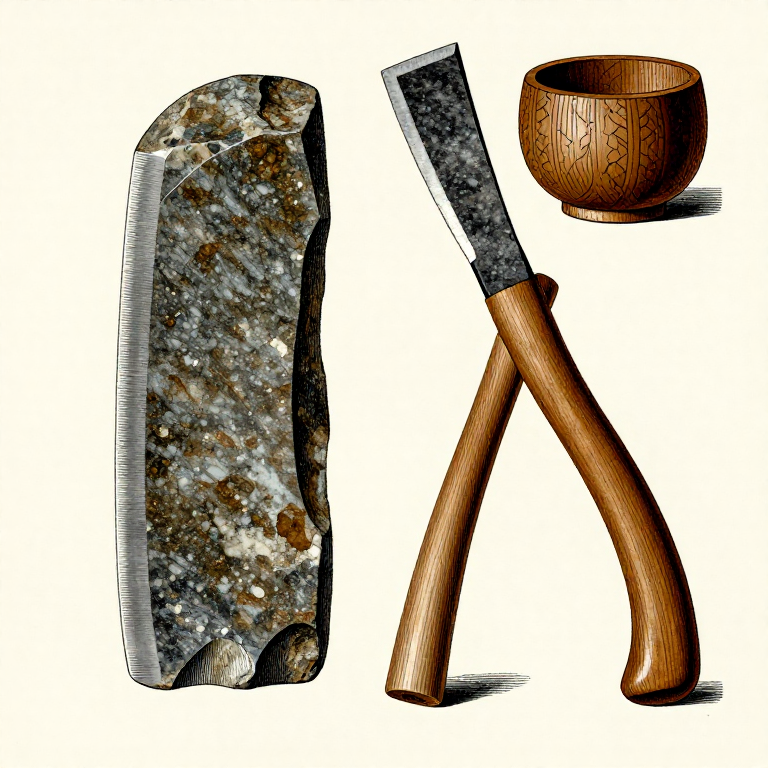 Stone Adze
Shape the Blade to Even Thickness
Shape the Blade to Even Thickness
Benötigte Werkzeuge:
 Stone Scraper
Round the Shaft for a Comfortable Grip
Round the Shaft for a Comfortable Grip
Benötigte Werkzeuge:
Stone ScraperCarve the T-Grip at the Top
Carve the T-Grip at the Top
Benötigte Werkzeuge:
Flint KnifeThin and Shape the Blade Tip
Thin and Shape the Blade Tip
Benötigte Werkzeuge:
Stone ScraperSmooth the Entire Paddle with Fine Abrasion
Smooth the Entire Paddle with Fine Abrasion
Benötigte Werkzeuge:
 Sandstone
Oil the Paddle with Rendered Animal Fat
Oil the Paddle with Rendered Animal Fat
Materialien für diesen Schritt:
 Animal Fat50 g
Materialien
2- 1 StückPlatzhalter
- Platzhalter
Materialien verbundener Blueprints
Verwandte Blueprints
Diese Blueprints teilen Wissen — Techniken, Materialien oder Prinzipien
Related blueprints
Other builds that share materials, tools, or techniques with this one.


CC0 Gemeinfrei
Dieser Blueprint ist unter CC0 veröffentlicht. Sie dürfen dieses Werk für jeden Zweck frei kopieren, ändern, verbreiten und verwenden, ohne um Erlaubnis zu fragen.
Unterstützen Sie den Maker, indem Sie Produkte über seinen Blueprint kaufen, wo er eine Maker-Provision von Anbietern festgelegt, verdient. Oder erstellen Sie eine neue Iteration dieses Blueprints und verbinden Sie ihn in Ihrem eigenen Blueprint, um Einnahmen zu teilen.