
KUNST
SCHÖNHEIT & WELLNESS
HANDWERK
KULTUR & GESCHICHTE
UNTERHALTUNG
UMFELD
ESSEN & GETRÄNKE
GRÜNE ZUKUNFT
REVERSE ENGINEERING
SCHOOL PROJECTS
WISSENSCHAFTEN
SPORT
TECHNOLOGIE
WEARABLES
Building Leonardo da Vinci's Self-Propelled Cart — The First Programmable Robot
Emma

Erstellt von

Emma

2. Juli 2026SE
10
0
0
0
0

Building Leonardo da Vinci's Self-Propelled Cart — The First Programmable Robot

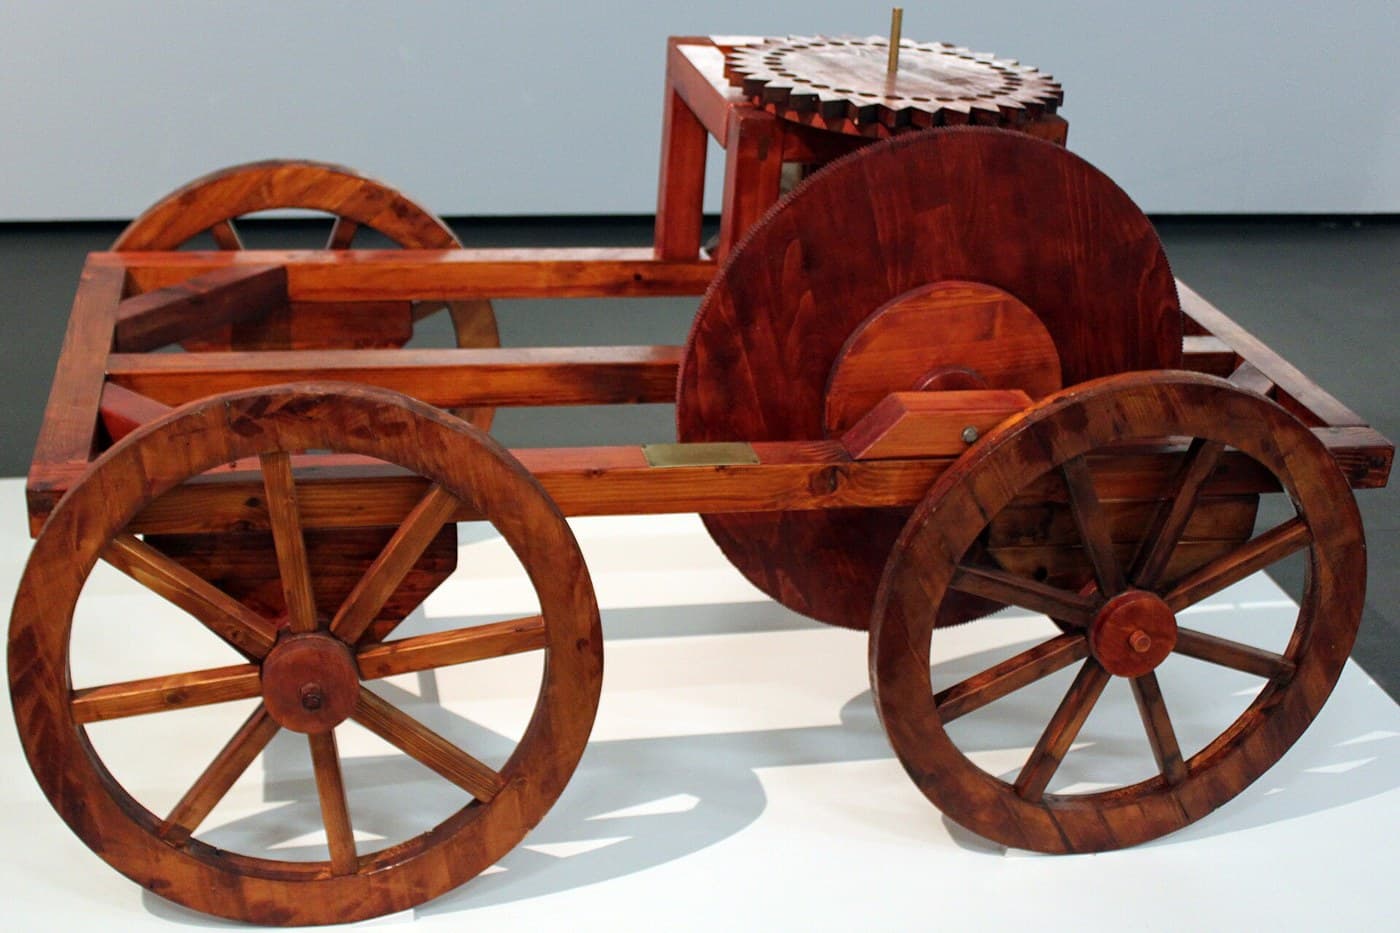
Around 1478 Leonardo da Vinci designed a cart that drives itself: no ox, no push, no rider. Coiled springs store the power, wooden gears carry it to the wheels, an escapement doles it out evenly, and pegs set into a control wheel steer the cart along a route decided in advance. It is spring power, gear reduction, escapement timing and programmable control in one machine — an ancestor of both the automobile and the robot. In 2004 a museum in Florence built it to his drawings and it ran exactly as designed. This blueprint reconstructs that remarkable machine.
Erfahren
30

Anweisungen

1

Understand the machine

Leonardo's cart carries its own power source and steers itself. Wound springs drive it, gears set the speed, an escapement keeps it steady, and pegs on a control wheel turn it left or right on cue. Often called the first robot, it was reconstructed in Florence in 2004 and ran just as he drew it.
2

Build the frame and wheels

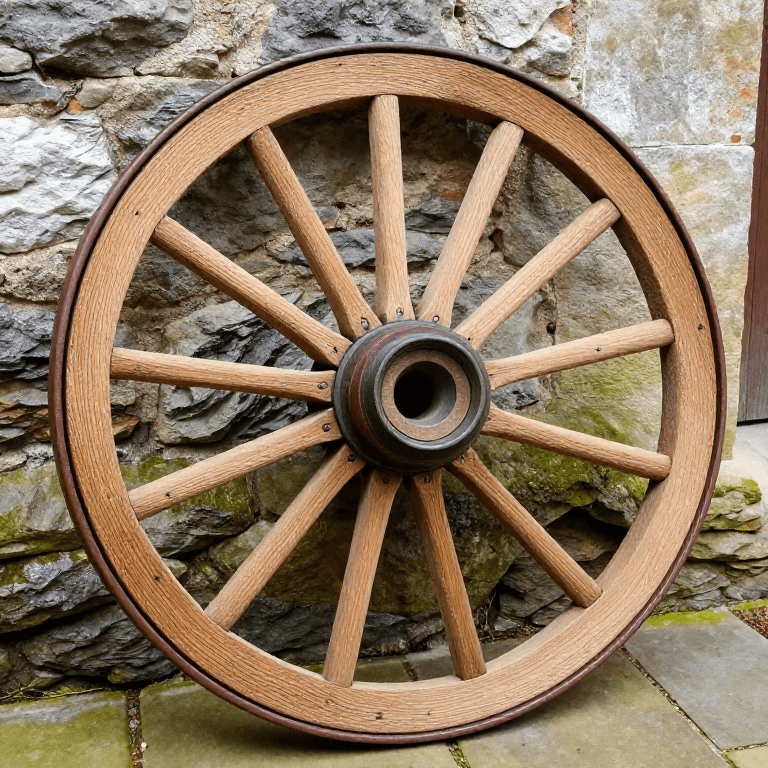
Build a low, sturdy wooden frame carrying an axle front and rear. Cut round wheels and mount them so they turn freely, and bore the axle bearings cleanly so there is little friction to waste the spring's energy.

Materialien für diesen Schritt:

Beech LumberBeech Lumber3 Stück

Benötigte Werkzeuge:

Hand SawHand Saw
Hand AugerHand Auger
3

Make the coiled springs

The power comes from two coiled leaf springs set in drums beneath the frame. Winding them stores energy; as they slowly unwind they turn the drive. This clockwork-style spring drive — not a falling weight — is Leonardo's key idea.

Materialien für diesen Schritt:

Leaf SpringLeaf Spring2 Stück

Benötigte Werkzeuge:

Wooden MalletWooden Mallet
4

Cut and fit the wooden gears

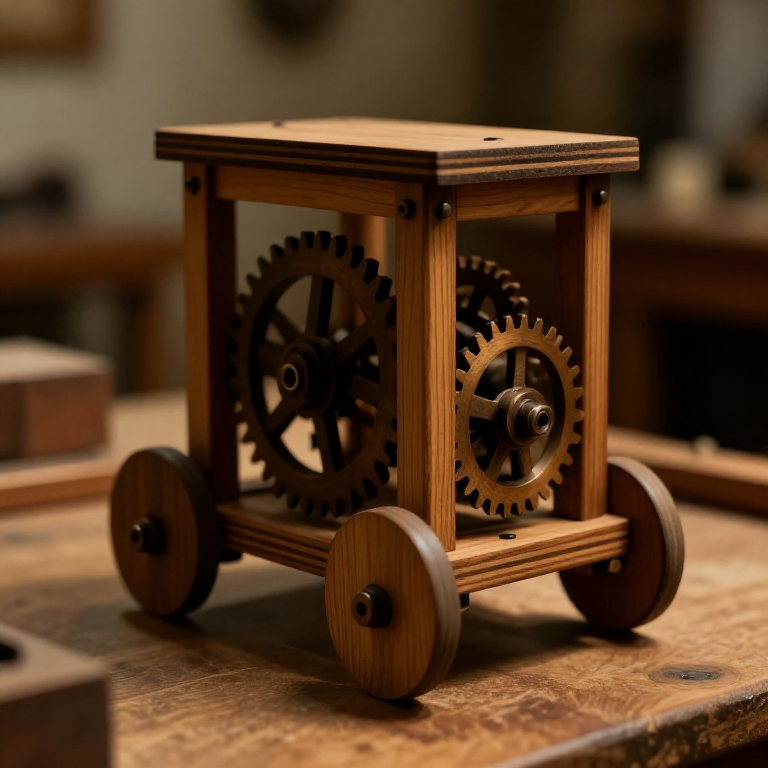
Cut cogged wooden gearwheels that take the drive from the spring drums and gear it down to the road wheels, so the stored energy is delivered at a slow, steady, useful speed instead of one violent burst.

Materialien für diesen Schritt:

Wooden GearWooden Gear4 Stück

Benötigte Werkzeuge:

GougeGouge
KnifeKnife
5

Add the escapement

Fit an escapement — the same regulating trick used in clocks — between the springs and the gears. It releases the spring's energy in small, even steps, keeping the cart's speed controlled rather than letting it bolt and stop.

Materialien für diesen Schritt:

Wooden GearWooden Gear1 Stück

Benötigte Werkzeuge:

KnifeKnife
6

Build the programmable steering

Set removable pegs into a horizontal control wheel geared to the drive. As that wheel turns, each peg nudges the steering to a preset angle, so the cart follows a path you program in advance by where you place the pegs — turn the pegs, change the route.

Materialien für diesen Schritt:

Beech LumberBeech Lumber1 Stück
Binding RopeBinding Rope5 Meter

Benötigte Werkzeuge:

Hand AugerHand Auger
7

Wind, set down, release

Wind the springs to store energy, place the cart on the floor, and release the catch. It rolls away under its own power and steers itself left and right exactly as the pegs command, with no one touching it.
8

See why it was centuries ahead

Spring power, gear reduction, escapement regulation and programmable control together in one device — roughly 400 years before the automobile and the programmable machine. The 2004 Florence reconstruction proved these were not fantasies: Leonardo's cart genuinely works.

Materialien

4

Benötigte Werkzeuge

5

Materialien verbundener Blueprints

You can swap these in

Can't get one of the materials? Swap it for an equivalent — these work just as well.

CC0 Gemeinfrei

Dieser Blueprint ist unter CC0 veröffentlicht. Sie dürfen dieses Werk für jeden Zweck frei kopieren, ändern, verbreiten und verwenden, ohne um Erlaubnis zu fragen.

Unterstützen Sie den Maker, indem Sie Produkte über seinen Blueprint kaufen, wo er eine Maker-Provision von Anbietern festgelegt, verdient. Oder erstellen Sie eine neue Iteration dieses Blueprints und verbinden Sie ihn in Ihrem eigenen Blueprint, um Einnahmen zu teilen.

Diskussion

(0)

Anmelden um an der Diskussion teilzunehmen

Kommentare werden geladen...