Zusammenarbeit
KUNST
SCHÖNHEIT & WELLNESS
HANDWERK
KULTUR & GESCHICHTE
UNTERHALTUNG
UMFELD
ESSEN & GETRÄNKE
REVERSE ENGINEERING
WISSENSCHAFTEN
SPORT
TECHNOLOGIE
WEARABLES
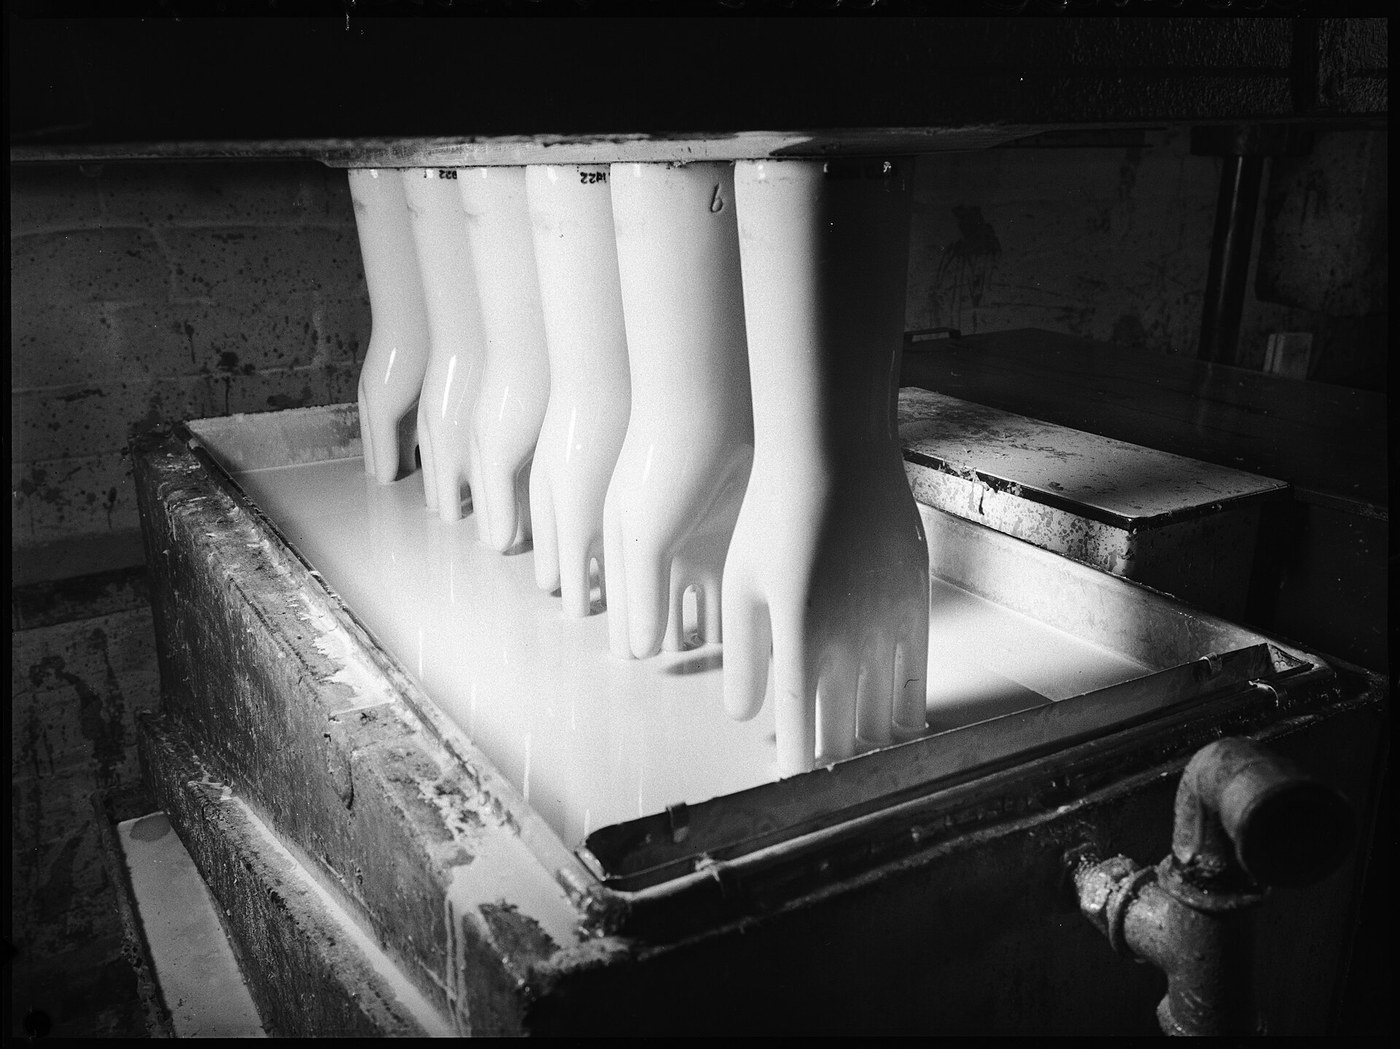


Rubber Gloves: Dipped on a Form, Lined and Turned Inside Out (Miller, 1915)
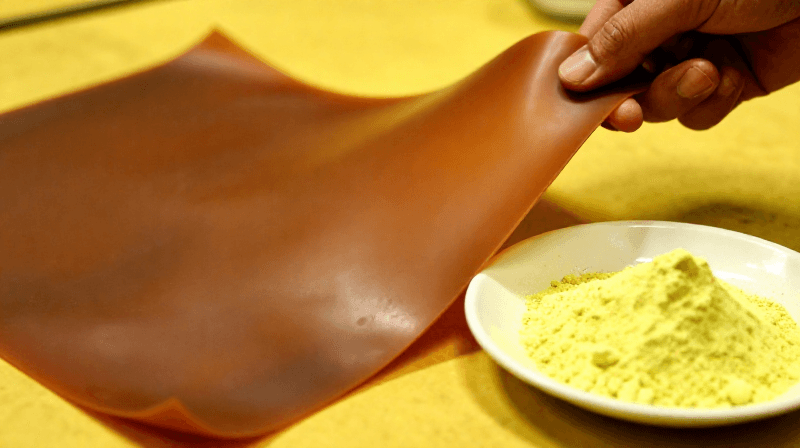
Seamless rubber gloves are made by dipping a hand-shaped form into a rubber solution, coat after coat. Thomas Miller of the Faultless Rubber Company added a cloth lining. After the glove is cured on the form, fabric is fixed to its outside. Peeling the glove off turns it inside out, so the lining ends up inside and the wrist trim outside.
Result: seamless rubber gloves lined with soft knitted fabric, whole or in parts, with a neat finishing strip at the wrist.
Source: T. W. Miller (Faultless Rubber Co.), US Patent 1,146,638 (1915). Unknown: the rubber solution and its solvent, how many dips, the drying and curing conditions, and sizes. Ours: the curing oven and the knife. Picture: Wikimedia Commons (glove forms, 1938).
Fortgeschritten
2 days
Anweisungen
1
1
Put the finishing strip on the form
Put the finishing strip on the form
Around the wrist of a glove form, put the finishing strip that will show on the outside of the finished glove. It can be a strip of rubber, a band of india ink stamped on, or a transfer, in a contrasting colour. A rubber strip also reinforces the wrist.
Materialien für diesen Schritt:
 Kautschukmischung1 finishing strip
Benötigte Werkzeuge:
 Handschuhform
2
2
Dip, dry and trim
Dip, dry and trim
Dip the form into the rubber solution, coat after coat, until the glove is as thick as you want, letting it dry in the usual way. Take each dip a little above the finishing strip. Then cut away the surplus beyond the strip, so the strip ends the glove at the wrist. Not given: the solution recipe and solvent, the number of dips and the drying time.
Materialien für diesen Schritt:
Kautschukmischung1 dipping solution Unbekanntes Material1 solvent
Benötigte Werkzeuge:
Handschuhform Bastelmesser
 Unbekannte Maße
3
3
Vulcanize on the form
Vulcanize on the form
Vulcanize the glove while it is still on the form. Not given: the temperature and time. Ours: a curing oven.
Benötigte Werkzeuge:
Handschuhform Aushärteofen
4
4
Fix the lining
Fix the lining
Cover the outside of the glove with a somewhat elastic fabric such as stockinet. Fix it with rubber cement, or by frictioning one face of the fabric so it grips the rubber. You can line the whole glove or only parts: the wrist, the finger crotches or the finger tips. Fabric put on before vulcanizing holds most firmly; put on after, it can be given a short extra cure.
Materialien für diesen Schritt:
 Unbekannter Stoff1 stockinetKautschukmischung1 as cement
Benötigte Werkzeuge:
Handschuhform5
5
Strip and turn
Strip and turn
Peel the glove off the form. Stripping turns it inside out, so the fabric is now the lining and the finishing strip is on the outside of the wrist.
Benötigte Werkzeuge:
HandschuhformMaterialien
3- 1 as cementPlatzhalter
- 1 solventPlatzhalter
- 1 stockinetPlatzhalter
Benötigte Werkzeuge
4- Platzhalter
- Platzhalter
- Platzhalter
- Platzhalter
Materialien verbundener Blueprints
Dieser Bauplan stellt her

CC0 Gemeinfrei
Dieser Blueprint ist unter CC0 veröffentlicht. Sie dürfen dieses Werk für jeden Zweck frei kopieren, ändern, verbreiten und verwenden, ohne um Erlaubnis zu fragen.
Unterstützen Sie den Maker, indem Sie Produkte über seinen Blueprint kaufen, wo er eine Maker-Provision von Anbietern festgelegt, verdient. Oder erstellen Sie eine neue Iteration dieses Blueprints und verbinden Sie ihn in Ihrem eigenen Blueprint, um Einnahmen zu teilen.