KUNST
SCHÖNHEIT & WELLNESS
HANDWERK
KULTUR & GESCHICHTE
UNTERHALTUNG
UMFELD
ESSEN & GETRÄNKE
REVERSE ENGINEERING
WISSENSCHAFTEN
SPORT
TECHNOLOGIE
WEARABLES
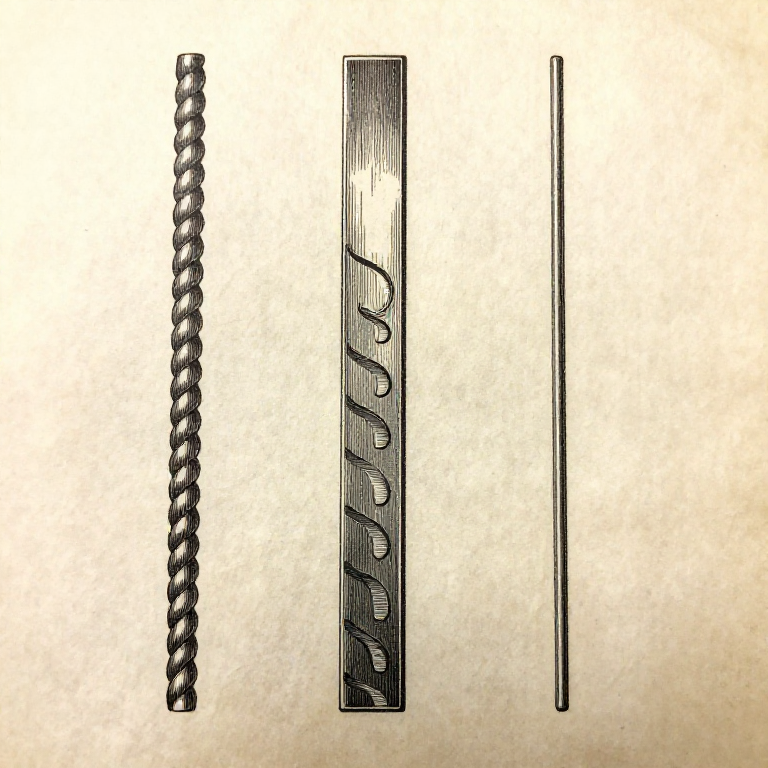


Running a Bead: Travel Speed Is Not a Matter of Taste
A bead is a line of weld metal laid down in one pass. It is the unit everything else is built out of, and it is where a welder is taught, because a bead run on a flat plate with no joint under it shows every fault without hiding any of them.
Three things are read off a finished bead: its width, its height, and the row of ripples on top. Each of those reports on one of the variables from the previous rung.
This rung also works out heat input in joules per millimetre — the number that connects current, arc voltage and travel speed, and the one that decides how far the work will pull out of shape.
Anfänger
4 hours
Anweisungen
1
1
What a bead is telling you
What a bead is telling you
**Width** reports arc length and weave. A bead two to three times the core diameter is a stringer, run straight. Much wider than that on a straight run means the arc is too long.
**Height** reports travel speed. Too slow and the metal piles up into a tall, narrow, rope-like bead that has barely fused into the plate beneath it. Too fast and the bead is thin, stringy and often has a crack down the middle of the crater at the end.
**The ripples** report steadiness. Even crescents, evenly spaced, all pointing backwards, mean a steady speed and a steady arc. Ripples that bunch and stretch mean a hand that is speeding up and slowing down.
A bead that is about twice as wide as it is high, flat-faced or slightly convex, blending into the plate at both toes without a sharp step, is a good one.
Materialien für diesen Schritt:
 Baustahlplatte2 Stück
 Schweißelektrode1 Packung
Benötigte Werkzeuge:
 Lichtbogen-Schweißgerät
 Automatikschweißhelm
 Schweißerhandschuhe
 Einschlaglupe
2
2
Heat input, and why the speed is already decided
Heat input, and why the speed is already decided
Jupyter-Notebook wird geladen …
Benötigte Werkzeuge:
 Desktop-Computer
3
3
Stringer or weave
Stringer or weave
A **stringer** is run straight along the joint with no side-to-side movement. It puts less heat into the plate per unit length of joint, cools faster, and is what you want on thin material, on high-strength steels, and for the root run of a multi-pass weld.
A **weave** swings the rod side to side to fill a wider gap in one pass. It is slower along the joint, so it puts in much more heat, and it is the right answer for filling a wide V and for capping a multi-pass weld.
The practical limit on a weave is about two and a half to three times the core diameter of the electrode. Wider than that and the pool is too big for the arc to hold — it sags in the flat position and simply falls out in any other.
Pause very slightly at each edge of a weave. That is where the pool has to wash into the parent metal, and a weave that sweeps straight through leaves cold, unfused edges under a bead that looks fine from the top.
Materialien für diesen Schritt:
Baustahlplatte2 StückSchweißelektrode1 PackungBenötigte Werkzeuge:
Lichtbogen-SchweißgerätAutomatikschweißhelmSchweißerhandschuhe4
4
Starting, restarting and filling the crater
Starting, restarting and filling the crater
The two weakest points of a bead are its two ends.
**At the start** the plate is cold, so the first 10-20 mm gets less penetration than the rest. Strike about 10 mm ahead of where the weld is to begin, run back to the start, then go forward over the strike point — by the time you cross it the plate is warm.
**At a restart** the old crater must be chipped and brushed clean of slag first. Restart on the front edge of the crater, hold long enough to fill it, then move on. Restarting on top of slag is the commonest way to bury an inclusion.
**At the end** stopping dead leaves a crater — a dish of metal that has solidified last, fed by nothing, and it very often cracks down the middle. Fill it: pause, or swing back over the last 10 mm of the bead before lifting away.
Materialien für diesen Schritt:
Baustahlplatte2 StückSchweißelektrode1 PackungBenötigte Werkzeuge:
Lichtbogen-SchweißgerätAutomatikschweißhelmSchweißerhandschuhe Hammer
 Drahtbürsten-Set
 Schlackenstocher
Verwandte Blueprints
Diese Blueprints teilen Wissen — Techniken, Materialien oder Prinzipien
CC0 Gemeinfrei
Dieser Blueprint ist unter CC0 veröffentlicht. Sie dürfen dieses Werk für jeden Zweck frei kopieren, ändern, verbreiten und verwenden, ohne um Erlaubnis zu fragen.
Unterstützen Sie den Maker, indem Sie Produkte über seinen Blueprint kaufen, wo er eine Maker-Provision von Anbietern festgelegt, verdient. Oder erstellen Sie eine neue Iteration dieses Blueprints und verbinden Sie ihn in Ihrem eigenen Blueprint, um Einnahmen zu teilen.