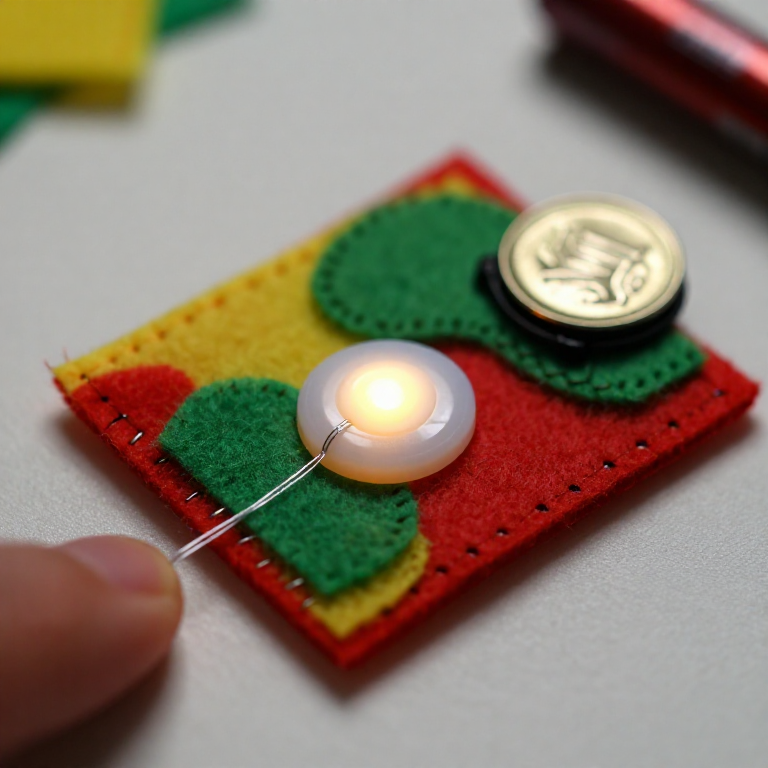


Sewing a LilyPad Button Circuit
Add a switch you can sew: a LilyPad button placed in the circuit lights your LED only while it's pressed. Same e-textile rules as before — + to + and - to -, no crossing lines — but now the button sits in the + line, so current flows only when you press it. A press-to-light patch for a bag, badge or costume.
Anweisungen
Plan the circuit with a button
Plan the circuit with a button
Arrange a LilyPad LED, a LilyPad button and a coin-cell battery holder on felt. The button goes in the + line, between the battery's + tab and the LED's + tab, so pressing it completes the circuit.
Materialien für diesen Schritt:
 LilyPad LED - 5 pcs1 Packung
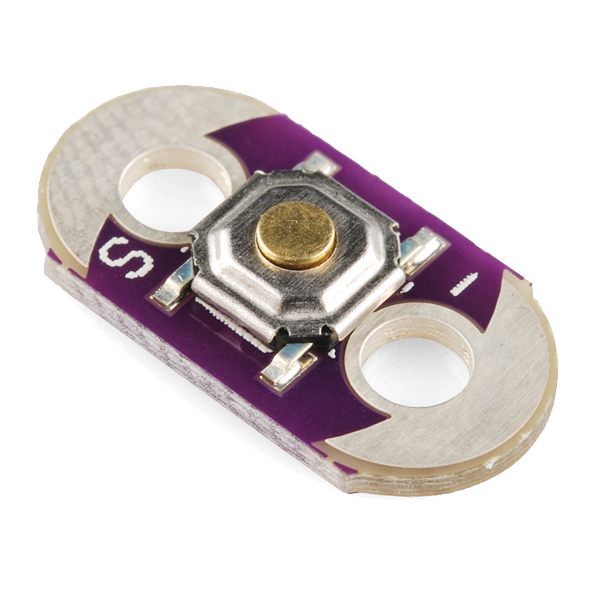 LilyPad Button Board1 Stück
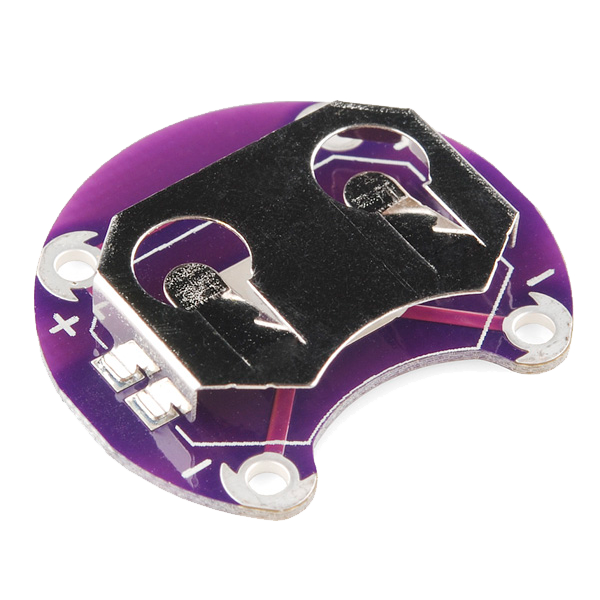 LilyPad Coin Cell Battery Holder - 20mm1 Stück
 Wollfilzplatte1 Blatt
Sew the positive line through the button
Sew the positive line through the button
With conductive thread, stitch from the battery + tab to one tab of the button, then knot and cut; start fresh and stitch from the button's other tab to the LED + tab. Loop 3–4 times through each hole for firm contact and trim the tails short.
Materialien für diesen Schritt:
 Conductive Thread - 60g (Stainless Steel)1 Spule
Benötigte Werkzeuge:
 Handnähnadeln
Sew the negative line
Sew the negative line
With a fresh thread, stitch the LED - tab straight to the battery - tab. Keep this line well away from the + line and the button — anywhere the two conductive paths touch, the circuit shorts.
Press to test
Press to test
Slot in a CR2032 (+ side up). Press the button — the LED lights; release — it goes out. If it stays dark, check that both button tabs are stitched into the line and that no threads are touching across the two sides.
Materialien für diesen Schritt:
 Knopfzelle CR20321 Stück
Secure and use
Secure and use
Seal each knot with a dab of clear nail polish or fabric glue so it can't loosen. Sew the felt onto a bag, badge or costume — you've made a press-to-light patch.
Materialien
6- LilyPad LED - 5 pcs10% Provision1 Packung€3.75
- LilyPad Button Board10% Provision1 Stück€1.99
- LilyPad Coin Cell Battery Holder - 20mm10% Provision1 Stück€3.75
- 1 BlattPlatzhalter
- Conductive Thread - 60g (Stainless Steel)10% Provision1 Spule€35.85
- 1 StückPlatzhalter
Benötigte Werkzeuge
1- Platzhalter
Verwandte Blueprints
Diese Blueprints teilen Wissen — Techniken, Materialien oder Prinzipien

CC0 Gemeinfrei
Dieser Blueprint ist unter CC0 veröffentlicht. Sie dürfen dieses Werk für jeden Zweck frei kopieren, ändern, verbreiten und verwenden, ohne um Erlaubnis zu fragen.
Unterstützen Sie den Maker, indem Sie Produkte über seinen Blueprint kaufen, wo er eine Maker-Provision von Anbietern festgelegt, verdient. Oder erstellen Sie eine neue Iteration dieses Blueprints und verbinden Sie ihn in Ihrem eigenen Blueprint, um Einnahmen zu teilen.