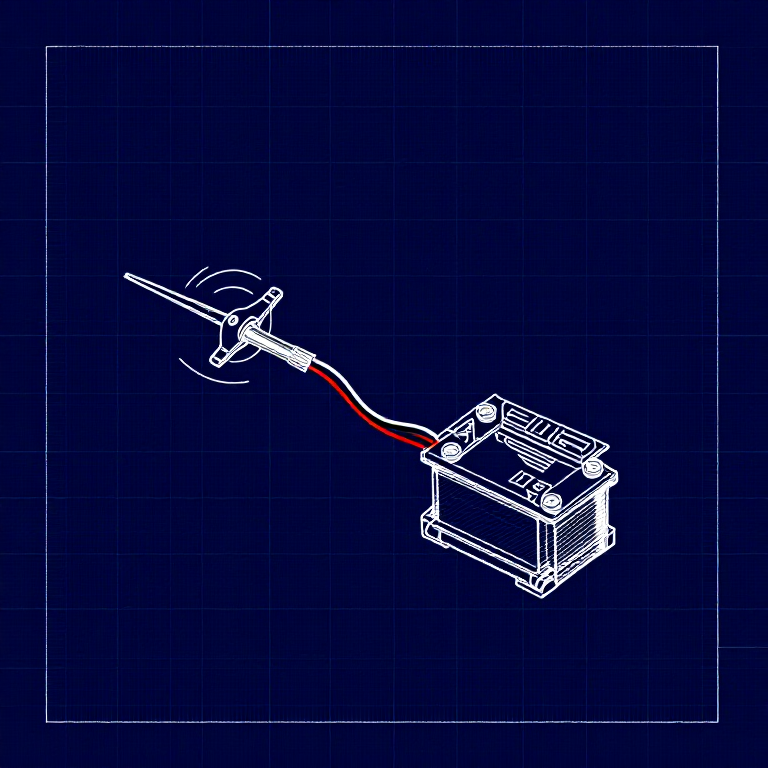


Driving a Servo Motor — SIK Circuit 8
Anweisungen
Parts & Introduction
Parts & Introduction
A servo motor can be precisely positioned between 0 and 180 degrees. Unlike a regular motor that just spins, servos hold their position — making them perfect for robotics, pan/tilt mechanisms, and control surfaces. This experiment introduces the Servo library.
Parts Needed
- 1x Arduino Uno + USB cable
- 1x Breadboard
- 1x Servo Motor (with 3-pin header)
- 8x Jumper Wires
The servo has three wires: Red (power), Black (ground), White (signal).
Materialien für diesen Schritt:
 SparkFun Inventor's Kit - V3.21 Set
Benötigte Werkzeuge:
 Computer mit Arduino-IDE
Hardware Hookup
Hardware Hookup
Wiring Instructions
- Connect 3 jumper wires to the servo's female 3-pin header for breadboarding.
- Connect the Red wire to 5V.
- Connect the Black wire to GND.
- Connect the White wire (signal) to Digital Pin 9.
Power Note: Servos draw significant current. If the servo twitches and the Arduino resets, use a wall adapter instead of USB power, or power the servo from a separate 5V supply.
Materialien für diesen Schritt:
 Steckbrücken3 Stück
Arduino Code
Arduino Code
Open the Arduino IDE and upload the following sketch to your Arduino board.
Materialien für diesen Schritt:
 Arduino Uno R31 Stück
Benötigte Werkzeuge:
Computer mit Arduino-IDETest & Experiment
Test & Experiment
What You Should See
The servo quickly moves to 90°, 180°, and 0° (1 second each), then slowly sweeps from 0° to 180° and back.
Troubleshooting
- Servo not moving: Even with colored wires, it's easy to plug a servo in backwards. Check connections.
- Twitching/resetting: The servo draws too much power from USB. Use a wall adapter or separate power supply.
Experiments to Try
- Add a potentiometer (from Circuit 2) to control servo position with a knob.
- Change the step size and delay to experiment with speed and smoothness.
- Build a simple pan/tilt mechanism with two servos.
Materialien
5- SparkFun Inventor's Kit - V3.210% Provision1 Set€95.47
- Platzhalter
- Platzhalter
- Platzhalter
- 1 StückPlatzhalter
Benötigte Werkzeuge
1- Platzhalter
CC0 Gemeinfrei
Dieser Blueprint ist unter CC0 veröffentlicht. Sie dürfen dieses Werk für jeden Zweck frei kopieren, ändern, verbreiten und verwenden, ohne um Erlaubnis zu fragen.
Unterstützen Sie den Maker, indem Sie Produkte über seinen Blueprint kaufen, wo er eine Maker-Provision von Anbietern festgelegt, verdient. Oder erstellen Sie eine neue Iteration dieses Blueprints und verbinden Sie ihn in Ihrem eigenen Blueprint, um Einnahmen zu teilen.