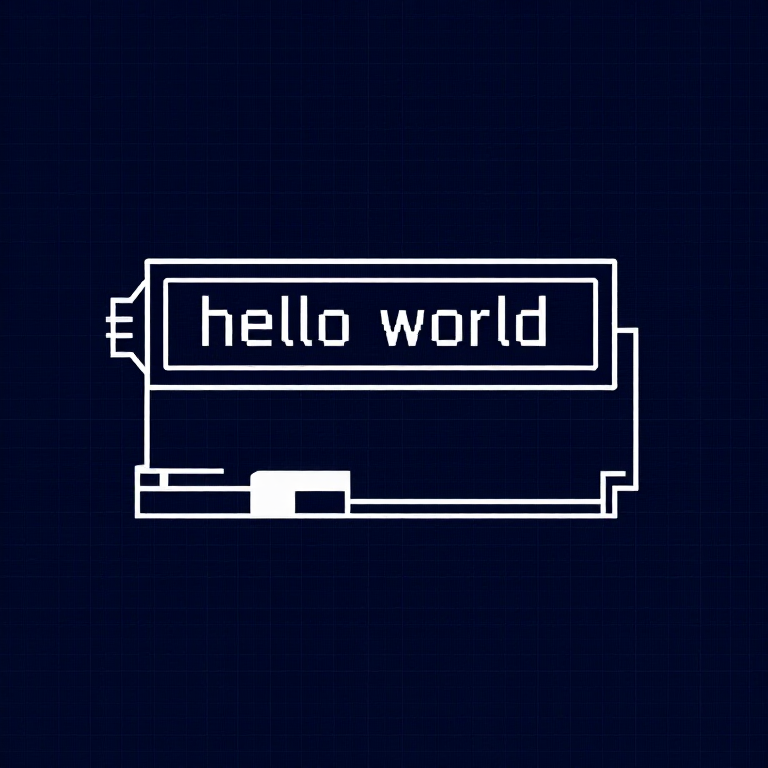


Using an LCD — SIK Circuit 15
Anweisungen
Parts & Introduction
Parts & Introduction
A 16x2 character LCD can display 2 rows of 16 characters each. Using Arduino's LiquidCrystal library, you can display text, numbers, and custom characters. This is the HD44780 standard used by most character LCDs.
Parts Needed
- 1x Arduino Uno + USB cable
- 1x Breadboard
- 1x 16x2 Character LCD
- 1x Potentiometer (for contrast adjustment)
- 16x Jumper Wires
Materialien für diesen Schritt:
 SparkFun Inventor's Kit - V3.21 Set
Benötigte Werkzeuge:
 Computer mit Arduino-IDE
Hardware Hookup
Hardware Hookup
Wiring Instructions
The LCD has 16 pins. Pin 1 is closest to the corner of the board.
| LCD Pin | Connection |
|---|---|
| 1 | GND |
| 2 | 5V |
| 3 | Potentiometer wiper (contrast) |
| 4 | Arduino Pin 12 (RS) |
| 5 | GND (R/W) |
| 6 | Arduino Pin 11 (Enable) |
| 7-10 | Not connected |
| 11 | Arduino Pin 5 (D4) |
| 12 | Arduino Pin 4 (D5) |
| 13 | Arduino Pin 3 (D6) |
| 14 | Arduino Pin 2 (D7) |
| 15 | 5V (backlight +) |
| 16 | GND (backlight -) |
Connect the potentiometer: one side to 5V, other to GND, center pin to LCD pin 3 for contrast adjustment.
Materialien für diesen Schritt:
 16x2-Zeichen-LCD1 Stück
 Steckbrett1 Stück
 Steckbrücken16 Stück
Arduino Code
Arduino Code
Open the Arduino IDE and upload the following sketch to your Arduino board.
Materialien für diesen Schritt:
 Arduino Uno R31 Stück
Benötigte Werkzeuge:
Computer mit Arduino-IDETest & Experiment
Test & Experiment
What You Should See
"hello, world!" appears on the first line of the LCD. The second line shows a running counter of seconds since power-on. You may need to twist the potentiometer to adjust contrast until text is visible.
Troubleshooting
- Screen blank or solid blocks: Adjust the potentiometer until you see text. The contrast range is narrow.
- Nothing at all: Verify the LiquidCrystal library is included and all 16 wires are connected correctly.
- Flickering: Check breadboard connections — loose wires cause display glitches.
Experiments to Try
- Display the temperature sensor reading (from Circuit 7) on the LCD instead of the Serial Monitor.
- Use
lcd.setCursor(col, row)to place text at specific positions. - Create custom characters with
lcd.createChar()for icons and symbols. - Display messages from serial input — type on your computer, see it on the LCD.
Materialien
6- SparkFun Inventor's Kit - V3.210% Provision1 Set€95.47
- Platzhalter
- Platzhalter
- Platzhalter
- Platzhalter
- Platzhalter
Benötigte Werkzeuge
1- Platzhalter
CC0 Gemeinfrei
Dieser Blueprint ist unter CC0 veröffentlicht. Sie dürfen dieses Werk für jeden Zweck frei kopieren, ändern, verbreiten und verwenden, ohne um Erlaubnis zu fragen.
Unterstützen Sie den Maker, indem Sie Produkte über seinen Blueprint kaufen, wo er eine Maker-Provision von Anbietern festgelegt, verdient. Oder erstellen Sie eine neue Iteration dieses Blueprints und verbinden Sie ihn in Ihrem eigenen Blueprint, um Einnahmen zu teilen.