KUNST
SCHÖNHEIT & WELLNESS
HANDWERK
KULTUR & GESCHICHTE
UNTERHALTUNG
UMFELD
ESSEN & GETRÄNKE
REVERSE ENGINEERING
WISSENSCHAFTEN
SPORT
TECHNOLOGIE
WEARABLES
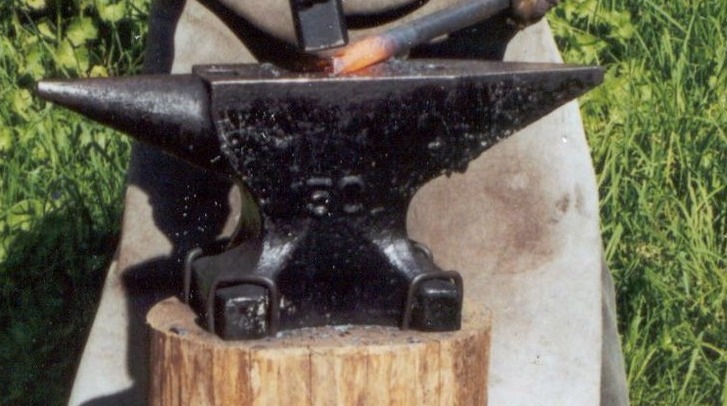


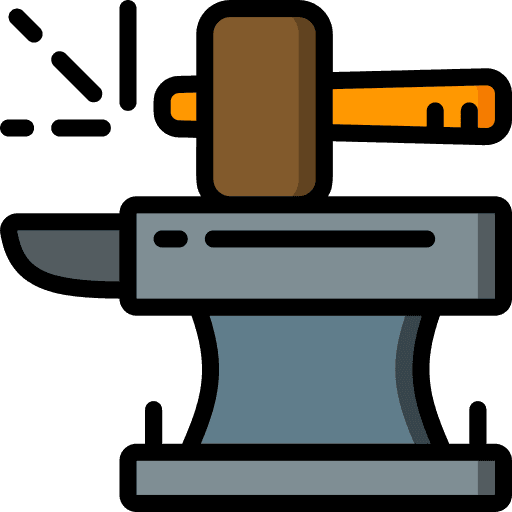
Anvil: Wrought-Iron Body with a Welded Steel Face
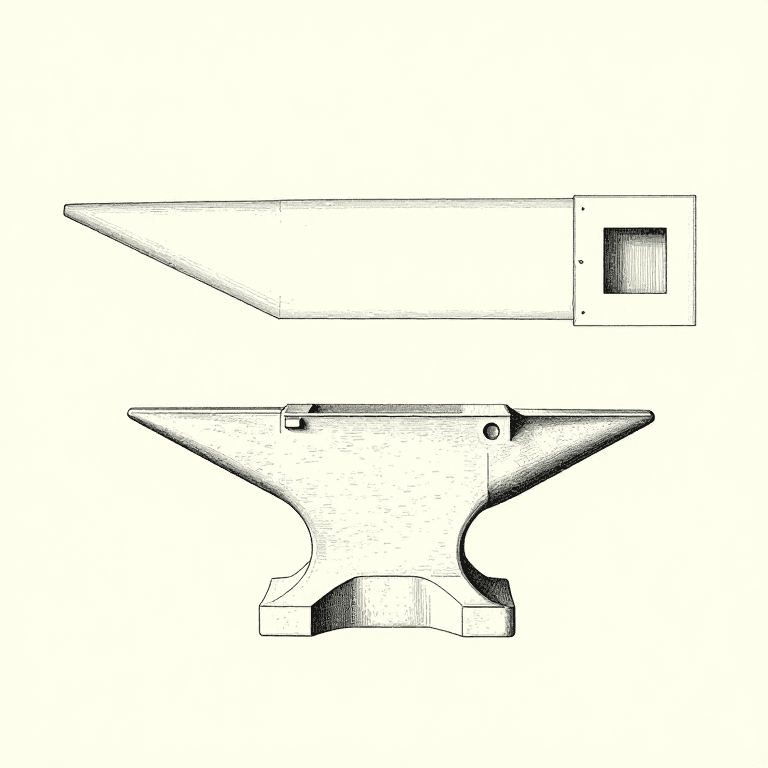
Outside the United States, anvils of the 1880s had a body of wrought iron under a steel face, and a horn of plain wrought iron. The body was roughly shaped under tilt hammers, in one piece or with the corners and horn welded on. A face plate of shear or blister steel, 3/8 to 3/4 inch thick, was forge-welded to it a few inches at a time by four strikers, then the holes were punched and the anvil dressed to shape, ground flat and hardened under a falling stream of water. A well-welded anvil rings clearly when struck. Most modern anvils are instead cast steel with the face hardened by flame or induction.
Erfahren
Works process (1880s)
Anweisungen
1
1
Shape the body
Shape the body
Rough out the wrought-iron body under the tilt hammer, in one piece or with the corners and horn welded on.
Materialien für diesen Schritt:
 Schmiedeeisenstange1 as required
Benötigte Werkzeuge:
 Schwanzhammer
 Schmiedeesse
2
2
Weld on the face
Weld on the face
Bring the body and the steel face plate to a welding heat and weld from one end, about five inches at a time with four strikers, heat after heat, until the whole face is on. Take care not to burn the steel.
Materialien für diesen Schritt:
 Gärbstahlplatte1 Stück
Benötigte Werkzeuge:
Schmiedeesse Vorschlaghammer
3
3
Punch and dress
Punch and dress
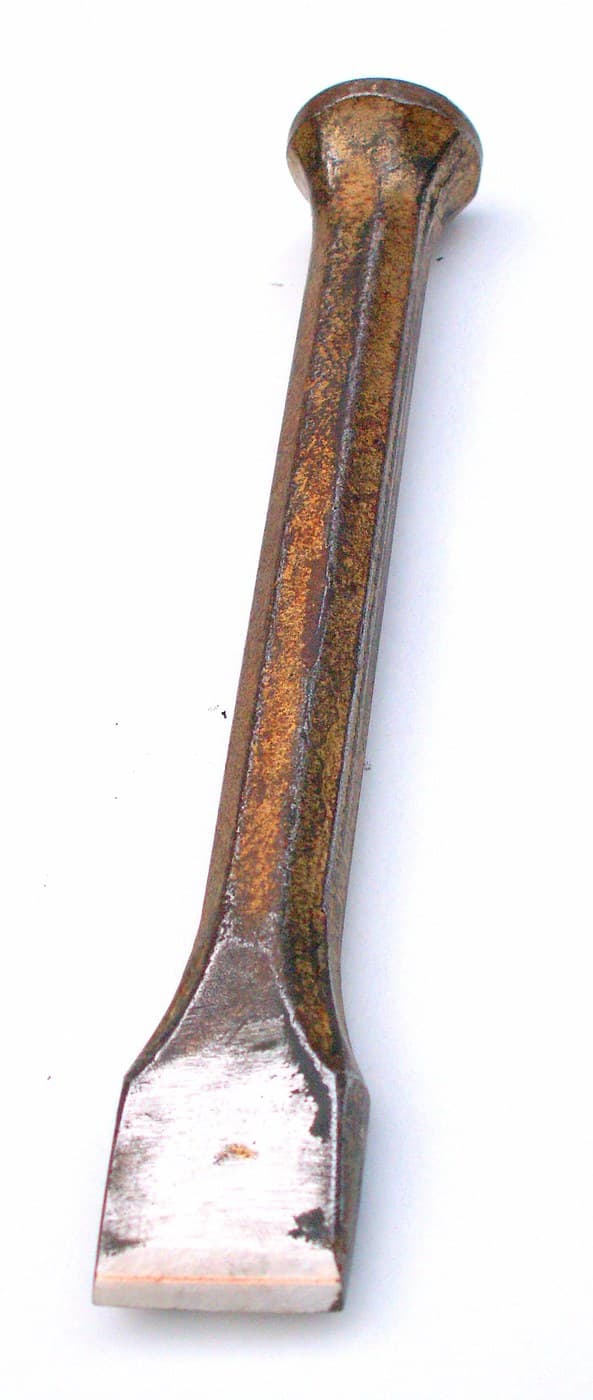
Punch the hardy (cutter) hole and the small round hole in the tail, round the horn, and dress the anvil to shape at another heat.
Benötigte Werkzeuge:
 WarmlocheisenVorschlaghammer
4
4
Grind
Grind
Grind any unevenness out of the face, crosswise on a large stone.
Benötigte Werkzeuge:
 Schleifstein als Rad
5
5
Harden
Harden
Reheat the top to a red heat and let a stream of water fall on it from a ten-foot head. A clear ring when struck shows a sound weld.
Materialien für diesen Schritt:
 Wasser1 as required
Benötigte Werkzeuge:
SchmiedeesseMaterialien
3- 1 as requiredPlatzhalter
- 1 StückPlatzhalter
- 1 as requiredPlatzhalter
Benötigte Werkzeuge
5- Platzhalter
- Platzhalter
- Platzhalter
- Platzhalter
- Platzhalter
Dieser Bauplan stellt her
Verwandte Blueprints
Diese Blueprints teilen Wissen — Techniken, Materialien oder Prinzipien
CC0 Gemeinfrei
Dieser Blueprint ist unter CC0 veröffentlicht. Sie dürfen dieses Werk für jeden Zweck frei kopieren, ändern, verbreiten und verwenden, ohne um Erlaubnis zu fragen.
Unterstützen Sie den Maker, indem Sie Produkte über seinen Blueprint kaufen, wo er eine Maker-Provision von Anbietern festgelegt, verdient. Oder erstellen Sie eine neue Iteration dieses Blueprints und verbinden Sie ihn in Ihrem eigenen Blueprint, um Einnahmen zu teilen.