KUNST
SCHÖNHEIT & WELLNESS
HANDWERK
KULTUR & GESCHICHTE
UNTERHALTUNG
UMFELD
ESSEN & GETRÄNKE
REVERSE ENGINEERING
WISSENSCHAFTEN
SPORT
TECHNOLOGIE
WEARABLES
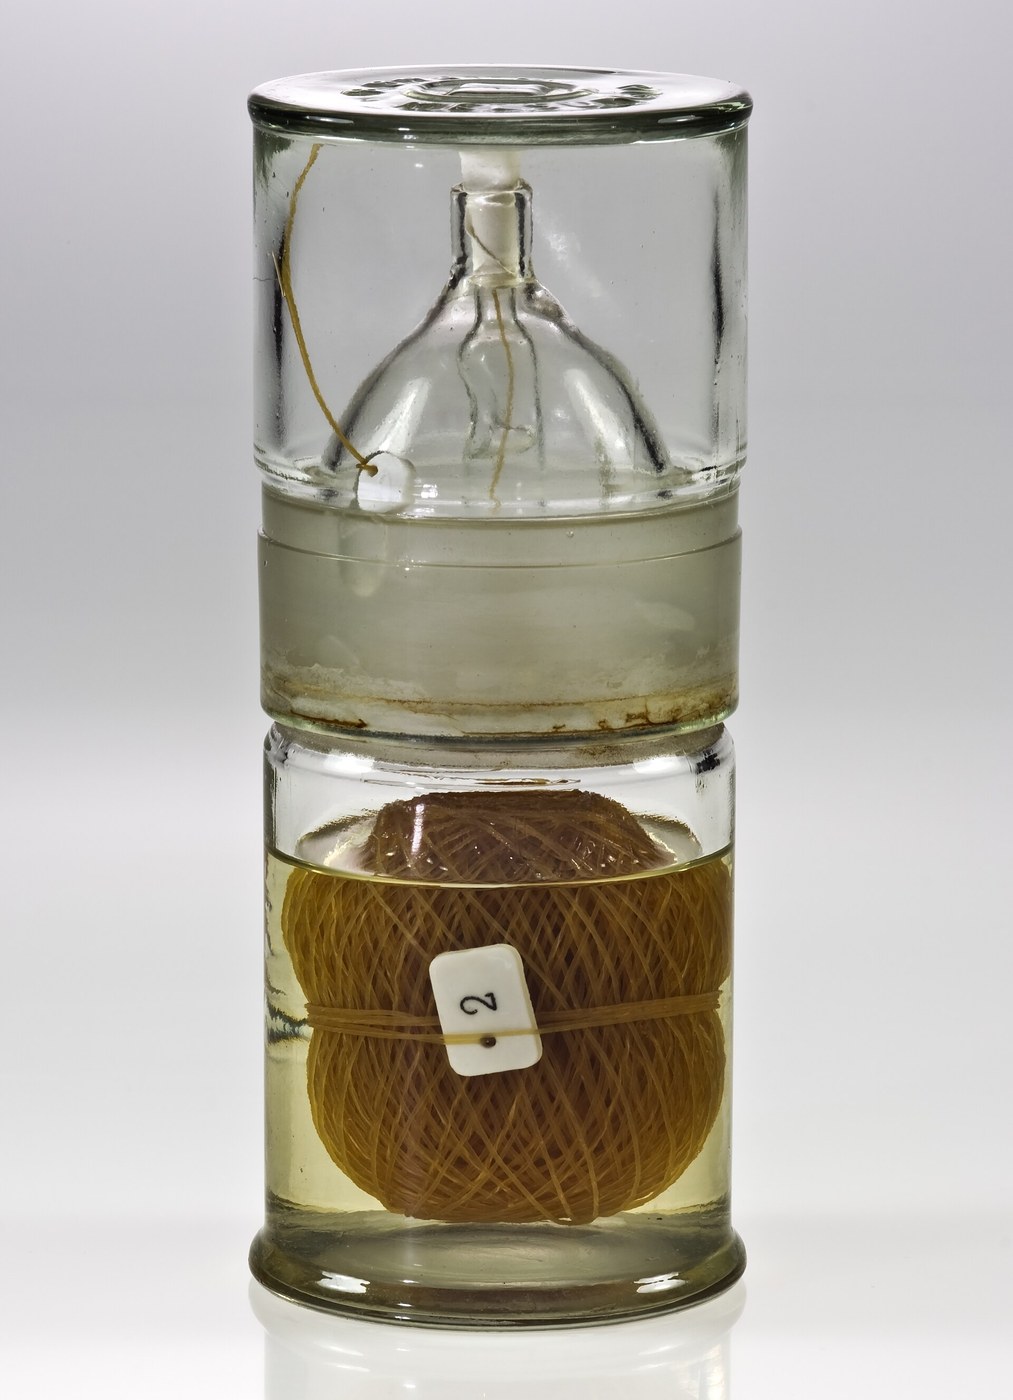


Catgut and the Sterile Suture
Every suture is a compromise between two failures. Too weak and the wound opens. Too permanent and the thread stays in the body as a foreign object, a surface that organisms colonise and the immune system cannot clear.
Catgut resolved this by being food. It is collagen, taken from the submucosa of sheep or ox intestine, twisted and dried into a cord. Once implanted, the body's own proteolytic enzymes digest it: the thread holds the wound while healing happens, then disappears without a second operation. That is not a material property anyone designed. It is a material property somebody noticed.
What Joseph Lister added in 1869 was the other half. Catgut had been used for centuries and had been killing people, because a cord of raw animal collagen is an excellent culture medium. Lister soaked it in carbolic acid and the death rate collapsed. Later he found that treating the gut with chromic salts slowed the digestion, letting the surgeon choose how long the thread would last — the first tunable absorbable implant.
This blueprint is about the two properties you can actually measure at a bench: how strong the thread is, and how fast it goes away. You will make cord, test it to destruction, and run a controlled digestion. You will not suture living tissue.
Fortgeschritten
5 hours 30 minutes
Anweisungen
1
1
Make the cord
Make the cord
Source is the first honest question. Genuine catgut comes from the serosal and submucosal layers of cleaned intestine, and obtaining it means a butcher, a great deal of washing, and a process most makers will not want to run. Do it if you can — sheep casing sold for sausage making is the same tissue and is available clean and salted.
Rinse the salt out thoroughly in several changes of cold water. Slit the casing into ribbons three to five millimetres wide along its length. Wet collagen ribbons are slippery and strong; dry ones are brittle, so work wet throughout.
Twist two or three ribbons together in the same direction, then let them lay against each other — this is exactly the cordage principle, the twist locking the strands because each strand tries to untwist and cannot. Hang the cord under a light tension weight to dry. It will shrink, harden and become translucent.
What you have now is raw gut: strong, absorbable, and thoroughly contaminated. That is the state of the art in 1860, and the mortality that went with it. Do not skip to using it.
Materialien für diesen Schritt:
 Naturschafsdarm (gesalzen)1 Packung
Benötigte Werkzeuge:
 Schüsselsatz aus Edelstahl
 Digitale Präzisionswaage
2
2
The sterilisation cycle, and why dry heat will not do
The sterilisation cycle, and why dry heat will not do
Collagen denatures around 60 to 65 degrees Celsius when wet. Dry heat sterilisation runs at 160 degrees for two hours. The two are incompatible: dry-heat a gut suture and you get a sterile, useless, shrunken stick.
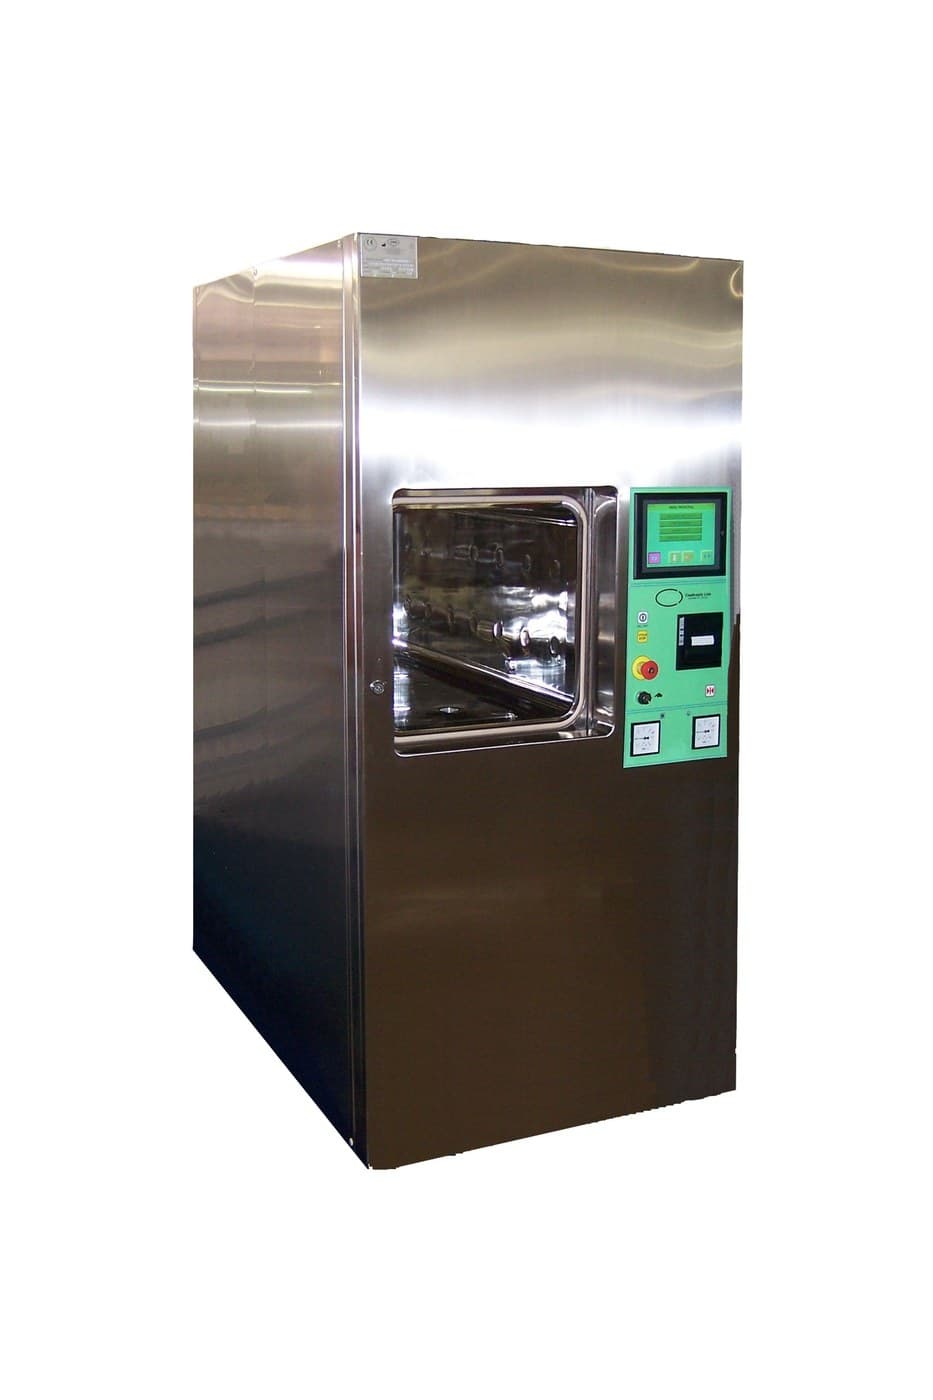
This is why absorbable sutures forced the development of chemical and, later, radiation sterilisation, and it is why the autoclave — which every other instrument in this batch relies on — is the wrong tool here. Steam at 121 degrees is worse than dry heat for this material, not better, because the moisture is what lets collagen unfold.
The flow lays out three routes side by side: dry heat, autoclave, and immersion in a chemical agent. Follow each to its outcome for a collagen thread. Only one route ends with a thread that is both sterile and still a thread, and the diagram makes the reason explicit at each branch. The tubing-and-alcohol storage at the end is the historical answer and the one you will use.
Flow
Loading...
Benötigte Werkzeuge:
 Tisch-Autoklav
 Magnetrührer mit Heizplatte
 Isopropylalkohol 99 %
 Glasfläschchen mit Schraubkappe
3
3
Size, strength, and what the USP numbers mean
Size, strength, and what the USP numbers mean
Jupyter-Notebook wird geladen …
Benötigte Werkzeuge:
 Desktop-Computer
 Digitalmikroskop
4
4
Break it, and break the knot
Break it, and break the knot
Build the simplest tensile rig that gives real numbers: the cord clamped at the top, a bucket hanging from the bottom, and water run into the bucket at a steady rate until the cord parts. Weigh the bucket. That is your breaking load, and the slow ramp matters because collagen is viscoelastic and a jerk will read low.
Now do it again with a knot in the middle, and watch the number fall. It will fall a great deal — knot-pull strength is typically well under the straight-pull strength, because the thread fails at the point where it turns most sharply around itself. Every suture specification in the world is quoted as knot-pull for this reason: the straight-pull figure describes a condition that never occurs in use.
Tie three different knots and compare. A square knot, a surgeon's knot with the extra first throw, and a granny. Record both the breaking load and where it broke. The granny will slip rather than break, which is the failure that reopens a wound days later and is worse than a clean break because nothing looks wrong at the time.
Repeat each condition at least five times. Collagen is a natural material and single measurements from it mean nothing.
Materialien für diesen Schritt:
 Eimer1 Stück
Benötigte Werkzeuge:
 Stativ (Laborstativ)Digitale Präzisionswaage
 Digitaler Messschieber 6 Zoll
5
5
Run the digestion, and see the tuning work
Run the digestion, and see the tuning work
This is the step that shows what Lister actually bought with chromic treatment.
Prepare two sets of cord: untreated, and treated by soaking in a dilute chromium salt solution and re-drying. Cut identical lengths of each. Immerse them in a warm proteolytic bath — a solution of a protease enzyme at body temperature is the honest bench analogue of tissue, and pancreatin or a papain-based meat tenderiser both work. Hold the temperature at 37 degrees with the hotplate and stirrer.
Remove one sample of each type at intervals — six hours, one day, two days, four days, seven days — rinse, dry, and break it on the rig from step 4. Plot retained strength against time for both sets.
The untreated cord will lose most of its strength within days. The chromicised cord will hold far longer, because the chromium cross-links the collagen and the enzyme's cutting sites are no longer available at the same rate. That difference is the tunable implant: the surgeon picks how long the thread must last, and the chemistry delivers it.
Where this stops. You have measured strength, knot security and digestion rate — the three numbers that define an absorbable suture. What you have not made is a surgical suture, and the gap is not small. A real one is manufactured under controlled conditions, sterilised by a validated process, swaged onto a needle so there is no thread doubling at the eye, tested for tissue reactivity, and traceable by lot. Suturing itself is a clinical skill taught on models and supervised. Practise the knots on a synthetic skin pad. Never on a person and never on an animal.
Materialien für diesen Schritt:
 Chrom-Kalium-Sulfat (Chromalaun)100 gram
Benötigte Werkzeuge:
Magnetrührer mit Heizplatte Laborthermometer
 Becherglas
 Übungshautkissen zum Nähen (Silikon)
 Papain-Fleischzartmacher (Enzympulver)
Materialien
3- 1 PackungPlatzhalter
- 1 StückPlatzhalter
- 100 gramPlatzhalter
Benötigte Werkzeuge
14- Platzhalter
- Platzhalter
- Platzhalter
- Platzhalter
- Platzhalter
- Platzhalter
- Platzhalter
- Platzhalter
- Platzhalter
- Platzhalter
- Platzhalter
- Platzhalter
- Platzhalter
- Platzhalter
Verwandte Blueprints
Diese Blueprints teilen Wissen — Techniken, Materialien oder Prinzipien



CC0 Gemeinfrei
Dieser Blueprint ist unter CC0 veröffentlicht. Sie dürfen dieses Werk für jeden Zweck frei kopieren, ändern, verbreiten und verwenden, ohne um Erlaubnis zu fragen.
Unterstützen Sie den Maker, indem Sie Produkte über seinen Blueprint kaufen, wo er eine Maker-Provision von Anbietern festgelegt, verdient. Oder erstellen Sie eine neue Iteration dieses Blueprints und verbinden Sie ihn in Ihrem eigenen Blueprint, um Einnahmen zu teilen.