KUNST
SCHÖNHEIT & WELLNESS
HANDWERK
KULTUR & GESCHICHTE
UNTERHALTUNG
UMFELD
ESSEN & GETRÄNKE
GRÜNE ZUKUNFT
REVERSE ENGINEERING
WISSENSCHAFTEN
SPORT
TECHNOLOGIE
WEARABLES
Starting a Fire with a Bow Drill
Master the bow drill — the most reliable friction fire method. The bow multiplies speed and reduces fatigue. Fire provides warmth, water purification, cooking, and protection.
Fortgeschritten
30-45 minutes
Anweisungen
1
1
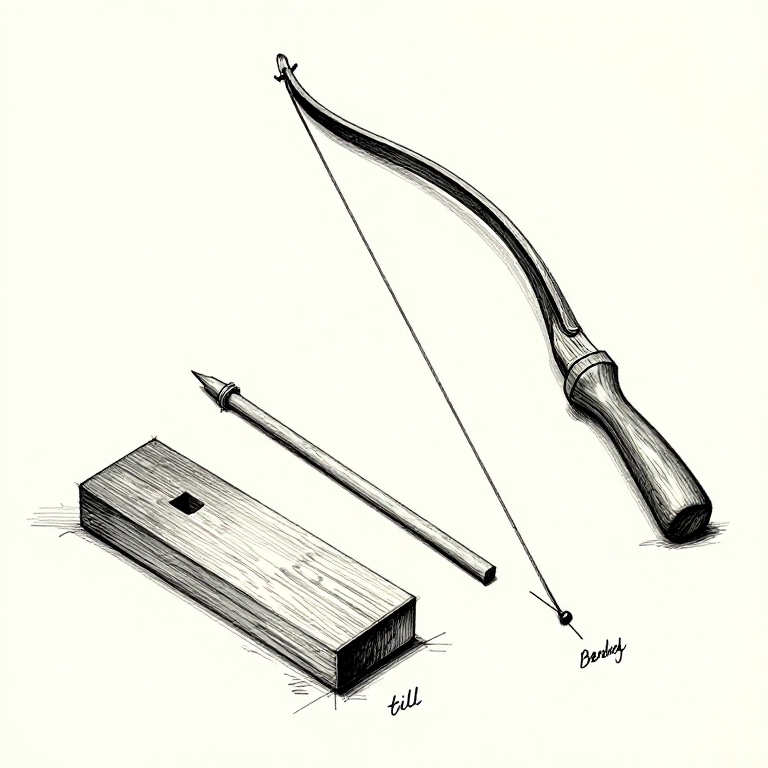
Select Wood
Select Wood
Fireboard & spindle: dry, dead softwood (willow, cottonwood, cedar). Should dent with your thumbnail. Spindle: 2cm diameter, 30cm long. Both must be bone dry.
Materialien für diesen Schritt:
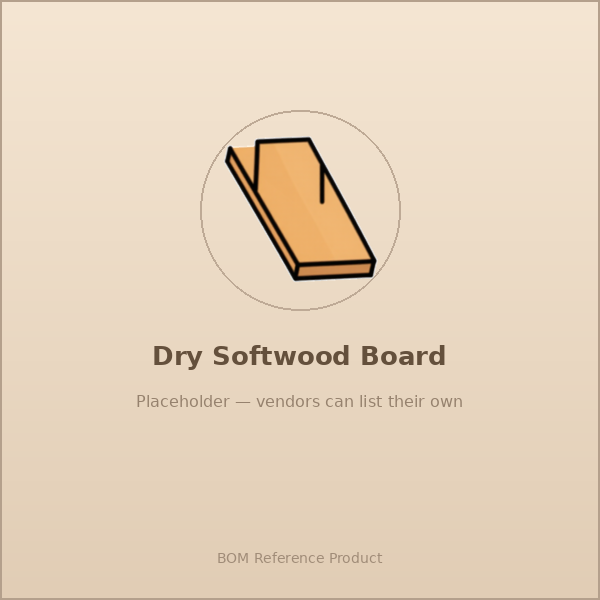 Dry softwood board1 Stück
2
2
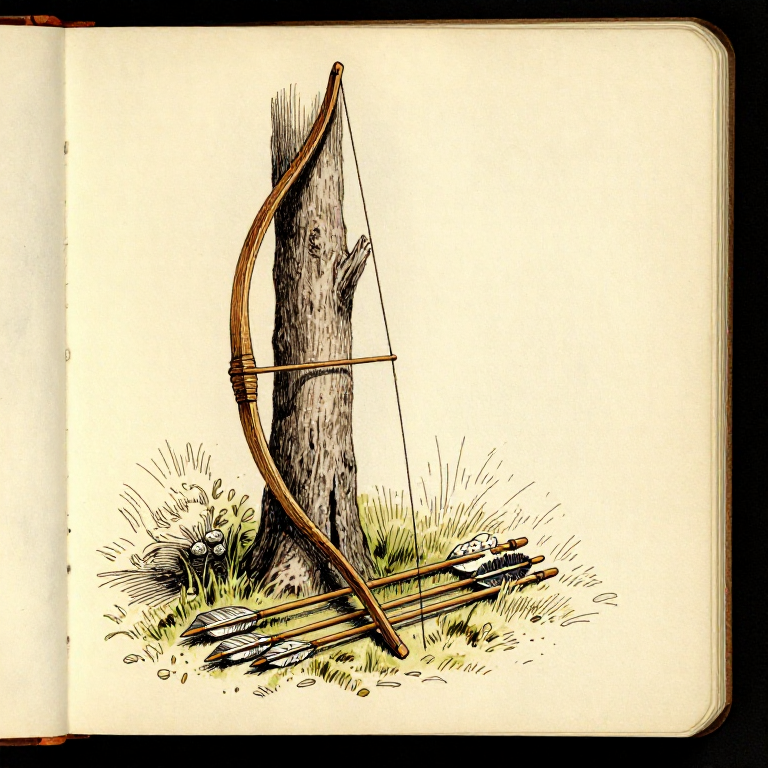
Carve Components
Carve Components
Fireboard: flat, 2cm thick. Carve a small depression near one edge. Bow: curved branch ~60cm with cordage tied between ends. Handhold: hardwood block or stone with a socket.
Design
Diagram showing fireboard with notch dimensions and spindle placement
Materialien für diesen Schritt:
Dry softwood board1 Stück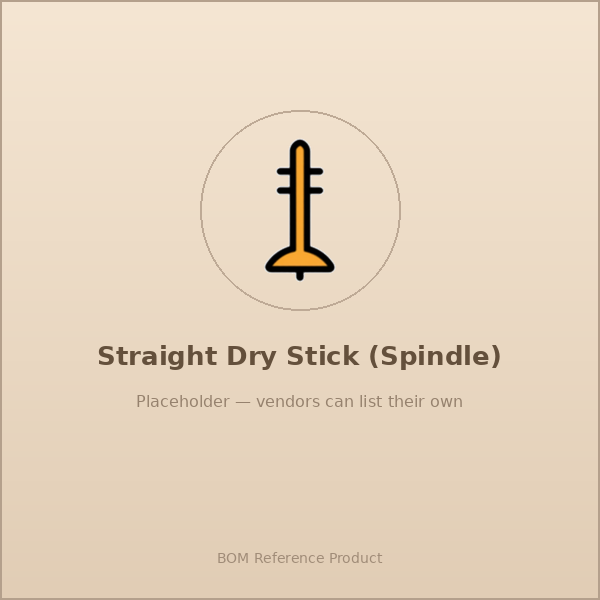 Straight dry stick (spindle)1 Stück
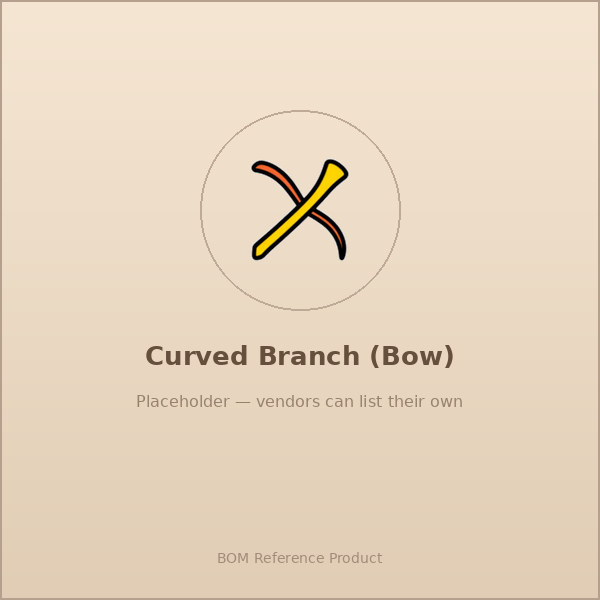 Curved branch (bow)1 Stück
 Cordage1 Meter
 Hardwood/stone handhold1 Stück
 Tinder bundle1 Bündel
Benötigte Werkzeuge:
 Knife
Knife3
3
Burn In & Cut Notch
Burn In & Cut Notch
Bow the spindle slowly to burn a round socket. Then cut a V-notch into the socket — 1/8 of the circle. Place bark underneath to catch the ember.
4
4
Create the Ember
Create the Ember
Long steady strokes, firm pressure. When thick smoke pours from the notch, 10-15 more fast strokes. Lift spindle carefully — glowing coal in the notch.
5
5
Ignite Tinder Bundle
Ignite Tinder Bundle
Tip coal into a nest of dry grass/bark shavings. Fold loosely, blow gently with steady breaths until it bursts into flame. Transfer to fire lay.
Materialien
6- 1 StückPlatzhalter
- 1 StückPlatzhalter
- 1 StückPlatzhalter
- 1 StückPlatzhalter
- 1 BündelPlatzhalter
Related blueprints
Other builds that share materials, tools, or techniques with this one.
CC0 Gemeinfrei
Dieser Blueprint ist unter CC0 veröffentlicht. Sie dürfen dieses Werk für jeden Zweck frei kopieren, ändern, verbreiten und verwenden, ohne um Erlaubnis zu fragen.
Unterstützen Sie den Maker, indem Sie Produkte über seinen Blueprint kaufen, wo er eine Maker-Provision von Anbietern festgelegt, verdient. Oder erstellen Sie eine neue Iteration dieses Blueprints und verbinden Sie ihn in Ihrem eigenen Blueprint, um Einnahmen zu teilen.