
Zusammenarbeit
KUNST
SCHÖNHEIT & WELLNESS
HANDWERK
KULTUR & GESCHICHTE
UNTERHALTUNG
UMFELD
ESSEN & GETRÄNKE
REVERSE ENGINEERING
WISSENSCHAFTEN
SPORT
TECHNOLOGIE
WEARABLES
Canoe Sailing Rig: Bamboo Mast, 9 ft Lateen Sail, Clamp-In Mast Thwart and Leeboards (Boy Mechanic, 1919)
Woody

Erstellt von

Woody

13. November 2026NO
1
0
0
0
0

Canoe Sailing Rig: Bamboo Mast, 9 ft Lateen Sail, Clamp-In Mast Thwart and Leeboards (Boy Mechanic, 1919)

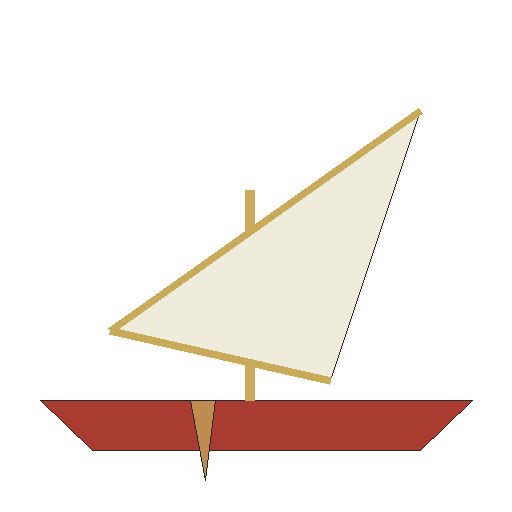
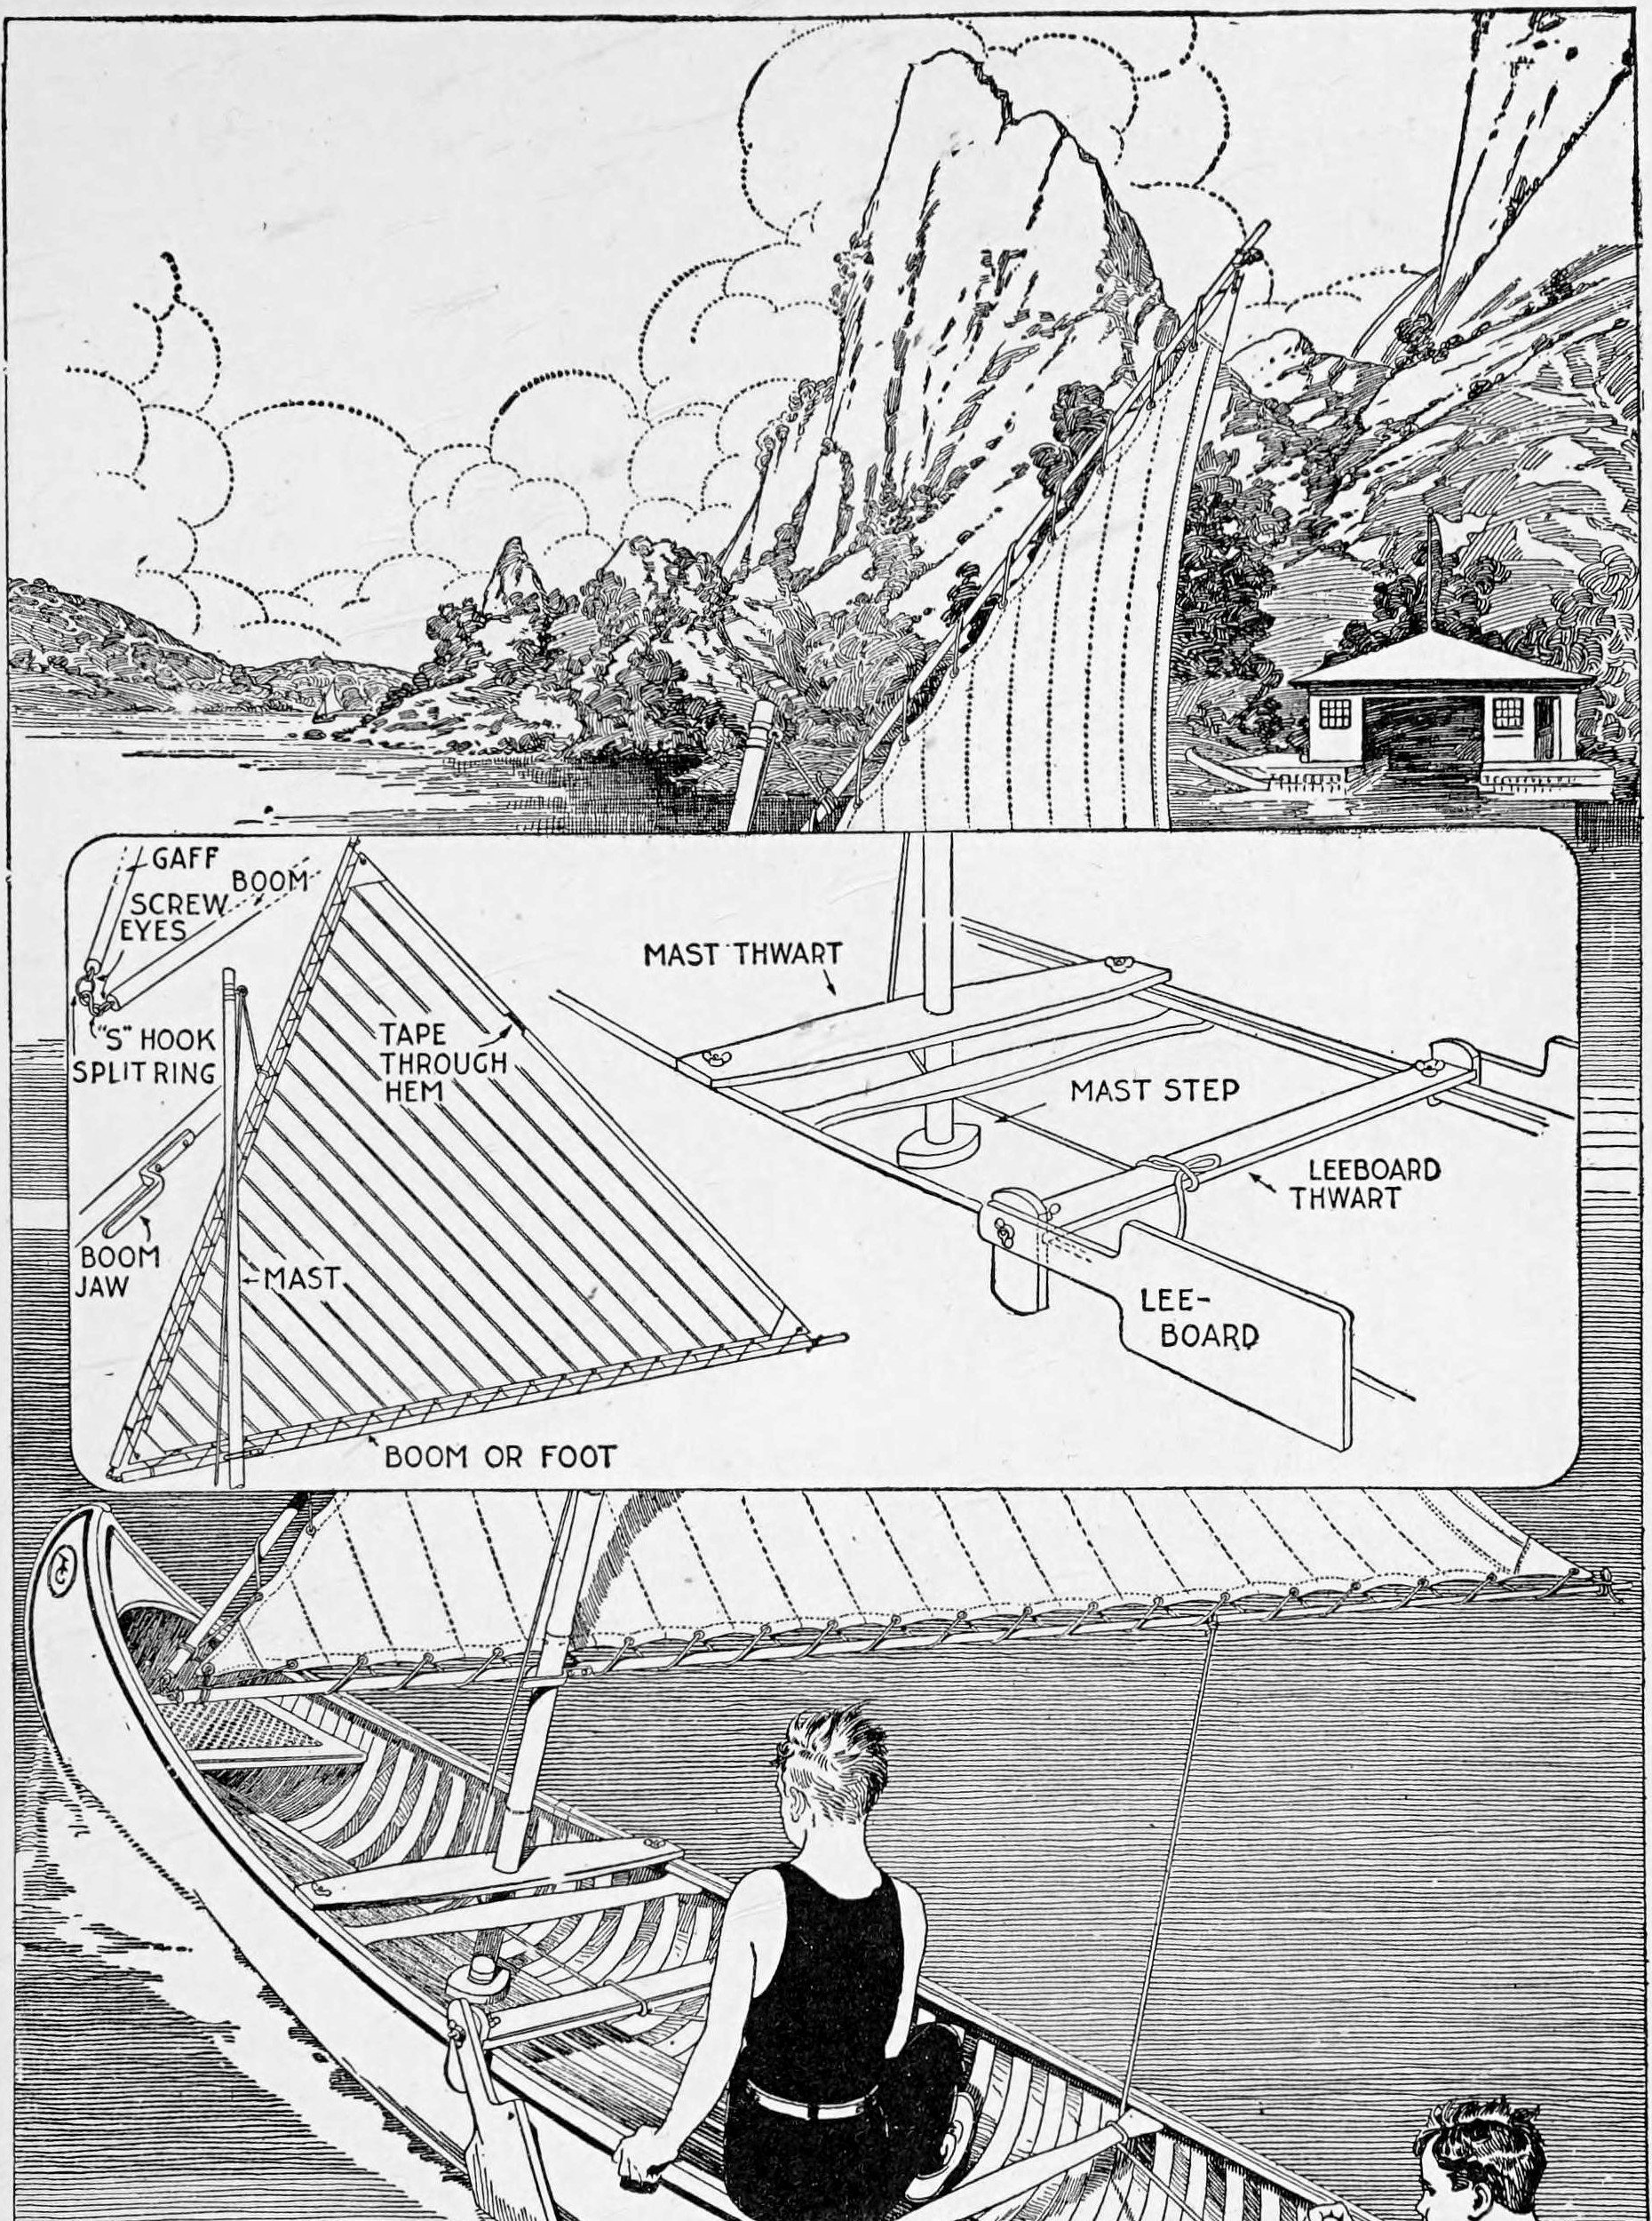
Stillman Taylor's sailing outfit for a 16 ft open canoe from The Boy Mechanic, Book 3 (1919): a 6 ft 10 in bamboo mast, a 9 ft lateen sail of cotton sheeting on two bamboo spars, a mast thwart and leeboard thwart that clamp to the gunwales with brass lantern-board hooks, and leeboards set by thumb nuts. Steer with the paddle.
Fortgeschritten
A few days

Anweisungen

1

Rig sizes and sail area

Jupyter-Notebook wird geladen …
2

Read The Boy Mechanic, Book 3

"The lateen rig is best for an open canoe, because a shorter mast is required for the same sail area ... It is not safe to rig a canoe too heavily, and the rig described has been found to be well proportioned."
3

Make the mast

Cut bamboo 1-1/2 in across to 6 ft 10 in (carpet dealers' rolling bamboo of 1-1/2 to 2 in serves). Whittle a tapered wooden plug about 3 in long to wedge firmly in the top without splitting the cane, bore a small hole through the cane 2 in from the top, and fix a screw eye into the plug for the halyard. Drive small brads through the cane into the plug, and fit a brass ferrule over the end.

Materialien für diesen Schritt:

BambusstangenBambusstangen1 Stück
HartholzbrettHartholzbrett1 Stück
Ringschraube mit HolzgewindeRingschraube mit Holzgewinde1 Stück
NägelNägel1 Stück
MetallringMetallring1 Stück

Benötigte Werkzeuge:

HandsägeHandsäge
LedermesserLedermesser
HandbohrerHandbohrer
HammerHammer
4

Make the spars

Use two bamboo fishing rods, 1 in at the butt and 10 ft long, as gaff and boom. Fix a 1-1/2 in screw eye with a 1/2 in eye at the end of each and join the spar ends with a 1-1/2 in brass split ring and a 1-3/4 in brass S hook. Fasten the 2 in brass boom jaw on the boom with its open end 18 in from the boom's forward end.

Materialien für diesen Schritt:

BambusstangeBambusstange2 Stück
Ringschraube mit HolzgewindeRingschraube mit Holzgewinde2 Stück
Spaltring (Schlüsselring)Spaltring (Schlüsselring)1 Stück
S-HakenS-Haken1 Stück
BaumklauBaumklau1 Stück
HolzschraubenHolzschrauben1 Stück

Benötigte Werkzeuge:

HandbohrerHandbohrer

SchlitzschraubendreherSchlitzschraubendreher
Bandmaß (Rollmeter)Bandmaß (Rollmeter)
5

Sew the sail

Lay the spars on the cloth and pencil a triangle 9 ft on each side. Sew the widths of 1 yd unbleached cotton sheeting together, lapped about 1/2 in and stitched close to both edges, preferably on a machine. Sew bights (folds) 1/2 in wide, 6 in apart, parallel with the leech. Reinforce the corners with segments of cloth. Along the edges lashed to the spars fold and sew 1 in hems, running a 1/2 in tape into the leech hem; fasten the tape to the spar at each end to take up stretch and stop a flapping leech.

Materialien für diesen Schritt:

BaumwolltuchBaumwolltuch8 yard
NähgarnNähgarn1 Stück
Baumwoll-KöperbandBaumwoll-Köperband1 Stück

Benötigte Werkzeuge:
NähmaschineNähmaschine
SchereSchere
BleistiftBleistift
Bandmaß (Rollmeter)Bandmaß (Rollmeter)
6

Make the thwarts and mast step

Mast thwart: two cedar or pine boards 28 by 10 by 3/8 in and a piece 27-1/2 by 3-1/2 by 3/4 in, made as in the plate with a hole in the centre for the mast and a brass lantern-board hook at each end to clamp it to the gunwales. Mast step: a block 5 by 2-1/2 by 1 in, shaped neatly, fixed to the grating (or the ribs). Leeboard thwart: cedar or white pine 5 ft by 4 by 7/8 in, with short upright ends set at an angle to the canoe's curve so it wedges in just aft of the mast; groove the ends to the thwart and screw them on. He gives no leeboard sizes; bolt a leeboard to each end with a 3 in by 5/16 in brass bolt, washer and thumb nut so its angle can be set.

Materialien für diesen Schritt:

ZedernholzbrettZedernholzbrett4 Stück
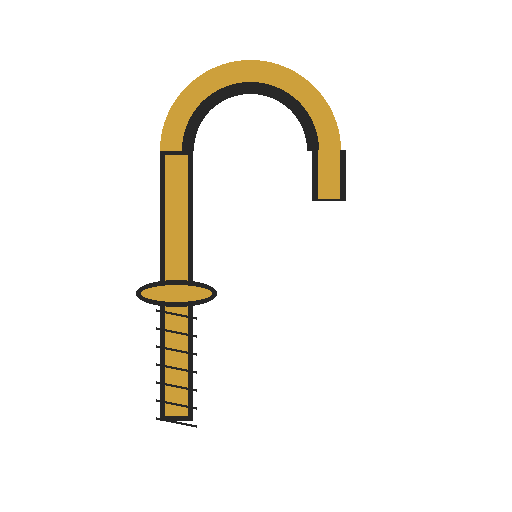
Laternenbrett-HakenLaternenbrett-Haken4 Stück
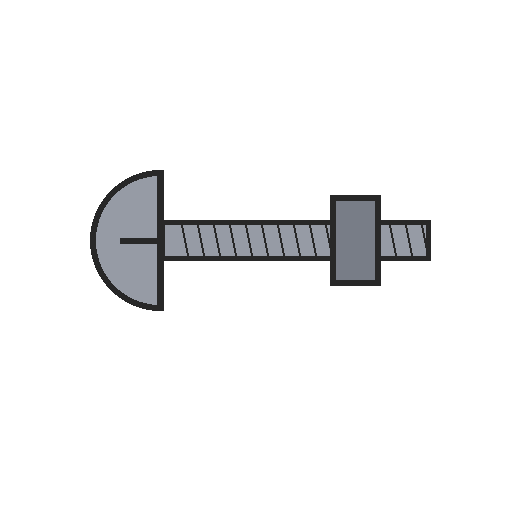
Ofenschraube (Flachrundschraube mit Vierkantmutter)Ofenschraube (Flachrundschraube mit Vierkantmutter)2 Stück

UnterlegscheibeUnterlegscheibe2 Stück
HandflügelmutterHandflügelmutter2 Stück
HolzschraubenHolzschrauben1 Stück

Benötigte Werkzeuge:

HandsägeHandsäge
Laubsäge (Schweifsäge)Laubsäge (Schweifsäge)
HandhobelHandhobel
StechbeitelStechbeitel
Bohrwinde mit BohrerBohrwinde mit Bohrer
SchlitzschraubendreherSchlitzschraubendreher
7

Finish and rig

Smooth all woodwork with sharp tools, sandpaper lightly, and give three coats of spar varnish. Lash the sail to the spars, run the 1/4 in cotton-rope halyard through the screw eye at the masthead until the gaff is close to the top, and find the balance by tying the halyard at different points along the gaff. Run the halyard under the forward thwart to the stern, never tied to it, and loop the main sheet round a thwart and hold it, never made fast.

Materialien für diesen Schritt:

SchleifpapierSchleifpapier1 Stück
BootslackBootslack1 Stück
BaumwollseilBaumwollseil1 Stück

Benötigte Werkzeuge:
Breiter PinselBreiter Pinsel
SchereSchere
8

Sailing safely

Canoe sailing.

Flow

Loading...
9

History and honest limits

From "How to Build a Canoe, Part II" by Stillman Taylor, in **The Boy Mechanic, Book 3**, Popular Mechanics, 1919 (Project Gutenberg 71856; checked on the archive.org scan boymechanic0003unse, pp. 86-88). He gives no leeboard sizes (they vary with the canoe); the list calls the leeboard bolts brass stove bolts with thumb nuts and the text carriage bolts with wing nuts. Cedar for the leeboards, the sail area and the metric figures are ours.

Materialien

21

Benötigte Werkzeuge

14

CC0 Gemeinfrei

Dieser Blueprint ist unter CC0 veröffentlicht. Sie dürfen dieses Werk für jeden Zweck frei kopieren, ändern, verbreiten und verwenden, ohne um Erlaubnis zu fragen.

Unterstützen Sie den Maker, indem Sie Produkte über seinen Blueprint kaufen, wo er eine Maker-Provision von Anbietern festgelegt, verdient. Oder erstellen Sie eine neue Iteration dieses Blueprints und verbinden Sie ihn in Ihrem eigenen Blueprint, um Einnahmen zu teilen.

Diskussion

(0)

Anmelden um an der Diskussion teilzunehmen

Kommentare werden geladen...