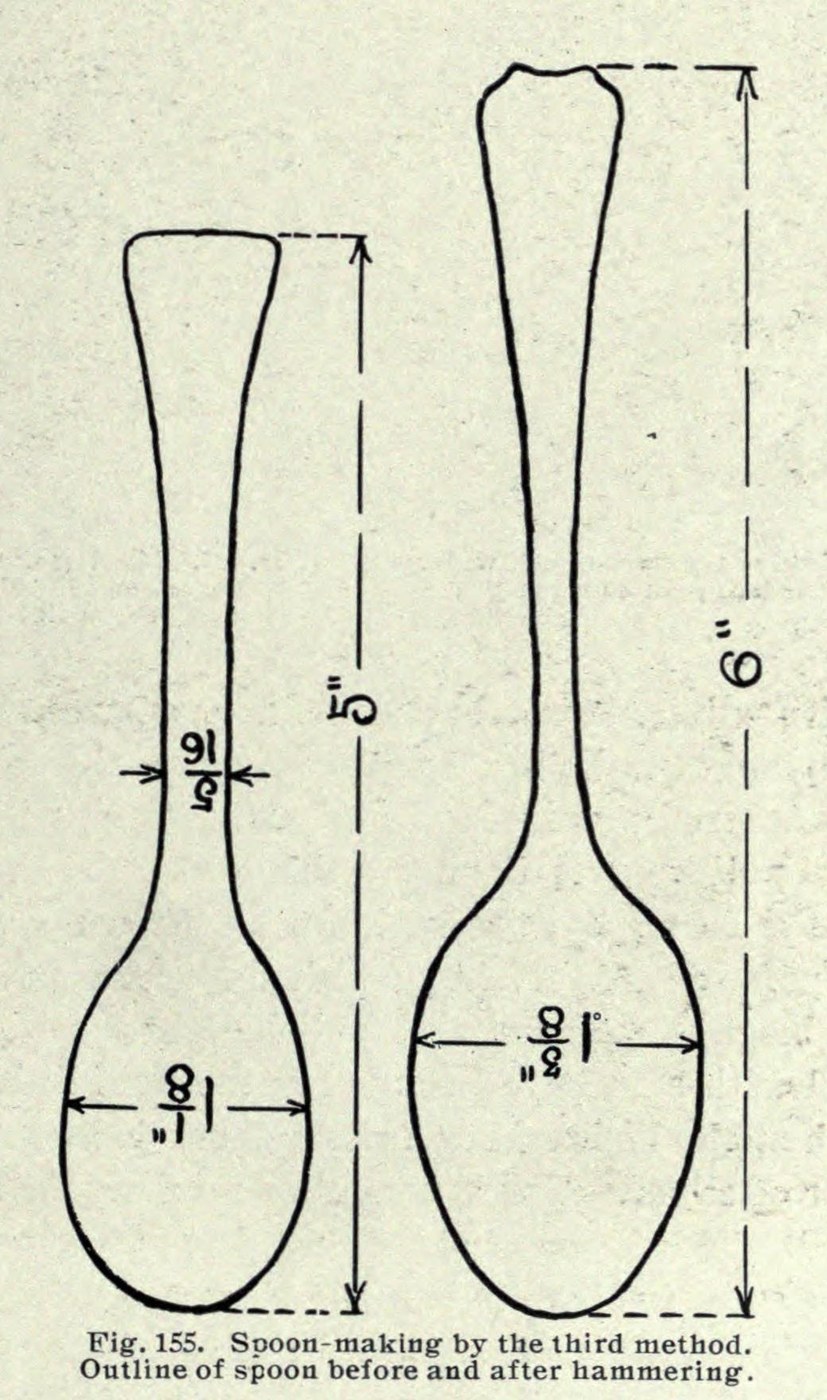


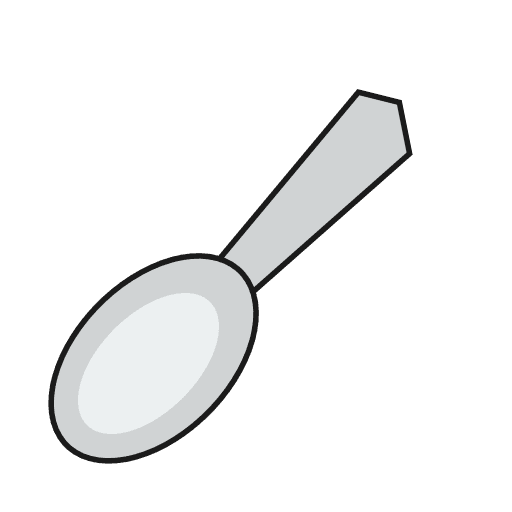
Teaspoon Sawn Short from Silver Sheet, Then Hammered Out (Payne 1914)
Anweisungen
Saw out the short blank
Saw out the short blank
Materialien für diesen Schritt:
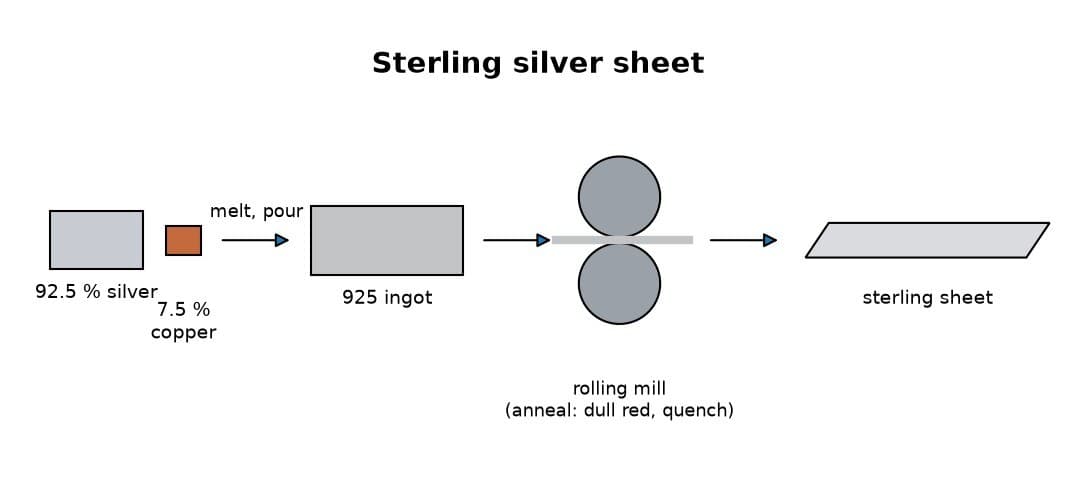
 Blech aus Sterlingsilber1 piece 15 gauge, enough for the 5 in blank
Benötigte Werkzeuge:
 Reißnadel
 Juweliersäge
Stretch the bowl wider
Stretch the bowl wider
Benötigte Werkzeuge:
 Amboss
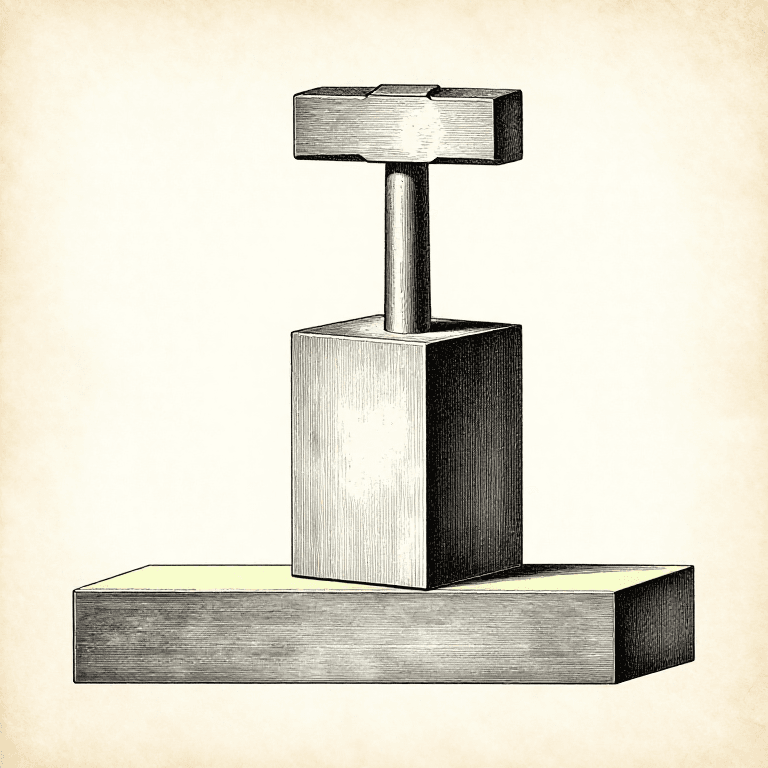
 Schlosserhammer mit Kugelfinne
Narrow the shank with the neck hammer
Narrow the shank with the neck hammer
Benötigte Werkzeuge:
 Pflock
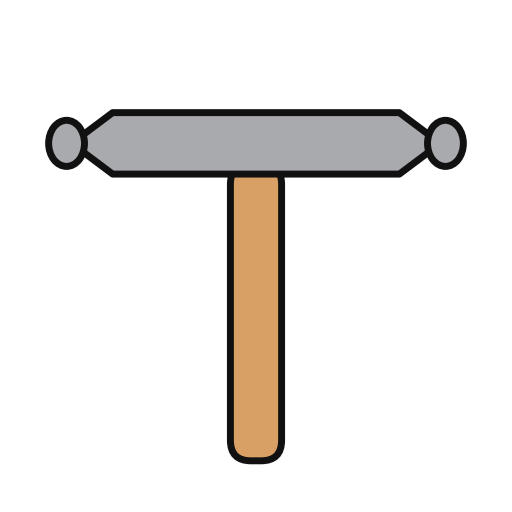 HalshammerSchlosserhammer mit Kugelfinne
Anneal and repeat
Anneal and repeat
Materialien für diesen Schritt:
 Wasser1 as required
Benötigte Werkzeuge:
 Bunsenbrenner
 Zange
 Glasgefäß
File and planish
File and planish
Benötigte Werkzeuge:
 Feilen (Handfeile)
 PlanierhammerPflock
Polish out the file marks
Polish out the file marks
Benötigte Werkzeuge:
 Schmirgelleinen
Anneal to even the fire scale
Anneal to even the fire scale
Materialien für diesen Schritt:
Wasser1 as requiredBenötigte Werkzeuge:
BunsenbrennerZangeGlasgefäßPlanish with smooth hammers
Planish with smooth hammers
Benötigte Werkzeuge:
PlanierhammerAmbossPflockFinal polish with rouge
Final polish with rouge
Benötigte Werkzeuge:
 Schmuckpoliertuch
 Polierrot
Materialien
2- 1 piece 15 gauge, enough for the 5 in blankPlatzhalter
- 2 as requiredPlatzhalter
Benötigte Werkzeuge
14- Platzhalter
- Platzhalter
- Platzhalter
- Platzhalter
- Platzhalter
- Platzhalter
- Platzhalter
- Platzhalter
- Platzhalter
- Platzhalter
- Platzhalter
- Platzhalter
- Platzhalter
- Platzhalter
Dieser Bauplan stellt her
Verwandte Blueprints
Diese Blueprints teilen Wissen — Techniken, Materialien oder Prinzipien
CC0 Gemeinfrei
Dieser Blueprint ist unter CC0 veröffentlicht. Sie dürfen dieses Werk für jeden Zweck frei kopieren, ändern, verbreiten und verwenden, ohne um Erlaubnis zu fragen.
Unterstützen Sie den Maker, indem Sie Produkte über seinen Blueprint kaufen, wo er eine Maker-Provision von Anbietern festgelegt, verdient. Oder erstellen Sie eine neue Iteration dieses Blueprints und verbinden Sie ihn in Ihrem eigenen Blueprint, um Einnahmen zu teilen.