KUNST
SCHÖNHEIT & WELLNESS
HANDWERK
KULTUR & GESCHICHTE
UNTERHALTUNG
UMFELD
ESSEN & GETRÄNKE
REVERSE ENGINEERING
WISSENSCHAFTEN
SPORT
TECHNOLOGIE
WEARABLES

Cutting the Cord: What Changes When the Supply Runs Out
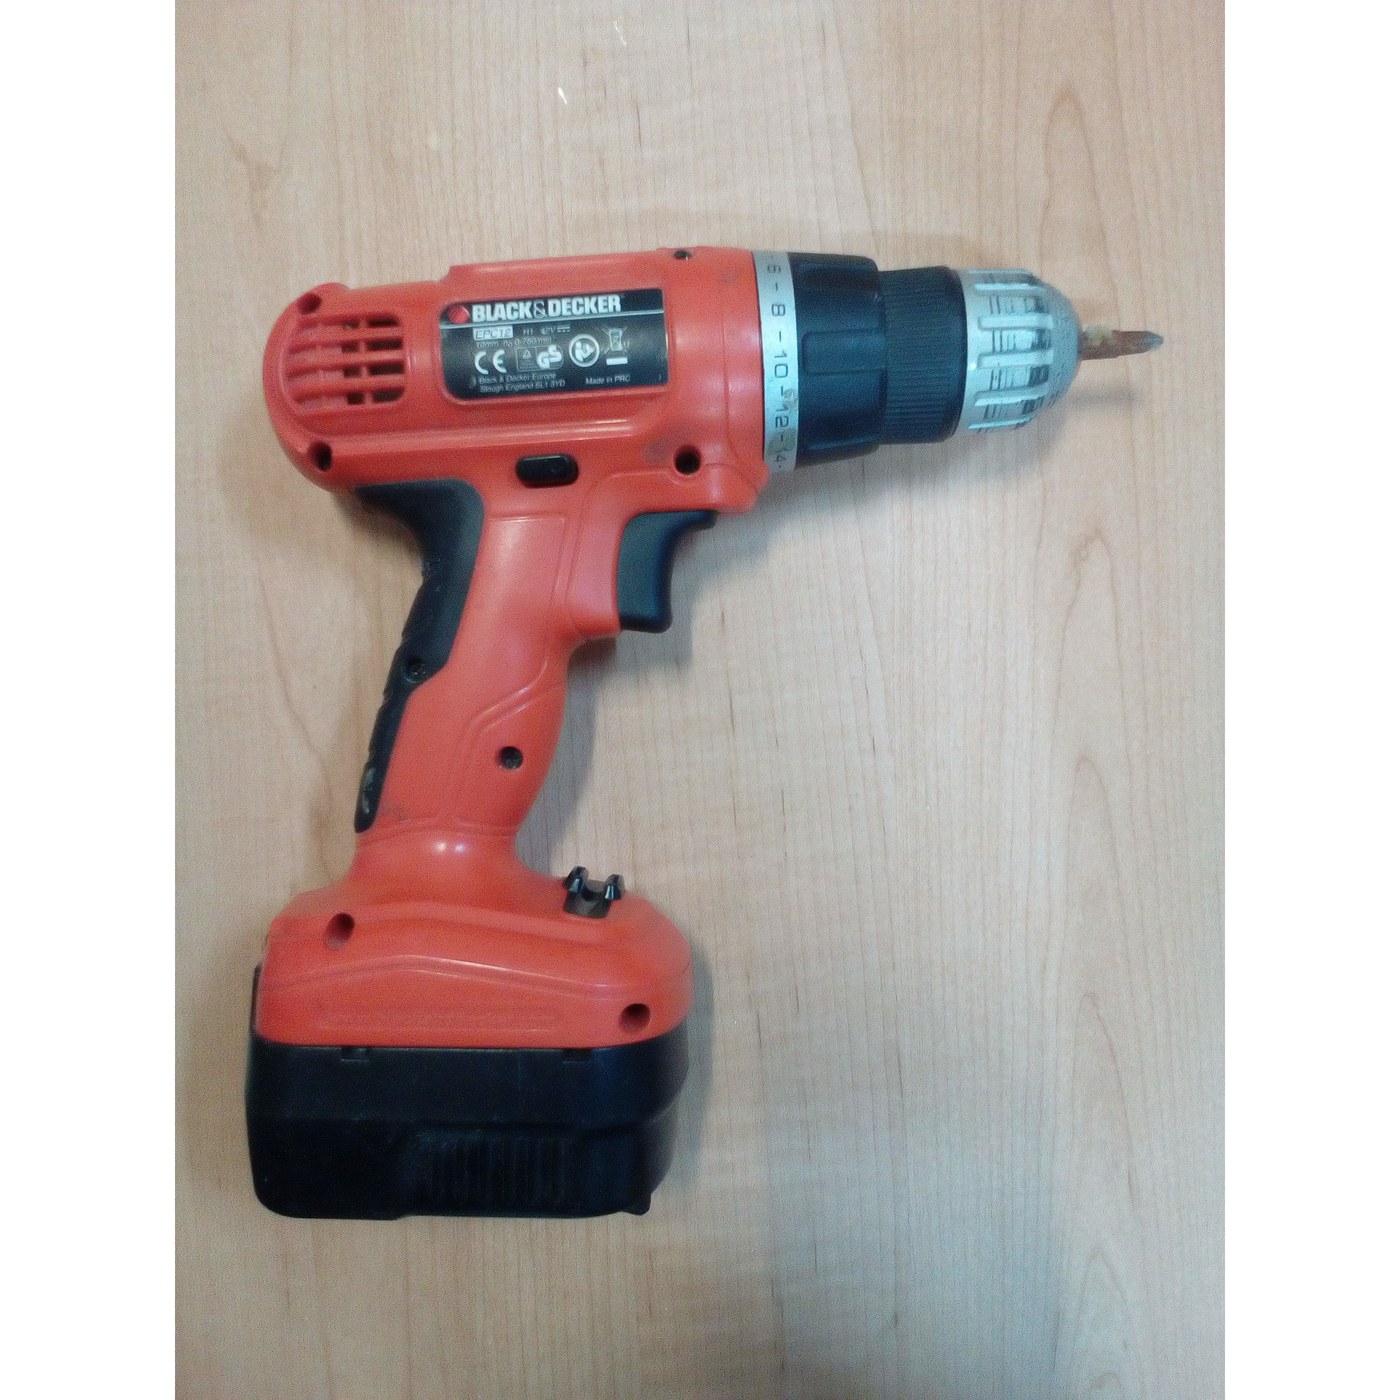
The corded drill rung ended with a tool that will run all day and go exactly as far as its cable. Take the cable away and almost nothing about the motor changes — but everything about the supply does.
A wall socket is stiff and effectively infinite. A battery is neither. Its voltage sags the moment you load it, falls steadily as it empties, and one day in the middle of a job simply stops. Designing around those three facts is what separates a cordless tool from a corded tool with a battery bolted on.
This rung measures all three on a tool you already own, and turns them into the only number that matters at the bench: how many holes before you have to stop.
Anfänger
About 2 hours
Anweisungen
1
1
Measure the pack with nothing attached
Measure the pack with nothing attached
Take the pack off the tool and put the meter across its main terminals — the two outer ones, usually marked **B+** and **B−**. Read the voltage of a fully charged pack, then of one you have just worked flat, and write both down.
An 18 V pack is not 18 V. Five lithium cells in series read about **21 V** full and about **15 V** flat; 18 V is the nominal figure somewhere in the middle. A 14.4 V nickel-cadmium pack is twelve cells at 1.2 V and reads about 16 V off the charger. The number on the label is a naming convention, not a measurement.
Now do the same on the corded tool from the previous rung for comparison: the mains voltage at the socket is the same before you start, while you work and when you finish. That difference — a supply that does not move against one that moves constantly — is the entire subject of this rung.
Record the pack's markings too: chemistry, nominal voltage, amp-hours. You need the amp-hour figure in step 3.
Benötigte Werkzeuge:
 Digitalmultimeter — automatische Bereichswahl, True RMS
2
2
Load it, and watch the voltage fall away from you
Load it, and watch the voltage fall away from you
Fit the pack, clamp a scrap of pine in the vise, and fit a 10 mm bit. You are going to measure the pack **while it works**, so you need the meter on the terminals during the cut. On most packs the terminal block is still reachable with fine probes or small alligator clips when the pack is fitted; if yours is not, clip onto the tool's own contacts with the trigger locked out before you start.
Take three readings:
1. **Open circuit** — trigger released.
2. **Free running** — trigger full, bit spinning in air.
3. **Under cut** — mid-way through a hole, leaning on it.
Then do the same in hardwood, and again in steel if you have a scrap.
Put the clamp meter round one pack lead if you have one, so you have a current to go with each voltage. If you do not, you can still work the resistance out later from any two points where you know the current — the free-running current is usually printed in the tool's manual.
The pack's **internal resistance** is the slope of that line: take any loaded reading, subtract it from the open-circuit reading, and divide by the current. A healthy 18 V lithium pack lands somewhere near 0.05–0.15 Ω. A tired nickel-cadmium pack can be several times that, and it is the rise in this one number — not a loss of capacity — that makes an old pack feel gutless long before it feels short-lived.
Materialien für diesen Schritt:
 Kiefernbrett1 Stück
Benötigte Werkzeuge:
 Akkubohrschrauber
 Bohrersatz
 SchraubstockDigitalmultimeter — automatische Bereichswahl, True RMS
 Stromzange AC/DC 600 A
 Messleitungen mit Krokodilklemmen
 Klare Schutzbrille
3
3
The budget, in holes
The budget, in holes
Jupyter-Notebook wird geladen …
4
4
Drill until it stops, and plot what you felt
Drill until it stops, and plot what you felt
This is the step that makes the previous three concrete, and it takes one charge and about forty minutes.
Charge the pack fully. Clamp a long offcut of pine. Drill 10 mm holes 40 mm deep, in a row, counting them, and every tenth hole stop and record three things: the hole number, the open-circuit pack voltage, and how long that last hole took on the stopwatch. Keep going until the tool will not finish a hole.
Plot hole time against hole number. You will see the shape the notebook predicted: a long flat middle where nothing much changes, then a knee, then a short steep collapse. That shape is the cell's open-circuit curve showing through the tool, and it is why a cordless tool feels fine right up until it does not. There is very little warning built into the physics.
Two things to notice while you work. First, the **pack gets warm** — that is the I²R heat from step 2, and it is a straight loss. Second, a pack that has rested for a few minutes reads higher and will give you a couple more holes; the voltage recovers because the internal concentration gradients relax, not because any charge came back.
Keep the plot. Rung 3 changes the contacts and the pack construction, and this is the measurement that shows whether any of it made a difference.
Materialien für diesen Schritt:
Kiefernbrett2 StückBenötigte Werkzeuge:
AkkubohrschrauberBohrersatzSchraubstockDigitalmultimeter — automatische Bereichswahl, True RMS Stoppuhr
 Infrarot-ThermometerKlare Schutzbrille
 Laborjournal (mit Durchschlag)
5
5
History and context
History and context
**Attribution, stated honestly.** The first commercially successful cordless drill is credited to **Black & Decker** in **1961**, a 1.25 A·h nickel-cadmium tool aimed at electricians working where there was no power yet. A specific patent number for it could not be verified from the sources reachable here, so none is asserted — the company's portfolio around portable tools is large and the sources disagree about which filing covers the 1961 machine. What is not in doubt is the mechanism, and the mechanism is the point: the same universal-motor-and-gearbox drill of the previous rung, running from sealed cells instead of a cord, which is only possible because of the rung before this one.
The same firm's **lunar sample drill**, built for Apollo under NASA contract in the same decade, is often told as the origin story. It is the wrong way round: the cordless tool came first and the space work pushed hard on motor efficiency and heat, which came back into the consumer tools afterwards.
**What actually limited it.** Nickel-cadmium gives about 40–60 Wh per kilogram. A 1961 pack held about 15 Wh, two-fifths of the 18 V lithium pack in step 4 and in a heavier case, which is why early cordless drills were sold for driving screws and drilling soft material, and why every professional kept the corded tool for anything serious for the next thirty years. The tool did not get better in one step. The **cell** did, in two: the pack (rung 3) and then the chemistry (rung 4).
**Honest limits today.** A cordless tool is still worse than a corded one on every axis except the one that matters most: it is worse on sustained power, worse on weight, worse on cost per watt, and it stops. It wins because setup time is usually a bigger fraction of a job than cutting time, and a tool you can pick up and use is worth more than a better tool you have to run a cable to.
Materialien
1- 2 StückPlatzhalter
Benötigte Werkzeuge
10- 1 vendor sell this, none ship to you yetPlatzhalter
- Platzhalter
- Platzhalter
- Platzhalter
- Platzhalter
- Platzhalter
- Platzhalter
- Platzhalter
- Laborjournal (mit Durchschlag)10% ProvisionPlatzhalter
Verwandte Blueprints
Diese Blueprints teilen Wissen — Techniken, Materialien oder Prinzipien
The Trigger and the Pistol Grip: The Switch You Do Not Have To Let Go Of
von Emma
Werkzeuge
22
0
0
0
0
0
Gefährlich
Jungner Nickel-Cadmium Accumulator
von Mary
Andere
61
0
0
0
0
0
The Sealed Cell: Catching the Gas Before It Leaves
von Mary
Energie
41
0
0
0
0
0
Power: Why It Works on USB and Dies on a Battery
von Volt
Elektronik
42
0
0
0
0
0
CC0 Gemeinfrei
Dieser Blueprint ist unter CC0 veröffentlicht. Sie dürfen dieses Werk für jeden Zweck frei kopieren, ändern, verbreiten und verwenden, ohne um Erlaubnis zu fragen.
Unterstützen Sie den Maker, indem Sie Produkte über seinen Blueprint kaufen, wo er eine Maker-Provision von Anbietern festgelegt, verdient. Oder erstellen Sie eine neue Iteration dieses Blueprints und verbinden Sie ihn in Ihrem eigenen Blueprint, um Einnahmen zu teilen.