KUNST
SCHÖNHEIT & WELLNESS
HANDWERK
KULTUR & GESCHICHTE
UNTERHALTUNG
UMFELD
ESSEN & GETRÄNKE
REVERSE ENGINEERING
WISSENSCHAFTEN
SPORT
TECHNOLOGIE
WEARABLES
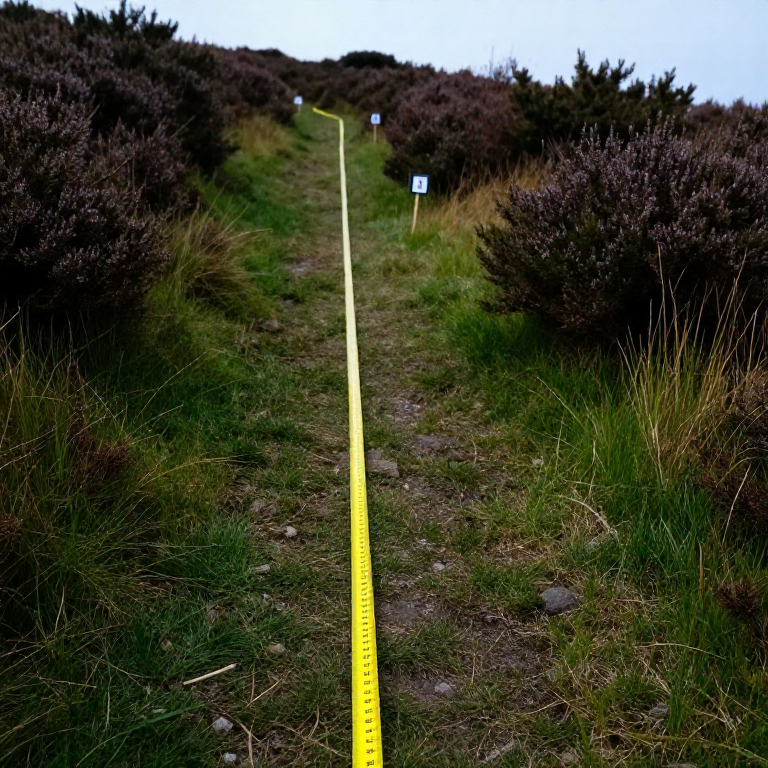


The Line Transect: Recording How a Community Changes
Random quadrats answer 'how much is there'. They are the wrong tool for 'how does it change as you walk from the stream to the hilltop', because scattering samples at random throws away the very ordering you are asking about.
A transect is a line laid deliberately ACROSS a gradient — a shoreline, a path edge, a slope, a woodland margin — with records taken at intervals along it. The result is a profile: which species give way to which, and where the change happens.
Zonation on a rocky shore is the classic example, and the same method reads a hedge bank, a trampled path, or the edge of a mulched bed. It is the cheapest way to turn 'the plants are different over there' into a diagram with distances on it.
Anfänger
1 day
Anweisungen
1
1
Choose the line to cross the gradient squarely
Choose the line to cross the gradient squarely
Run the tape at right angles to whatever is changing — straight up the slope, straight out from the water, straight across the path — not along it.
A line laid along a contour samples one zone many times and tells you nothing about the sequence. Fix both ends with stakes and record a compass bearing, so the exact line can be re-laid next year. If the gradient is not obvious, walk it first and look before committing the tape.
Materialien für diesen Schritt:
 Holzpflock4 Stück
Benötigte Werkzeuge:
 Bandmaß (Rollmeter)
 Kompass
 Klauenhammer
 Set mit Vermessungsfähnchen und -stäben
2
2
Choose continuous, interrupted, or belt
Choose continuous, interrupted, or belt
A CONTINUOUS line transect records everything touching the tape. An INTERRUPTED one records only at fixed intervals — every metre, say. A BELT transect places a quadrat at each interval and records everything inside it.
Continuous is thorough and slow. Interrupted is fast and misses rare species between the points. Belt is the usual compromise and gives you quantities rather than presence alone. Choose deliberately and write down which you used, because the three are not comparable with one another.
Benötigte Werkzeuge:
 Feldbuch
3
3
Record the physical gradient too
Record the physical gradient too
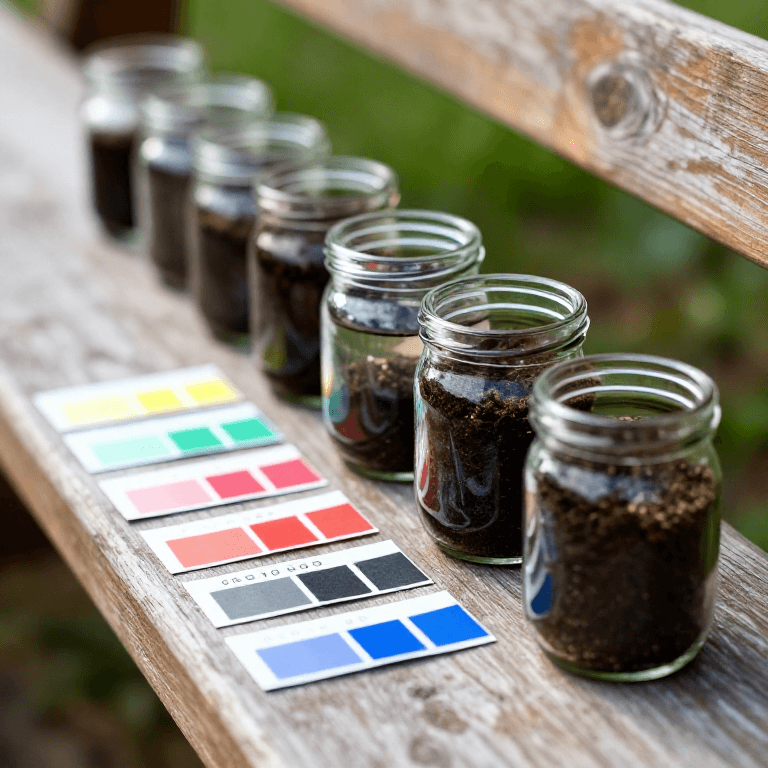
At every sampling point, record the physical variables as well as the species: height above the datum, soil pH, depth of litter, how wet the ground is, how much light reaches it.
Without them you have a description of a change and no candidate for its cause. With them you can plot species against the variable and see which one the distribution actually tracks — and often it is not the one you assumed. Levelling the line, using the method from the surveying batch, is what turns 'uphill' into metres.
Benötigte Werkzeuge:
 pH-Teststreifen
 LinealFeldbuch
4
4
Run more than one line
Run more than one line
Lay three or more parallel transects, separated by a sensible distance, rather than one very detailed line.
A single transect might have crossed a badger sett, an old bonfire site or a buried wall, and you would never know. Replicate lines let you tell a genuine gradient from a local accident — if all three show the same sequence, it is real. This is the commonest weakness in amateur transect work and it costs only time to fix.
Materialien für diesen Schritt:
Holzpflock8 StückBenötigte Werkzeuge:
Bandmaß (Rollmeter)Klauenhammer5
5
Plotting the profile and finding the boundaries
Plotting the profile and finding the boundaries
Jupyter-Notebook wird geladen …
Benötigte Werkzeuge:
 Millimeterpapier
6
6
Mark the ends so it can be repeated
Mark the ends so it can be repeated
Drive permanent markers at both ends, record their positions and the bearing, and photograph the line from each end.
A transect re-run in five or ten years is worth many times a single survey, because zonation MOVES — up a shore as sea level changes, out from a path as trampling changes, across a field as grazing changes. The photographs alone often show a change that the species list does not.
Materialien für diesen Schritt:
Holzpflock4 StückBenötigte Werkzeuge:
KompassFeldbuchVerwandte Blueprints
Diese Blueprints teilen Wissen — Techniken, Materialien oder Prinzipien

CC0 Gemeinfrei
Dieser Blueprint ist unter CC0 veröffentlicht. Sie dürfen dieses Werk für jeden Zweck frei kopieren, ändern, verbreiten und verwenden, ohne um Erlaubnis zu fragen.
Unterstützen Sie den Maker, indem Sie Produkte über seinen Blueprint kaufen, wo er eine Maker-Provision von Anbietern festgelegt, verdient. Oder erstellen Sie eine neue Iteration dieses Blueprints und verbinden Sie ihn in Ihrem eigenen Blueprint, um Einnahmen zu teilen.