KUNST
SCHÖNHEIT & WELLNESS
HANDWERK
KULTUR & GESCHICHTE
UNTERHALTUNG
UMFELD
ESSEN & GETRÄNKE
REVERSE ENGINEERING
WISSENSCHAFTEN
SPORT
TECHNOLOGIE
WEARABLES



The One-Wire Plant Marker: A Stamped Plate Hooked Into Bent Wire
A nursery marking thousands of plants needs a marker that costs almost nothing, stays put and still lets the label be changed.
Henry M. Rolph of Markham, Ontario, received US 1,435,178, dated 14 November 1922, for a plant marker formed of "a single length of wire" bent into a shank, a loop, a second pinching loop and a bar ending in a hook, which carries a stamped sheet-metal plate: "a marker to be useful must be capable of being produced very cheaply, otherwise the expense where thousands of plants require to be marked would be very burdensome to the florists or gardeners."
This rung works out the wire size that does not buckle going into the soil, then bends the marker, stamps its plate and pushes it into a pot on a kitchen scale.
Anfänger
About 1 hour
Anweisungen
1
1
Buckling load of the wire
Buckling load of the wire
Jupyter-Notebook wird geladen …
2
2
The wire standard before it
The wire standard before it
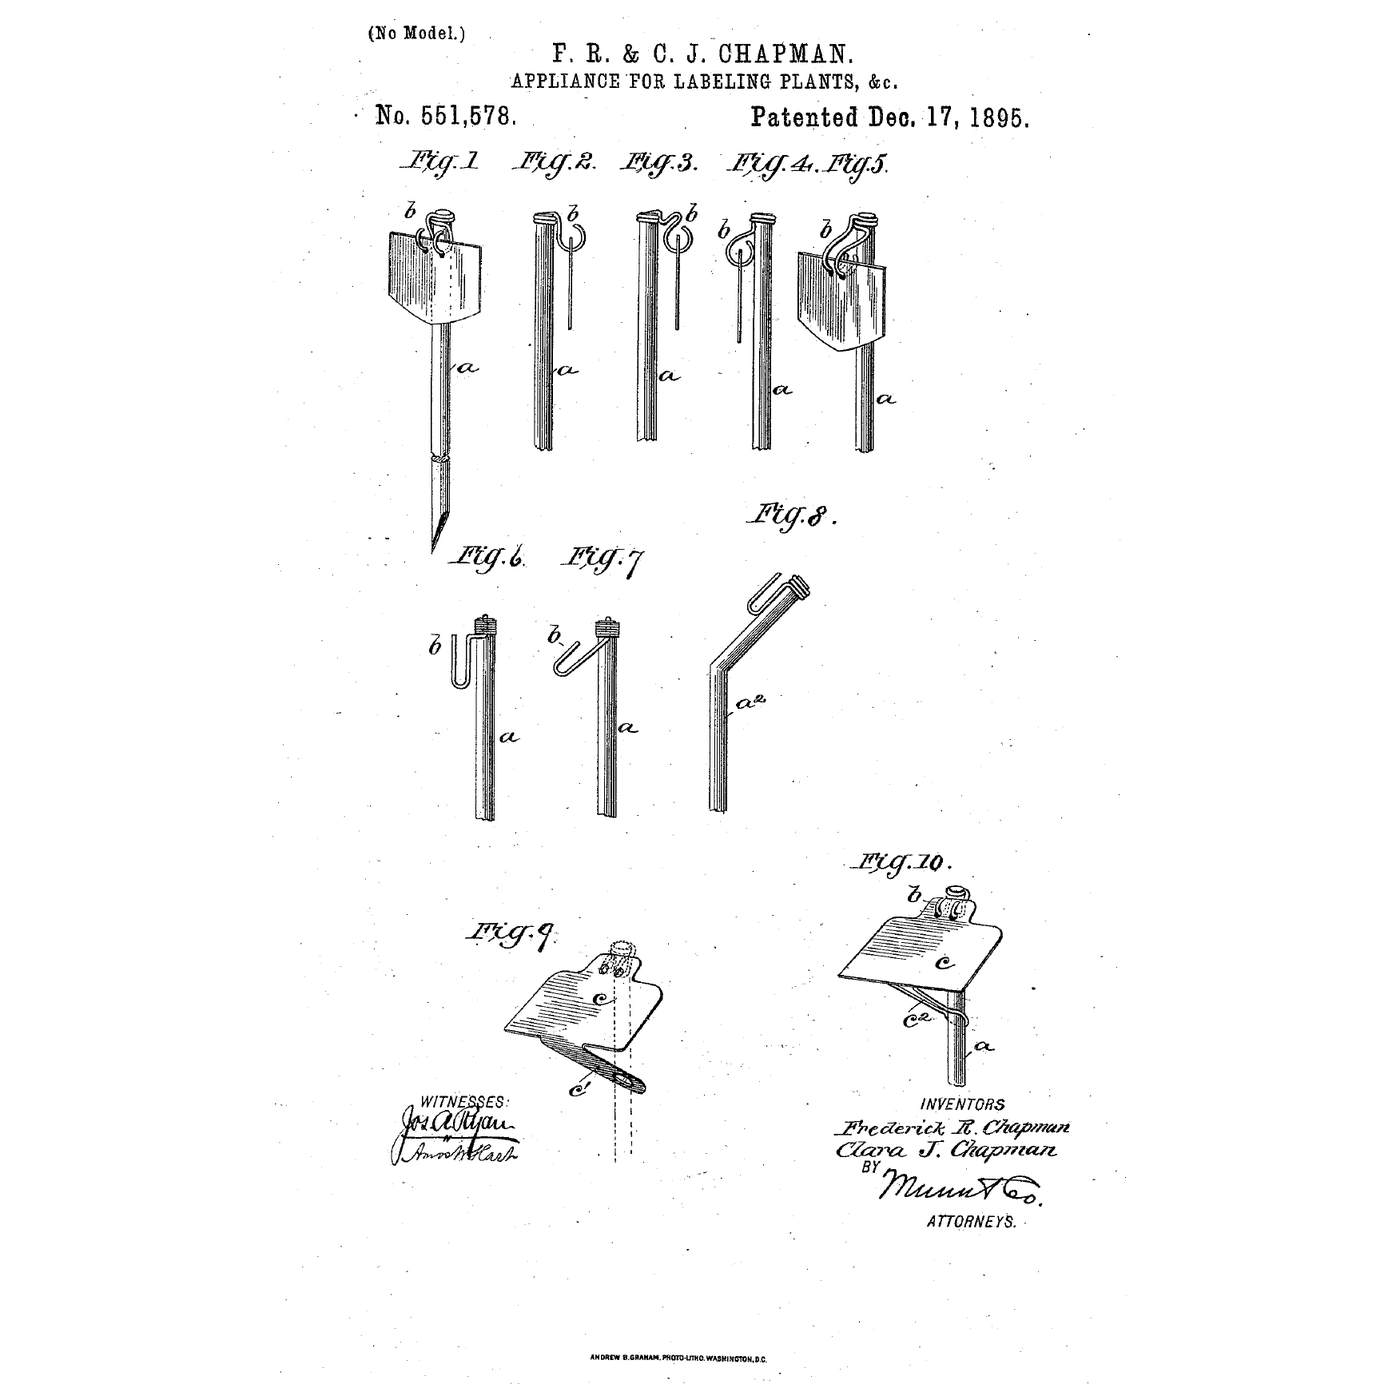
The embedded blueprint hangs a label on hooks wound round a rod. Rolph makes rod, hooks and grip from one wire.
3
3
Read US 1,435,178
Read US 1,435,178
"The principal feature of the invention consists in the novel formation of a length of wire into a supporting loop having an extension on which a marking plate is movably secured and supported by the loop."
"A marker such as described is extremely simple, the whole consisting of one piece of wire very simply formed while the plate is extremely simple requiring in the form shown only the punching of a hole".
4
4
Bend the marker and push it in
Bend the marker and push it in
**Wire.** Cut 45 cm of 3 mm galvanised steel wire with the hacksaw. Leave 25 cm straight for the shank. Bend the top back at an obtuse angle, then with the round-nose pliers form an upward loop, a smaller loop under it that pinches, a bar 6 cm long, and a loop at its end whose tip turns up as a hook.
**Plate.** Cut a plate 60 × 25 mm from aluminium sheet, round the corners and drill a 4 mm hole 5 mm from one end. Stamp the plant's name into it with the letter punches and hammer.
**Fit.** Push the hook through the hole, then swing the plate round so its free end passes behind the pinching loop and its lower edge rests in the upper loop.
**Test.** Stand a pot of soil on the kitchen scale. Push the marker straight down into it and note the highest reading; multiply kilograms by 9.81 for newtons. Bend a second marker from 2 mm wire and do the same. Compare with the notebook.
Materialien für diesen Schritt:
 Verzinkter Stahldraht0.9 Meter
 Aluminiumblech1 Stück
 Gartenerde3 Liter
Benötigte Werkzeuge:
 Bügelsäge (Metallsäge)
 Rundzange
 Flachzange
 Schraubstock
 Blechschere
 Akkubohrschrauber
 Bohrersatz
 Metallpunzen-Set (Schmuck)
 Hammer
 Blumentopf
 Digitale Küchenwaage
 Lineal
 Lederarbeitshandschuhe
 Klare Schutzbrille
5
5
A marker that bends, drops its plate or spins
A marker that bends, drops its plate or spins
One-wire plant marker troubleshooting.
Flow
Loading...
6
6
History and honest limits
History and honest limits
**Henry M. Rolph** of Markham, York County, Ontario, filed US 1,435,178 on 8 February 1922; it is dated 14 November 1922. He noted that even the hole could be dropped by forming the end loop deep enough to take the plate like the pinching loop.
**Honest limits.** Galvanised wire and aluminium sheet stand in for his wire and thin sheet metal. The notebook treats the pushed wire as a straight column fixed at the soil; its sizes are examples. Your scale readings are the result.
Materialien
3- 0.9 MeterPlatzhalter
- 1 StückPlatzhalter
- 3 LiterPlatzhalter
Benötigte Werkzeuge
14- Platzhalter
- Platzhalter
- Platzhalter
- Platzhalter
- Platzhalter
- 1 vendor sell this, none ship to you yetPlatzhalter
- Platzhalter
- Platzhalter
- Platzhalter
- Platzhalter
- Platzhalter
- Platzhalter
- Platzhalter
- Platzhalter
Dieser Bauplan stellt her

Verwandte Blueprints
Diese Blueprints teilen Wissen — Techniken, Materialien oder Prinzipien


CC0 Gemeinfrei
Dieser Blueprint ist unter CC0 veröffentlicht. Sie dürfen dieses Werk für jeden Zweck frei kopieren, ändern, verbreiten und verwenden, ohne um Erlaubnis zu fragen.
Unterstützen Sie den Maker, indem Sie Produkte über seinen Blueprint kaufen, wo er eine Maker-Provision von Anbietern festgelegt, verdient. Oder erstellen Sie eine neue Iteration dieses Blueprints und verbinden Sie ihn in Ihrem eigenen Blueprint, um Einnahmen zu teilen.