
Ukuthola Nokwenza Ubumba Lwasemfuleni — Isiko LaseZulu Lokwenza Izitsha
Anweisungen
Ukuqonda ubumba luyini
Ukuqonda ubumba luyini
Ubumba (clay) luyisakhiwo samaminerali aluhlaza anesimo se-aluminium silicate esinomoya wamanzi (Al2Si2O5(OH)4 — kaolinite). Lwenziwe ngokuphuka kwamatshe afana ne-feldspar ngesikhathi eside. Ubumba luye luthathwe ngamanzi emifuleni bese lubekwa ezindaweni ezisondelene nemifula. Izinhlayiya zobumba zincane kakhulu — zingaphansi kuka-0.002 mm. Uma umanzi, ubumba luyaguquka lube yisimo esigobekayo.
Ukuthola izindawo zobumba emfuleni
Ukuthola izindawo zobumba emfuleni
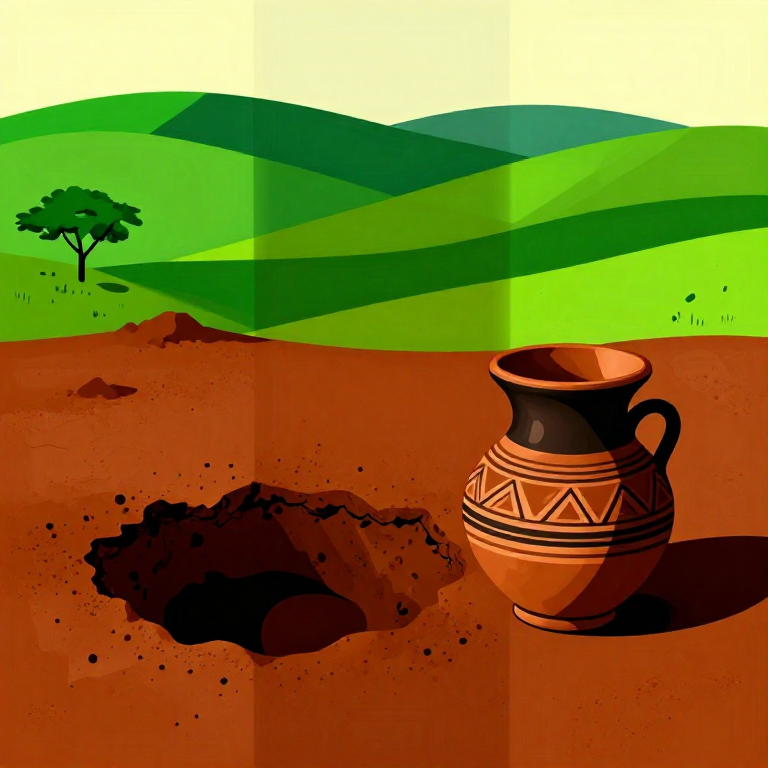
Hamba ngasezindongeni zomfula lapho amanzi esegugule umhlabathi. Bheka izingxenye eziqinile, ezibushelelezi ezinombala oqinile — nsundu, bomvu, mpunga noma mhlophe — ezingaphansi komhlabathi onezitshalo. ENingizimu Afrika, ubumba olubomvu olunesimo se-iron oxide lutholakala kakhulu KwaZulu-Natali ngasemifuleni efana noMhlathuze, uThukela, noPongola. Izindawo ezinhle yilezo lapho amanzi esegugule udonga lwamanzi kakhulu.
Ukwenza isivivinyo sebhola
Ukwenza isivivinyo sebhola
Thatha uhlamvu lomhlabathi olulingana nesandla. Manzi kancane bese wenzi ibhola elingango-orenji. Uma ibhola ligcina isimo salo ngaphandle kokuqhekeka futhi ungathambisa ubuso balo ngesithupha sakho, ubumba lunama (plasticity) olwanele ukwenza izitsha. Uma luphuka masinyane, umhlabathi unesihlabathi esiningi kakhulu.
Ukwenza isivivinyo senyoka
Ukwenza isivivinyo senyoka
Gingqa ubumba olumanzi wenze inyoka eside ecishe ibe ngu-1 cm ububanzi nangu-15 cm ubude. Bamba ngaphansi kwengxenye eyodwa bese uyiphakamisa. Uma inyoka ingephuki kuze kube ngu-5 cm, ubumba lunamasenough ukwenza izitsha. Uma luphuka masinyane, kuzodingeka ufune indawo enobumba olufanele kakhulu.
Ukukhipha umhlabathi ongaphezulu
Ukukhipha umhlabathi ongaphezulu
Ngesikhalishi noma ifosholo, susa umhlabathi ongaphezulu onenezitshalo (10-20 cm). Lo mhlabathi unezimpande, izinambuzane namatshe, awufanele ukuxutshwa nobumba. Ubumba oluhlanzekile luhlala ngezansi kwalo mhlabathi. Ungalahli lo mhlabathi — buyisela endaweni yawo uma uqedile ukukhipha ubumba.
Benötigte Werkzeuge:
 Hacke
Hacke Grabschaufel
Ukumba ubumba
Ukumba ubumba
Mba ubumba ngamaqhezu amakhulu bese ulufaka emabhakideni. Khetha ubumba olunombala ofanayo — ungahlanganisi izinhlobo ezahlukene ngoba leyo ngxube yenza ubumba lingalingani ekushiseni. Thatha okungenani u-10 kuya ku-15 kg ngoba uphola kakhulu ngesikhathi sokuhlanza. Gwema ukumba ubumba olunezintshingo noma amatshe amakhulu.
Materialien für diesen Schritt:
 Rohton vom Flussufer15 kilogram
Benötigte Werkzeuge:
Hacke 20-Liter-Eimer
Ukomisa ubumba elangeni
Ukomisa ubumba elangeni
Ndlala ubumba phezu kwendwangu noma isakhiwo esibanzi elangeni izinsuku ezingu-2 kuya ku-3. Uma ubumba selukomile ngokuphelele, luyaphuka kalula uma ulucindezela. Hlephula ubumba lwenziwe izingcezu ezincane — ezilingana namantongomane — ngoba izingcezu ezincane ziphela ngokushesha emanzini. Ukoma okunele kufanele kube ngukuthi ubumba alusezwi bumanzi.
Benötigte Werkzeuge:
 Plane
PlaneUkugaya ubumba olume
Ukugaya ubumba olume
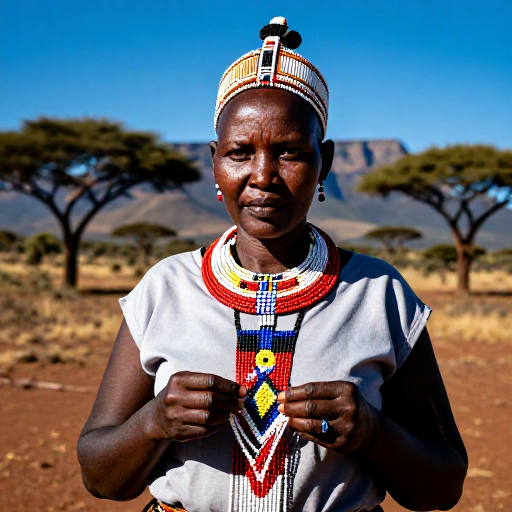
Thatha izingcezu zobumba olome bese uzigaya ngetshe lokugaya noma isigayo. Endleleni yomdabu waseZulu, abesifazane basebenzisa itshe elibanzi (imbokodo) eliphezu kwetshe elikhulu eliyindilinga (isithebe). Gaya kuze kube umphuluka owomile — okungabonakali noma yizingcezu ezikhulu. Lo mphuluka uzokusetshenziswa ukuhlungela okulandelayo.
Benötigte Werkzeuge:
 Mahlstein
 Großer flacher Stein
Ukuhlungela umphuluka
Ukuhlungela umphuluka
Dlulisa umphuluka wobumba olugayiwe ngesihlungelo esikhulu esinezikhala ezingu-1 mm noma ngaphansi (60 mesh). Lokhu kususa amatshe amancane, izintshingo, nesihlabathi esikhulu. Ubumba olufanele ludlula ngesihlungelo lube umphuluka oshelela. Phinda uma kudingeka ngesihlungelo esincane kakhulu (80 mesh) ukuthola ubumba olushelela kakhulu.
Benötigte Werkzeuge:
 Feinmaschiges Sieb
Ukuxuba nomoya namanzi
Ukuxuba nomoya namanzi
Faka umphuluka wobumba oluhlelwe ebhakideni elikhulu bese uwuthela ngamanzi. Isikali: ingxenye e-1 yobumba kumaphathi e-2 amanzi. Shiya ubumba emanzini amahora angu-24 kuya ku-48 ukuze luthathe amanzi ngokuphelele. Amanzi anwetsha izinhlayiya zobumba, okwenza ubumba lube yisimo esigobekayo.
Materialien für diesen Schritt:
 Destilliertes Wasser30 Liter
Benötigte Werkzeuge:
 Großer Mischkübel
 Rührholz
Ukukhipha amanzi angaphezulu
Ukukhipha amanzi angaphezulu
Shiya ingxube ime amahora angu-24. Ubumba luhlala phansi kwemabhhakede, amanzi ahlanzekile ahlale phezulu. Thela kancane noma usebenzise ipayipi ukudonsa amanzi angaphezulu ngaphandle kokuthinta ubumba oluphansi. Phinda le nqubo kuze kube amanzi aphuma ehlanzekile. Lokhu kususa amamineral adwetshwe nawo angafuneki.
Benötigte Werkzeuge:
 Heberschlauch
Ukomisa ubumba kuze kufike ezingeni lokusebenza
Ukomisa ubumba kuze kufike ezingeni lokusebenza
Thela ubumba olusemanzi phezu kwendawo emunca amanzi — indwangu yekhethini noma isakhiwo se-plaster. Indwangu imunca amanzi angaphezulu. Uma usebenzisa umhlabathi nje, ndlala indwangu ehlanzekile elangeni bese uthela ubumba phezu kwayo. Phendula njalo amahora ambalwa. Ubumba selulungile uma lunesimo esinjengebumba lokudlala (play dough) — lugobekayo kodwa lunganamatheleki ezandleni kakhulu.
Benötigte Werkzeuge:
 Saugfähiges Tuch
Ukukhama ubumba (wedging)
Ukukhama ubumba (wedging)
Beka ubumba phezu kwebhodi eliqinile noma itshe elibanzi. Cindezela ngezandla zombili ngaphansi kwezintende zezandla, bese usonga ubumba phezu kwalo bese uluphendula u-quarter turn. Phinda imizuzu engu-5 kuya kwengu-10. Lokhu kukhipha amabhamuza omoya (angagqashuka ngesikhathi sokupheka esikweni) futhi kwenze ubumba lulingane ngokufana. Ubumba olulungile lunesimo esilula nelinganayo.
Benötigte Werkzeuge:
 Schlagbrett für Ton
Ukuhlola ubumba okokugcina
Ukuhlola ubumba okokugcina
Phinda isivivinyo senyoka: inyoka ka-1 cm kufanele ingephuki kuze kube ngu-8 cm. Goqa inyoka ka-1 cm ube u-arch — uma ingaqhekeki, ubumba lunasenough. Uma luqhekeka, kufanele uxube ubumba olunama kakhulu (ball clay) noma ushiye ubumba emanzini isikhathi eside. Ubumba lwaseZulu oluqoqwe kahle lungasetshenziswa ukwenza izitsha, izinkamba, nezimbiza ngendlela yomdabu.
Ukugcina ubumba
Ukugcina ubumba
Yenza ubumba olulungile lube izigaxa ezingesizeka-2 kuya ku-3 kg. Songa isigaxa ngasinye ngeplastic wrap, ukhiphe umoya wonke. Gcina endaweni epholile enomthunzi. Ubumba olusongwe kahle lugcina ukumanzi kwezinyanga. Ngaphambi kokusebenzisa, phinda ukukhama imizuzu emingu-2 kuya ku-3 ukuze uphinde ulwenze lulingane. Bhala phansi indawo oqoqe kuyo, umbala, nosuku ukuze uzokwazi ukubuyela lapho uma udinga ubumba olwengeziwe.
Benötigte Werkzeuge:
 Feldbuch
 Frischhaltefolie
Materialien
2- 15 kilogramPlatzhalter
- 30 LiterPlatzhalter
Benötigte Werkzeuge
14- Platzhalter
- Platzhalter
- Platzhalter
- Platzhalter
- Platzhalter
- Platzhalter
- Platzhalter
- Platzhalter
- Platzhalter
- Platzhalter
- Platzhalter
- Platzhalter
- Platzhalter
- Platzhalter
Dieser Bauplan stellt her

CC0 Gemeinfrei
Dieser Blueprint ist unter CC0 veröffentlicht. Sie dürfen dieses Werk für jeden Zweck frei kopieren, ändern, verbreiten und verwenden, ohne um Erlaubnis zu fragen.
Unterstützen Sie den Maker, indem Sie Produkte über seinen Blueprint kaufen, wo er eine Maker-Provision von Anbietern festgelegt, verdient. Oder erstellen Sie eine neue Iteration dieses Blueprints und verbinden Sie ihn in Ihrem eigenen Blueprint, um Einnahmen zu teilen.