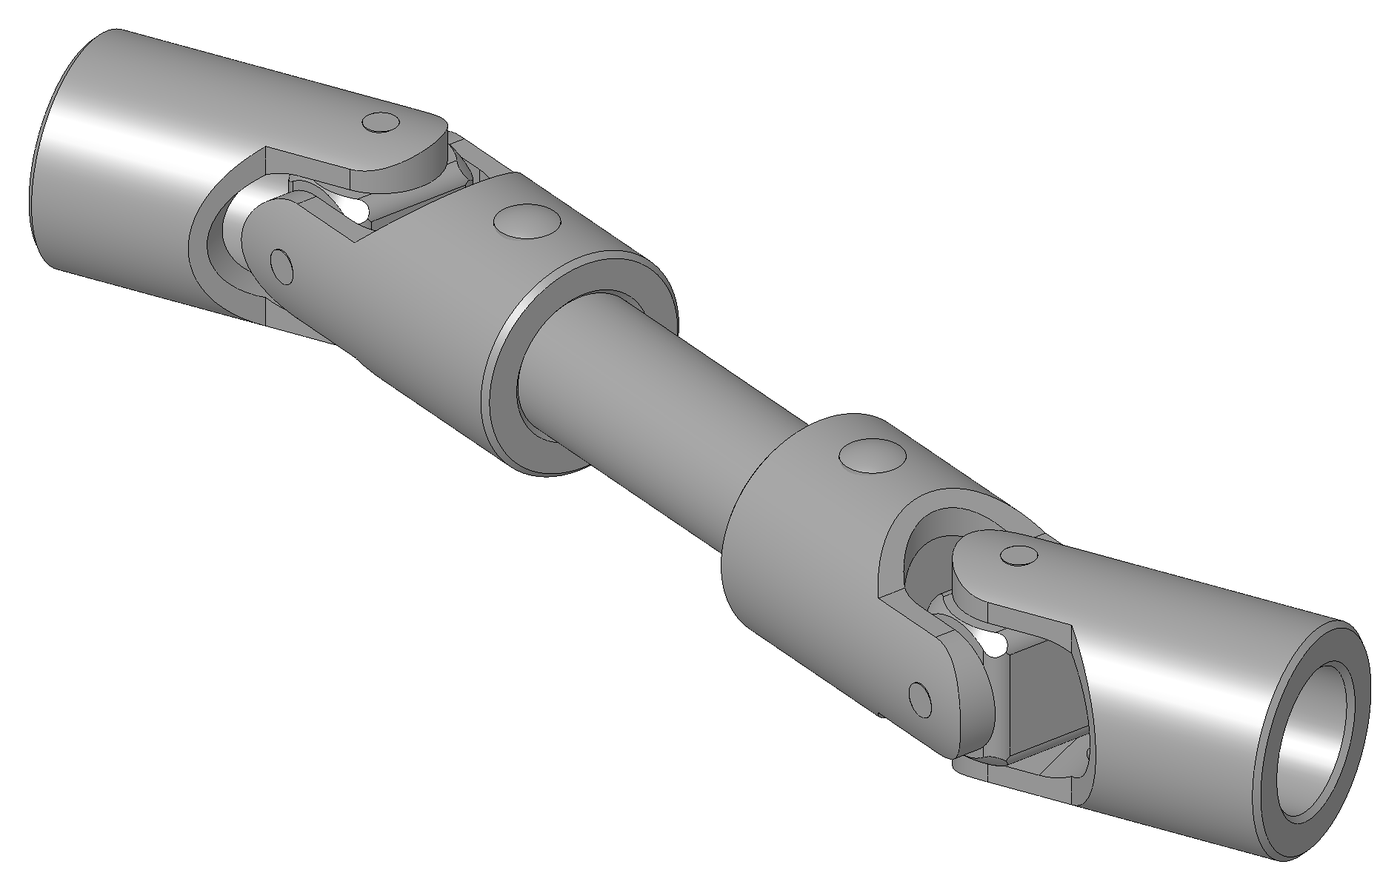


Universal Joint
Anweisungen
Make the cross
Make the cross
Four arms at 90 degrees, all the same length from centre. This part decides everything.
- Cut two 70 mm lengths of 25 mm aluminium round bar, or use 20 × 20 mm square bar for easier clamping.
- Mark the exact centre of each and cross-drill one 8.1 mm through, square to the bar.
- Cut a half-lap in each so the two cross at their centres and sit flush.
- Join them with a single M4 × 30 socket head cap screw through the lap, M4 flat washer × 2, M4 nylon insert lock nut × 1.
- Check with the caliper that all four arm ends are equidistant from the centre, within 0.2 mm.
Materialien für diesen Schritt:
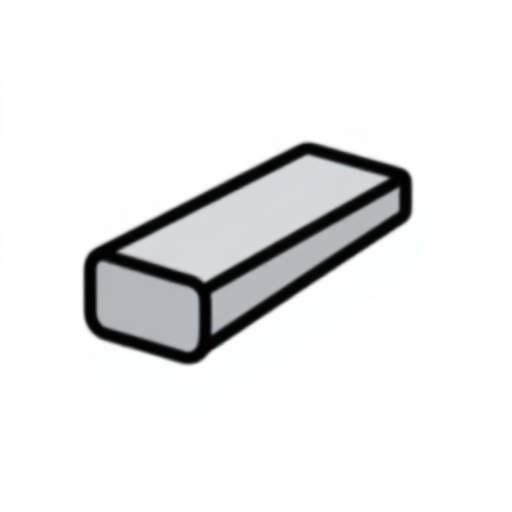 Aluminium-Rundstange1 Stück
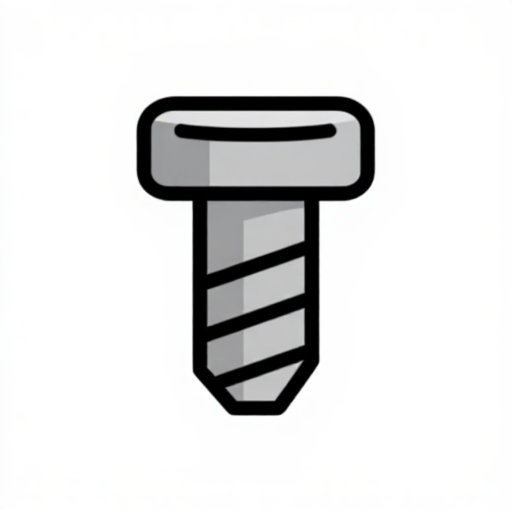 Zylinderschraube mit Innensechskant1 Stück
 Unterlegscheibe2 Stück
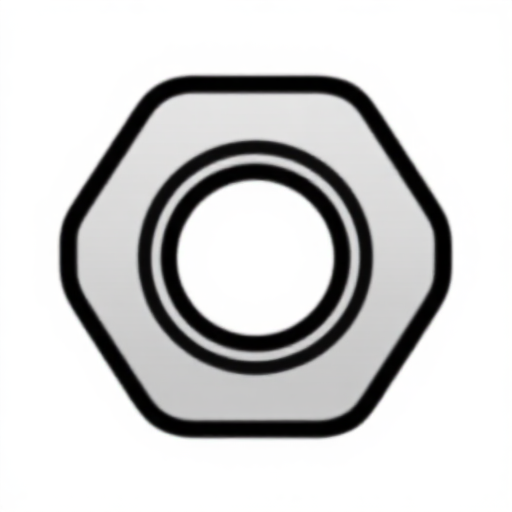 Sicherungsmutter mit Kunststoffeinsatz1 Stück
Benötigte Werkzeuge:
 Sägebügel mit Sägeblättern
 Schraubstock
 Akkubohrschrauber
 Bohrersatz
 Feilensatz
 Digitaler Messschieber 6 Zoll
 Körner
Cut the two yokes
Cut the two yokes
Each yoke is a U that straddles one pair of cross arms.
- Cut two strips 120 × 30 mm from 6 mm aluminium flat bar.
- Bend each into a U with 45 mm between the inside faces, or make each yoke from two separate arms bolted to a hub if bending 6 mm is beyond your vise.
- Drill both arms of each yoke together at 5.0 mm so the holes are coaxial.
- Deburr every hole.
Drilling both arms in one setup is what makes the axis straight. Drill them separately and the two holes will not line up; the cross then binds at one end of its swing and the joint feels notchy rather than smooth.
If you bolt rather than bend, use two M4 × 16 socket head cap screws per yoke into the hub with M4 flat washers, and check squareness with the combination square before final tightening.Materialien für diesen Schritt:
 Aluminium-Flachstange1 StückZylinderschraube mit Innensechskant4 StückUnterlegscheibe8 Stück
Benötigte Werkzeuge:
SchraubstockAkkubohrschrauberBohrersatz KombinationswinkelFeilensatz
Assemble the joint and mount the shafts
Assemble the joint and mount the shafts
Two yokes, one cross, four pivots — and the two yokes must end up 90 degrees apart.
- Fit yoke 1 over one pair of cross arms using M5 × 30 socket head cap screws × 2 as pivot pins, with M5 flat washers × 4 and M5 hex nuts × 2.
- Fit yoke 2 over the other pair the same way — it will naturally sit at 90 degrees to the first.
- Mount each yoke on a shaft of 25 mm aluminium round bar.
- Support each shaft in a 608 bearing set into a plywood pillow block, so the input runs level and the output can be angled.
- Make the output block's mounting holes SLOTTED so you can set 0, 15 and 30 degree angles.
Materialien für diesen Schritt:
Aluminium-Rundstange1 Stück Sperrholzplatte1 BlattUnterlegscheibe8 Stück
 Sechskantmutter4 Stück
 Kugellager2 Stück
Benötigte Werkzeuge:
 Innensechskantschlüssel-SatzAkkubohrschrauberBohrersatz
 Laubsäge (Schweifsäge)Digitaler Messschieber 6 Zoll
Measure the velocity error you were told about
Measure the velocity error you were told about
This is the step that turns a familiar part into an understood one.
- Fit paper protractor discs to both shafts and align both at zero.
- Set the output at 0 degrees. Turn the input in 30 degree steps and record the output angle each time.
- Set 15 degrees and repeat. Then 30 degrees.
- For each run, plot output angle minus input angle.
Materialien für diesen Schritt:
Sperrholzplatte1 PackungBenötigte Werkzeuge:
KombinationswinkelDigitaler Messschieber 6 ZollThe two-joint cure, and history
The two-joint cure, and history
The standard fix is not a better joint — it is a second one. Put two universal joints in a driveshaft with equal operating angles and the yokes of the intermediate shaft in the same plane, and the second joint's error exactly cancels the first's. The output then turns at constant velocity even though neither joint does individually. Get the phasing wrong by 90 degrees and the errors ADD instead, which is a real and common cause of driveline vibration.
History. Gerolamo Cardano described the gimbal suspension in 1545 — hence Cardan joint — though as a mounting for compasses and lamps rather than a drive. Robert Hooke built and analysed the joint in the 1670s and identified the velocity variation, which is why it is also called a Hooke joint and why the error is sometimes called Hooke's coupling error.
Where each approach fits: a universal joint handles ANGULAR misalignment cheaply and takes real torque, at the cost of velocity error that grows with angle. An Oldham coupling handles PARALLEL offset at constant velocity but no angle at all. A true constant-velocity joint — the Rzeppa design in every front-wheel-drive car — solves both at once and costs far more to make. Three answers to misalignment, and the right one depends entirely on which kind of misalignment you have.
Why tractors are dangerous here: a power take-off shaft runs a universal joint at whatever angle the implement sits, and the velocity error becomes torque pulsation. That is a genuine mechanical reason PTO guards exist, on top of the obvious one.
Materialien
9- 1 StückPlatzhalter
- Platzhalter
- 10 StückPlatzhalter
- Platzhalter
- 1 StückPlatzhalter
- 1 PackungPlatzhalter
- 8 StückPlatzhalter
- 4 StückPlatzhalter
- Platzhalter
Benötigte Werkzeuge
10- Platzhalter
- Platzhalter
- 1 vendor sell this, none ship to you yetPlatzhalter
- Platzhalter
- Platzhalter
- Platzhalter
- Platzhalter
- Platzhalter
- Platzhalter
- Platzhalter
Verwandte Blueprints
Diese Blueprints teilen Wissen — Techniken, Materialien oder Prinzipien
CC0 Gemeinfrei
Dieser Blueprint ist unter CC0 veröffentlicht. Sie dürfen dieses Werk für jeden Zweck frei kopieren, ändern, verbreiten und verwenden, ohne um Erlaubnis zu fragen.
Unterstützen Sie den Maker, indem Sie Produkte über seinen Blueprint kaufen, wo er eine Maker-Provision von Anbietern festgelegt, verdient. Oder erstellen Sie eine neue Iteration dieses Blueprints und verbinden Sie ihn in Ihrem eigenen Blueprint, um Einnahmen zu teilen.