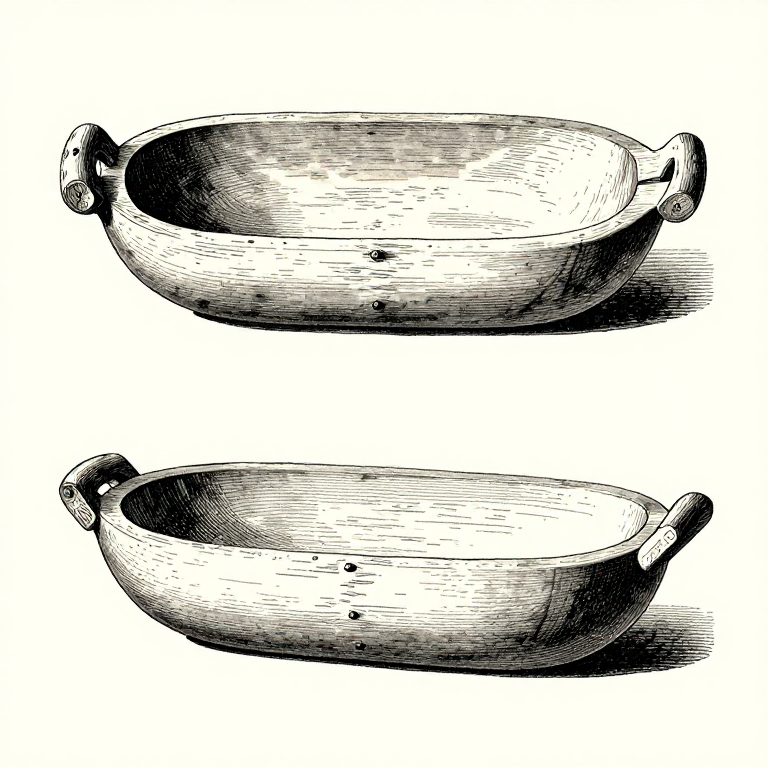
Carving a Viking Dough Trough — Wooden Kneading Bowl
Anweisungen
Select the Log
Select the Log
Choose a birch or alder log section approximately 50-60cm long and 25-30cm in diameter. The wood should ideally be green (freshly cut) — green wood is much easier to carve than seasoned wood. Select a section free of large knots, cracks, or rot.
Split the log in half lengthwise using an axe and wedges. You will work from one half. The flat split face becomes the top (opening) of the trough, and the rounded bark side becomes the bottom.
Materialien für diesen Schritt:
 Birch Log1 half-log (50-60cm long, 25-30cm diameter) cm
 Linseed OilSmall amount Stück
Benötigte Werkzeuge:
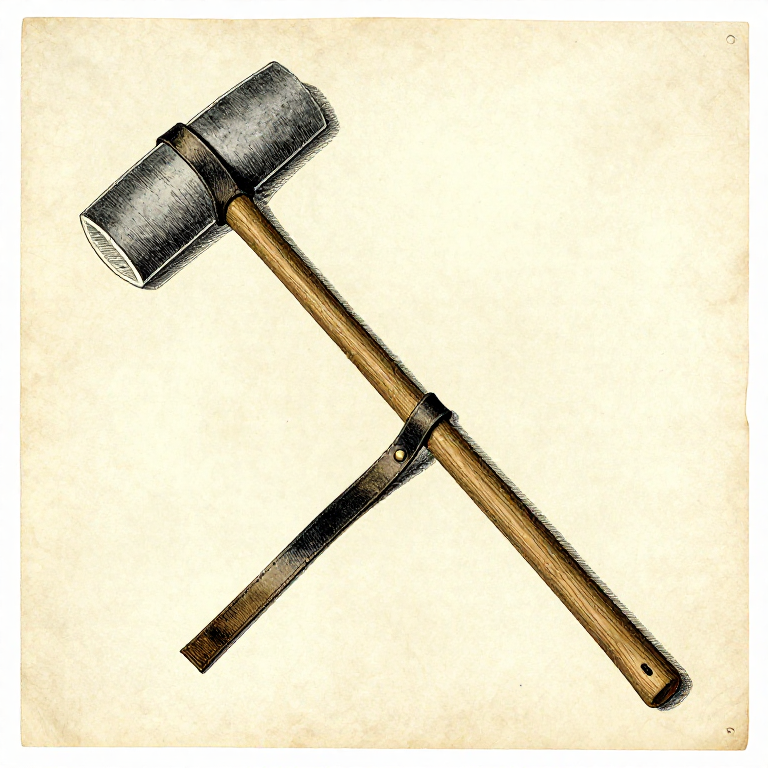
 Axe
Axe Adze
Adze Gouge
Gouge Drawknife
Rough-Shape the Exterior
Rough-Shape the Exterior
Using an axe, trim the exterior to an oval or elongated rectangular form. Remove the bark and shape the bottom so it sits flat and stable. Leave the ends thicker (approximately 5cm) for handles. The sides can taper to approximately 3cm thick at this stage.
The exterior shape should be smooth and balanced — the trough should sit level without rocking. Round any sharp edges that might catch on clothing or scratch a table surface.
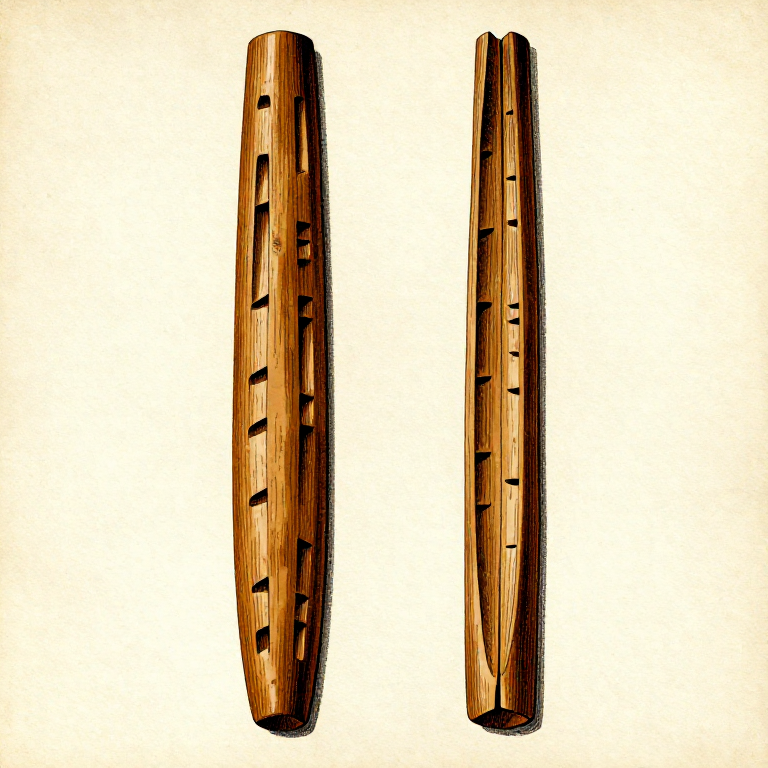
Hollow the Interior
Hollow the Interior
Using an adze for bulk material removal, hollow out the interior of the trough. Work across the grain, scooping out chips in controlled arcs. Leave the walls approximately 2cm thick and the bottom 2-3cm thick. Work with the wood grain rather than against it to prevent splitting.
Switch to a gouge for finer work as you approach the desired wall thickness. Check thickness frequently by pressing your thumb on the outside while feeling the inside — you should be able to sense when the wall is getting thin. A too-thin wall will crack; too thick wastes material and adds unnecessary weight.
Smooth the Interior
Smooth the Interior
Smooth the carved interior surface with a knife or flat scraper tool. Remove all rough spots, tool marks, and raised grain. The interior must be smooth so that dough does not stick to splinters or ridges during kneading. Pay particular attention to the corners where the sides meet the bottom — these areas tend to harbor rough spots.
A smooth interior also makes cleaning easier — dried dough residue can be scrubbed out without catching on wood fibers.
Carve the Handles
Carve the Handles
At each end of the trough, shape integral handles from the extra thickness left during rough-shaping. Carve away material around the handle area, leaving raised grip sections. The simplest design is to carve the ends into rounded, upturned rims that provide a comfortable grip for lifting.
A more elaborate design carves through-holes or handgrip cutouts in the ends. The handles must be strong enough to lift the trough when full of heavy dough.
Oil and Season
Oil and Season
Rub the entire surface — inside and out — with linseed oil or animal fat (tallow). Allow the oil to soak into the wood for several hours, then wipe off excess and let dry. Repeat the oiling process 2-3 times over several days.
The oil penetrates the wood fibers, protecting against moisture damage, preventing the dough from sticking as severely, and slowing the inevitable drying and cracking of the green wood. If the trough does develop small cracks as it seasons, additional oiling helps stabilize them.
Allow the trough to dry slowly over several weeks (not near direct heat, which causes splitting). The finished trough is ready for mixing and kneading barley flatbread dough.
Materialien
2- Small amount StückPlatzhalter
Related blueprints
Other builds that share materials, tools, or techniques with this one.
CC0 Gemeinfrei
Dieser Blueprint ist unter CC0 veröffentlicht. Sie dürfen dieses Werk für jeden Zweck frei kopieren, ändern, verbreiten und verwenden, ohne um Erlaubnis zu fragen.
Unterstützen Sie den Maker, indem Sie Produkte über seinen Blueprint kaufen, wo er eine Maker-Provision von Anbietern festgelegt, verdient. Oder erstellen Sie eine neue Iteration dieses Blueprints und verbinden Sie ihn in Ihrem eigenen Blueprint, um Einnahmen zu teilen.