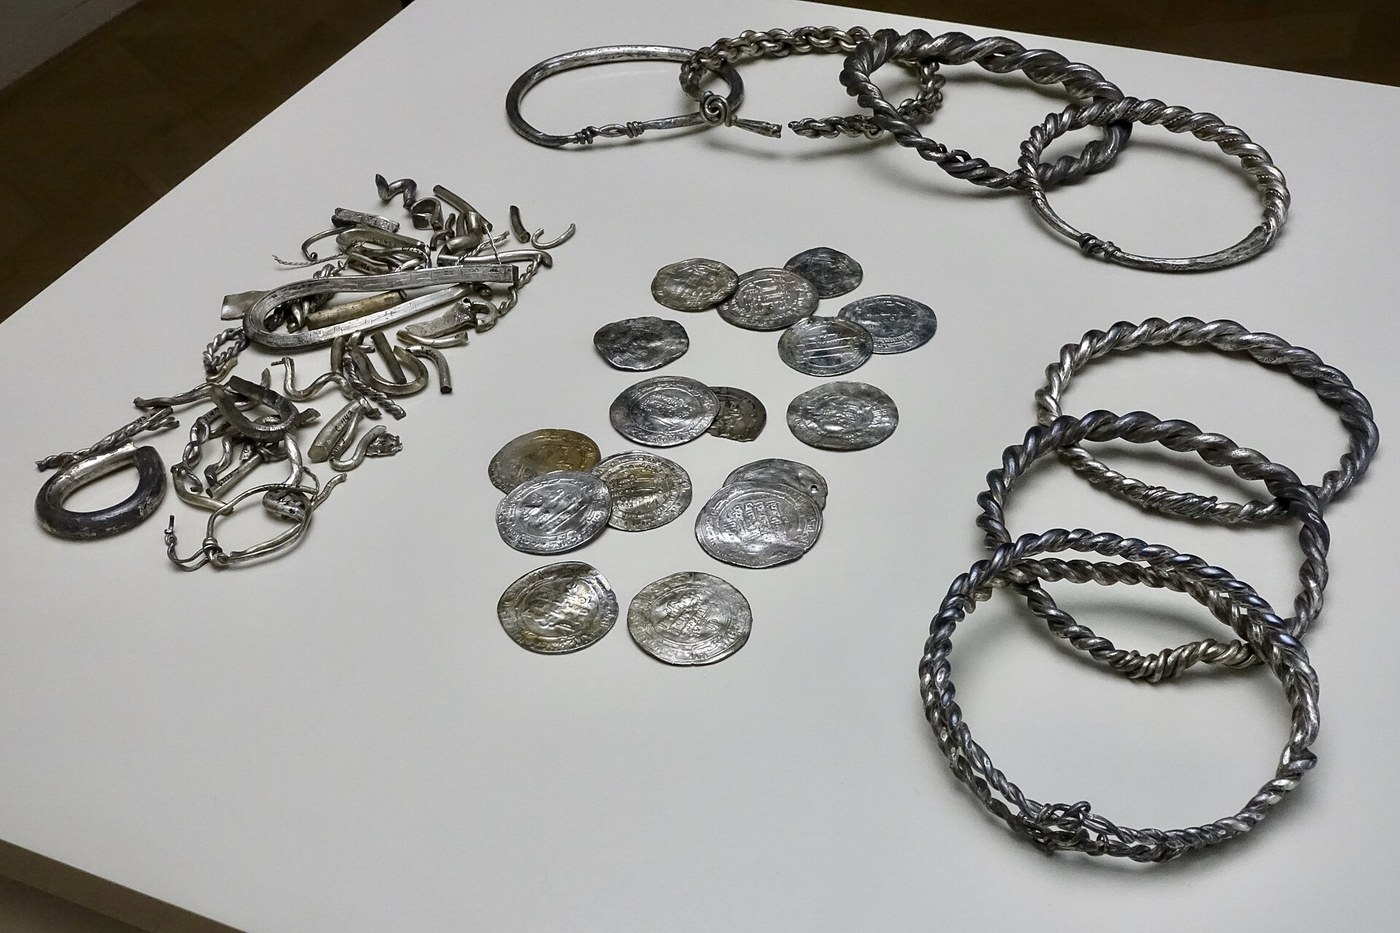


Viking Silver Arm Ring
A Viking arm ring was not primarily jewellery. It was money you wore. Silver in the Norse world circulated by weight, not by face value, so a ring of known weight was a portable, wearable account balance — and when you needed to pay for something, you cut a piece off.
That practice produced hacksilver: chopped fragments of rings, ingots, brooches and coins, weighed on small portable scales at the moment of the transaction. Hoards full of deliberately hacked silver are one of the most characteristic finds of the Viking age, and they are why so many surviving arm rings are incomplete.
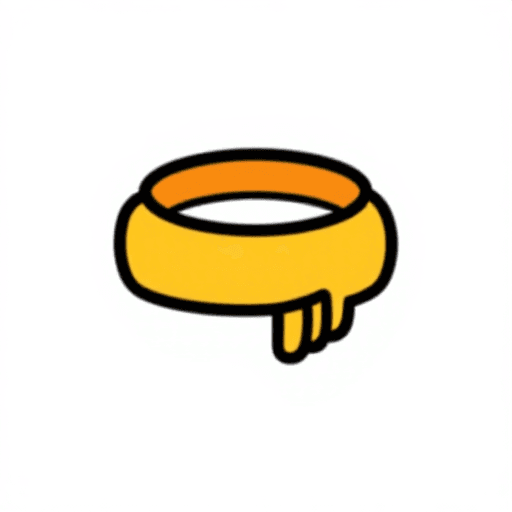
This blueprint forges a twisted rod arm ring in silver, finished with flattened tapering terminals — the common Scandinavian form. It is straightforward smithing: anneal, twist, bend, finish. The interesting part is the last step, where the object turns out to be a legal instrument as much as an ornament.
Anweisungen
Weigh the silver before you start
Weigh the silver before you start
Weigh your stock and write the figure down. In the Norse system the value was the weight — an arm ring was understood as so many units of silver, and recording it is period-correct as well as useful.
Materialien für diesen Schritt:
 Sterlingsilberdraht0.6 Meter
Cut two equal lengths
Cut two equal lengths
Cut two 260 mm lengths of 4 mm silver rod. Two rods twisted together give the characteristic rope texture; a single rod twisted just looks bent.
Benötigte Werkzeuge:
 Juweliersäge
Anneal both rods
Anneal both rods
Heat each rod to a dull cherry red — 600 to 650 °C — in dim light. Air-cool 10 seconds, then quench. Quenching sterling straight from red heat can crack it.
Benötigte Werkzeuge:
 Propanbrenner
 Schamottesteine
Pickle off the firescale
Pickle off the firescale
Pickle 5 minutes in citric acid at 1 part acid to 5 parts water. Oxide trapped inside a twist is impossible to remove afterwards.
Materialien für diesen Schritt:
 Zitronensäure100 g
Clamp and twist the pair
Clamp and twist the pair
Clamp both rods together at one end in the vice, grip the other end, and twist steadily. Aim for one full turn per 15 mm. Twist evenly — pausing leaves a visible slack section.
Benötigte Werkzeuge:
 Schraubstock
Re-anneal when the twist stiffens
Re-anneal when the twist stiffens
When the rods start to resist, stop and anneal again. Forcing a work-hardened twist snaps it, usually at the tightest turn.
Benötigte Werkzeuge:
PropanbrennerForge the terminals flat
Forge the terminals flat
Hammer the last 40 mm at each end flat and tapering, about 2 mm thick. Flattened tapering terminals are the standard Scandinavian finish and they also make the ends comfortable against the arm.
Benötigte Werkzeuge:
 Kreuzschlaghammer
Punch a simple stamped decoration
Punch a simple stamped decoration
Punch dots, triangles or crosses into the flattened terminals. Viking-age punched ornament is geometric and repetitive — resist the urge to engrave a scene.
Benötigte Werkzeuge:
 Grabstichel
Bend to an open oval
Bend to an open oval
Bend the twisted bar around a former into an open oval sized to the upper arm, leaving a 30 mm gap. The gap lets it spring on and off; a closed ring has to be forced over the hand.
Benötigte Werkzeuge:
 Juwelierzangen-Satz
Work-harden the finished ring
Work-harden the finished ring
Tap the whole ring lightly all over with a rawhide or wooden mallet. Do not anneal after this. Annealed silver at this size will bend out of shape the first time it is knocked.
Benötigte Werkzeuge:
 Schnitzklüpfel
Burnish and re-weigh
Burnish and re-weigh
Burnish the high points of the twist so they catch light against the darker valleys. Weigh the finished ring and compare with step 1 — the difference is what you lost in filing and forging.
Benötigte Werkzeuge:
 Achatpolierstein
History & Context
History & Context
Silver by weight, not by coin. Across much of the Viking world silver circulated as bullion. Value was determined by weighing and by assessing purity, not by a stamped denomination — which is why Viking-age graves and hoards so often contain small folding balances and sets of weights. A merchant carried the means of valuation with him.
Hacksilver. To pay, you cut. A fragment was hacked off a ring, ingot, brooch or coin and weighed out to the required amount. This is why so much Viking silver survives as deliberately chopped pieces, and why an intact arm ring is comparatively rare — most were eventually spent. An arm ring is best understood as a wallet you could not easily drop.
Weight units. Rings were often made to standardised weights, commonly cited around 26.6 g for the eyrir and about 8.6 g for the ortug. Treat specific figures with some caution: standards varied by region and period, and much of the precision in popular sources is firmer than the evidence supports.
Oath rings — and a caveat. Rulers rewarded loyal retainers with silver arm rings, and Norse law codes and the Icelandic sagas describe oaths sworn on rings kept at temple altars. This is genuinely attested but the sagas were written down centuries after the events they describe, by Christian authors, so they are literary evidence about how later Icelanders imagined the pagan past as much as records of it. The ring-giving itself is on much firmer ground — "ring-giver" is a standard poetic term for a lord.
Why twisted rods. Twisting two or more rods together is faster than carving a pattern, stiffens the bar considerably, and produces a texture that reads clearly at a distance and in poor light. It also makes hacking a fragment slightly easier to do neatly. Practical, decorative and financial reasons pointing the same way is usually why a form persists.
Materialien
2- 0.6 MeterPlatzhalter
- 100 gPlatzhalter
Benötigte Werkzeuge
9- Platzhalter
- Platzhalter
- Platzhalter
- Platzhalter
- Platzhalter
- Platzhalter
- Platzhalter
- Platzhalter
- Platzhalter
Dieser Bauplan stellt her
CC0 Gemeinfrei
Dieser Blueprint ist unter CC0 veröffentlicht. Sie dürfen dieses Werk für jeden Zweck frei kopieren, ändern, verbreiten und verwenden, ohne um Erlaubnis zu fragen.
Unterstützen Sie den Maker, indem Sie Produkte über seinen Blueprint kaufen, wo er eine Maker-Provision von Anbietern festgelegt, verdient. Oder erstellen Sie eine neue Iteration dieses Blueprints und verbinden Sie ihn in Ihrem eigenen Blueprint, um Einnahmen zu teilen.