Zusammenarbeit
KUNST
SCHÖNHEIT & WELLNESS
HANDWERK
KULTUR & GESCHICHTE
UNTERHALTUNG
UMFELD
ESSEN & GETRÄNKE
REVERSE ENGINEERING
WISSENSCHAFTEN
SPORT
TECHNOLOGIE
WEARABLES
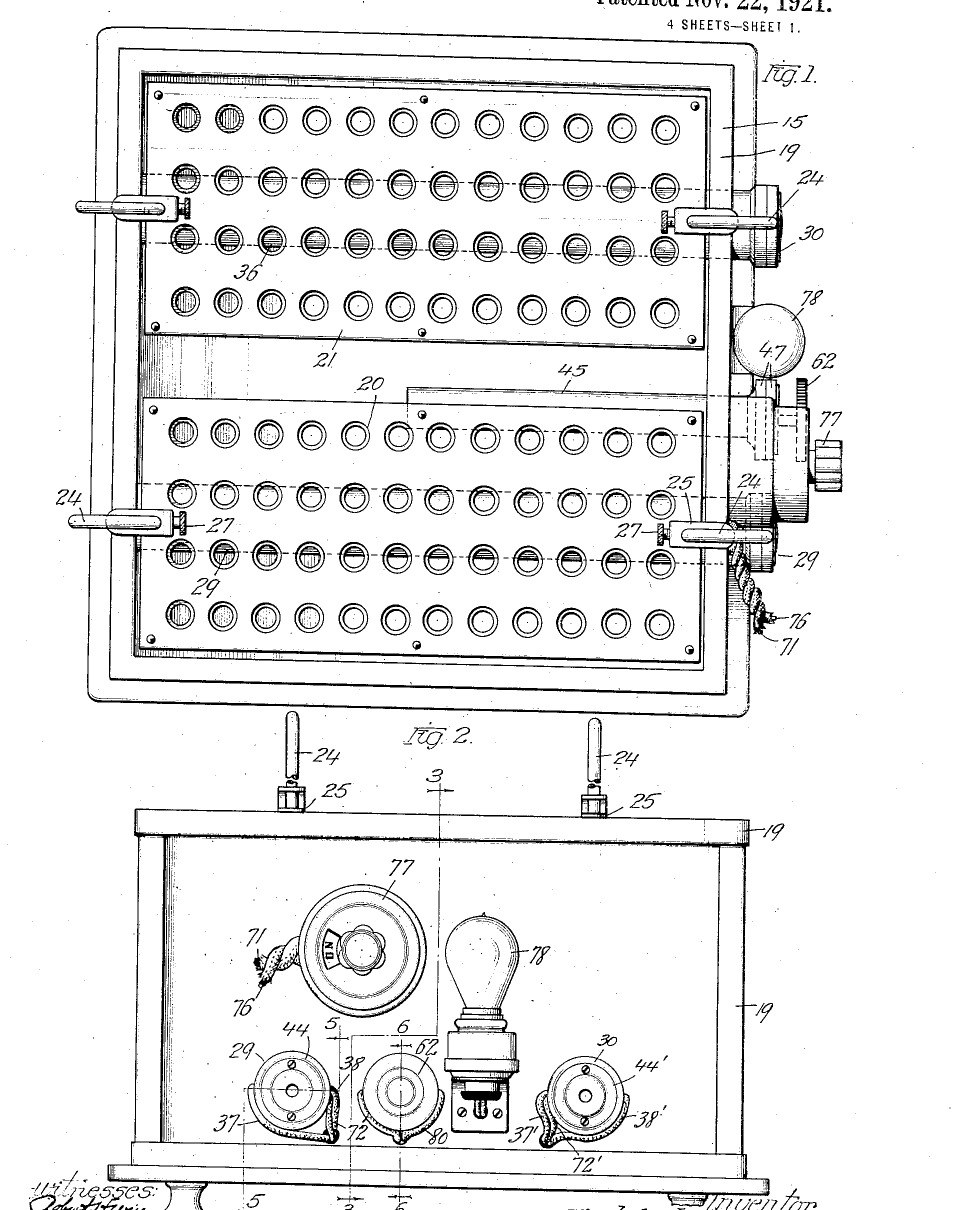


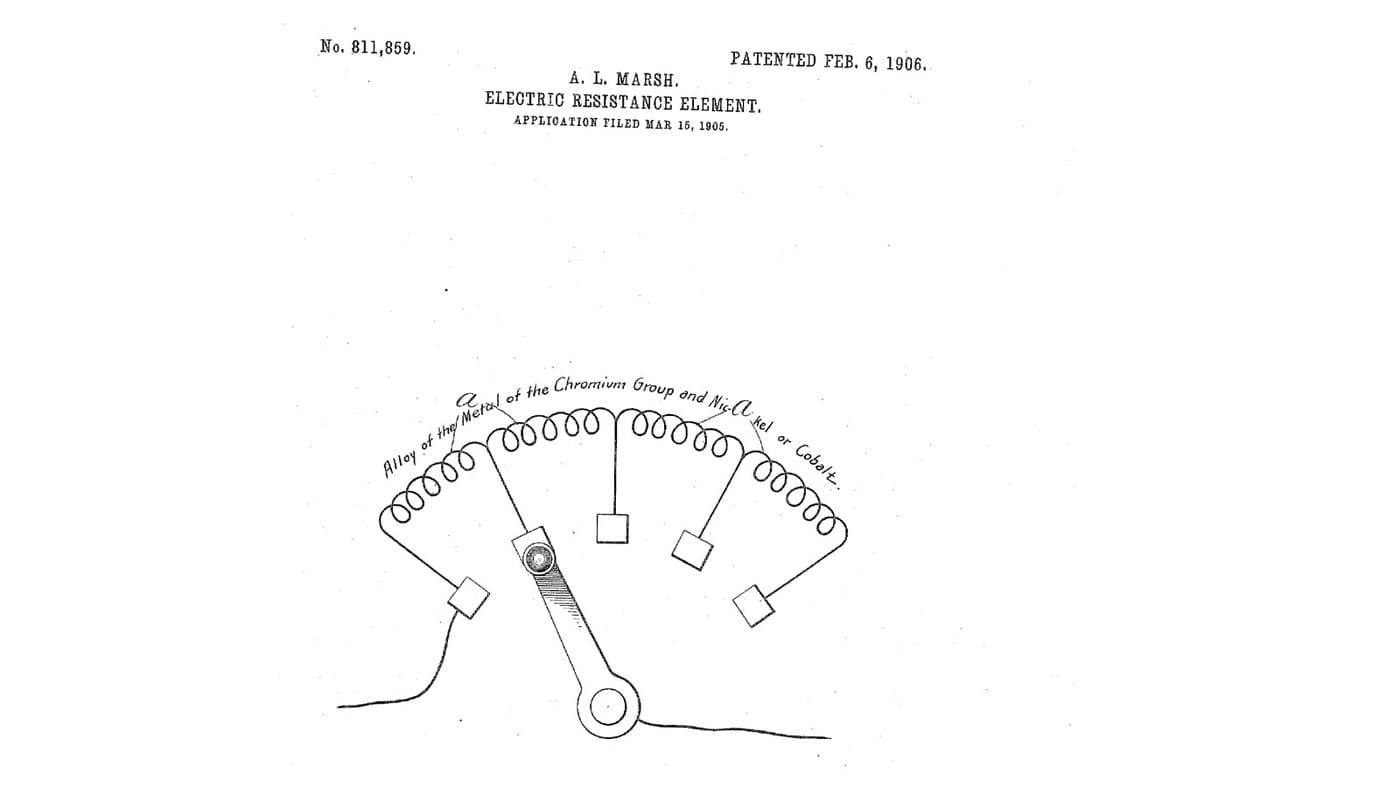
Water Bath: Copper Tank with Plug-In Heaters and an Air-Tube Thermostat (Lidberg, US 1,397,766, 1921)
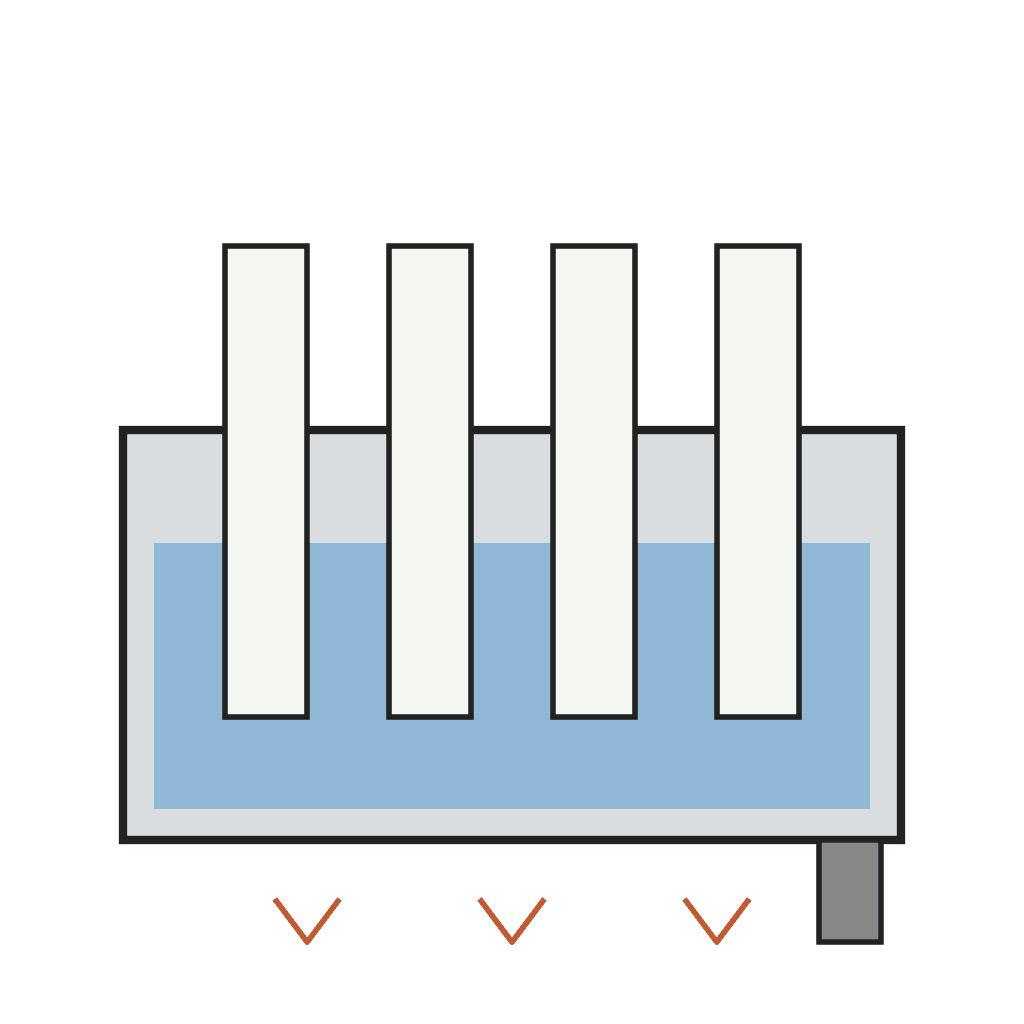
An electric constant-temperature water bath for laboratory and bacteriological work. A copper tank sits in an insulated fibre-board box; two heater tubes and a thermostat tube are soldered through its wall so the heating coils and the switch plug in from outside. A switch adds extra coils to heat the water up quickly; then the thermostat alone holds the set temperature. Perforated trays on adjustable rods hold the tubes or flasks at the depth you choose.
Result: a thermostatic water bath that holds its water at a set temperature.
Source: T. Lidberg (Chicago Surgical & Electrical Co.), US 1,397,766 (1921). Unknown: sizes, the temperature range, the heater wire. Picture: the patent drawing.
Fortgeschritten
Unknown
Anweisungen
1
1
Build the insulated tank
Build the insulated tank
Make a rectangular box of fibrous board on four short legs and line it with hair felt or cloth. Set a sheet copper tank inside, its walls a little taller than the box and turned over the top edge as a bead. Make perforated trays of several shelves, each with an upright rod hooked at the top for lifting, and on each rod a sliding clip with a set screw whose end rests on the tank edge, to set how deep the tray hangs. Not given: sizes.
Materialien für diesen Schritt:
 Unbekanntes Material1 fibrous board box, legs
 Unbekannter Stoff1 hair felt or cloth lining
 Kupferblech1 tank
 Lochblech-Siebplatte1 trays
 Unbekanntes Metall1 rods, clips
 Maschinenschrauben1 Stück
Benötigte Werkzeuge:
 Blechschere
 Lötkolben
 Unbekannte Maße
2
2
Fit the heater tubes
Fit the heater tubes
Solder two watertight tubes across the tank, each closed at its inner end and open outside the wall, and a third for the thermostat. For each heater, wind two coils on a rod held in the tube by an insulating disk and an end head; join one end of each coil to the rod and the others to plates on the head, and cover the terminals with a cap plate. Slide each heater into its tube. Ours: nichrome wire. Not given: the coil ratings.
Materialien für diesen Schritt:
 Kupferrohr3 heater and thermostat tubes
 Zinn-Blei-Lot1 as needed
 Nichromdraht1 four coilsUnbekanntes Metall2 rods, plates, caps
 Unbekannter Isolierstoff1 disks, heads
Benötigte Werkzeuge:
Lötkolben Bügelsäge (Metallsäge)
3
3
Make the air-tube thermostat
Make the air-tube thermostat
In the closed thermostat tube, mount on an insulating disk a strip carrying a thermostatic bar with a contact at its free end. Facing it, pivot an adjustable bar with its own contact on a bracket in the tube's insulating head, held by a spring against an adjusting screw with a knob outside: turning it sets the temperature at which the contacts open. Bridge the contacts with a condenser to stop sparking. The air in the tube takes the bath's temperature and bends the bar. Ours: a bimetallic strip.
Materialien für diesen Schritt:
 Bimetallstreifen1 thermostatic barUnbekanntes Metall1 strip, bar, bracket, contacts, screwUnbekannter Isolierstoff1 disk, head
 Druckfedernsortiment1 Stück
 Kondensatorsortiment1 spark condenser
Benötigte Werkzeuge:
 Schraubendreher-Satz
4
4
Wire and use it
Wire and use it
Wire one coil of each heater through the thermostat, and the other coil of each through a hand switch, with a lamp across the supply to show when current flows. To start, close the switch so all four coils heat the water up. Once it is at temperature, open the switch: the thermostat then switches its two coils on and off to hold the bath steady. Lower the trays of tubes or flasks to the depth wanted.
Materialien für diesen Schritt:
 Kippschalter1 Stück
 Lampenfassung1 Stück
 Glühbirne1 Stück
 Anschlussleitung mit Stecker1 Stück
Benötigte Werkzeuge:
Schraubendreher-SatzMaterialien
17- 1 fibrous board box, legsPlatzhalter
- 1 hair felt or cloth liningPlatzhalter
- 1 tankPlatzhalter
- 1 traysPlatzhalter
- 1 strip, bar, bracket, contacts, screwPlatzhalter
- 1 StückPlatzhalter
- 3 heater and thermostat tubesPlatzhalter
- 1 as neededPlatzhalter
- 1 four coilsPlatzhalter
- 1 disk, headPlatzhalter
- 1 thermostatic barPlatzhalter
- 1 StückPlatzhalter
- 1 spark condenserPlatzhalter
- Platzhalter
- 1 StückPlatzhalter
- 1 StückPlatzhalter
- 1 StückPlatzhalter
Benötigte Werkzeuge
5- Platzhalter
- 2 vendors sell this, none ship to you yetPlatzhalter
- Platzhalter
- Platzhalter
- Platzhalter
Materialien verbundener Blueprints

Dieser Bauplan stellt her
CC0 Gemeinfrei
Dieser Blueprint ist unter CC0 veröffentlicht. Sie dürfen dieses Werk für jeden Zweck frei kopieren, ändern, verbreiten und verwenden, ohne um Erlaubnis zu fragen.
Unterstützen Sie den Maker, indem Sie Produkte über seinen Blueprint kaufen, wo er eine Maker-Provision von Anbietern festgelegt, verdient. Oder erstellen Sie eine neue Iteration dieses Blueprints und verbinden Sie ihn in Ihrem eigenen Blueprint, um Einnahmen zu teilen.