KUNST
SCHÖNHEIT & WELLNESS
HANDWERK
KULTUR & GESCHICHTE
UNTERHALTUNG
UMFELD
ESSEN & GETRÄNKE
REVERSE ENGINEERING
WISSENSCHAFTEN
SPORT
TECHNOLOGIE
WEARABLES
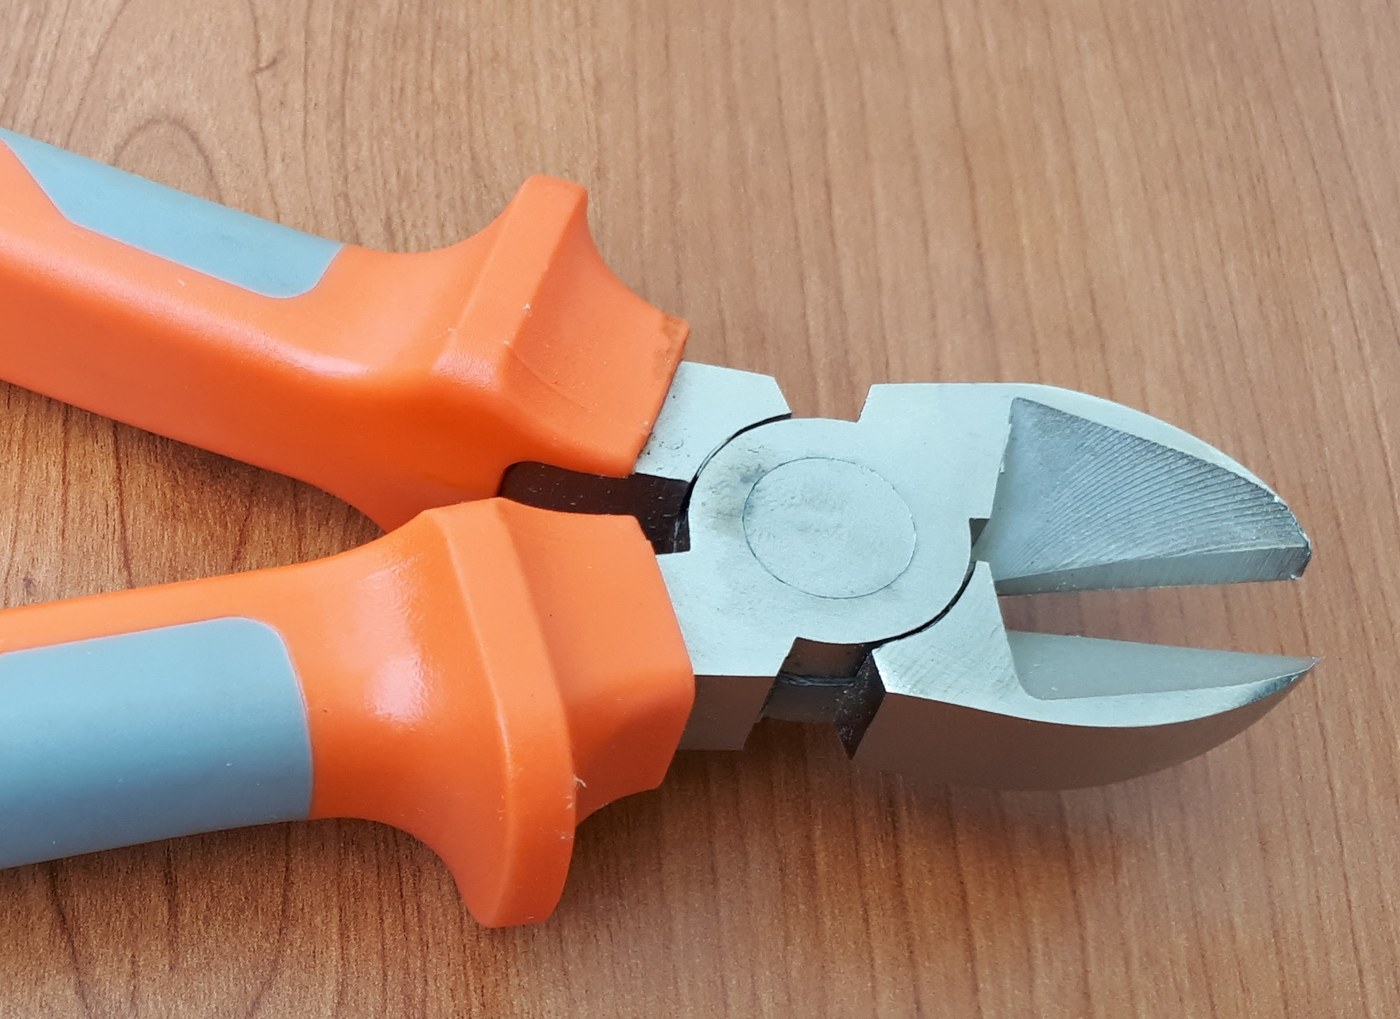


Wire Cutters: Diagonal Pliers Forged with Hardened V-Edged Jaws
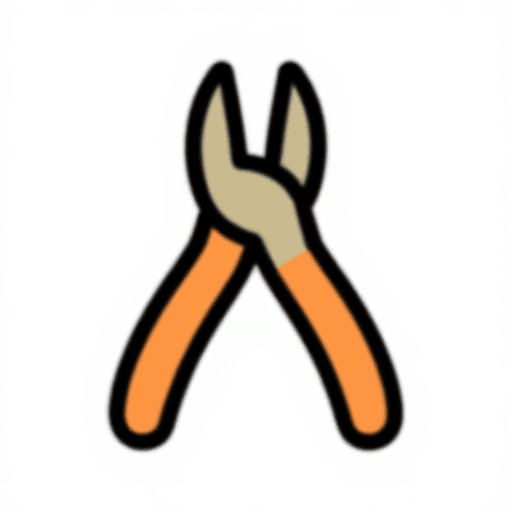
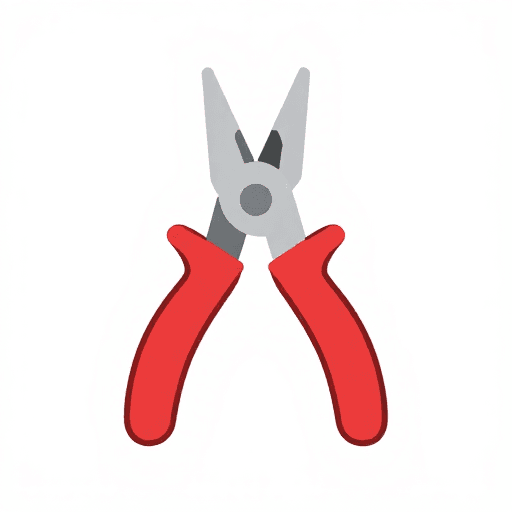
Diagonal pliers cut wire by pressing two V-shaped edges into it until it splits, not by shearing like scissors. The edges sit at an angle to the joint rivet, which gives them their name, and the jaws must be hardened or steel wire dents them. Forge two halves from tool steel, rivet them, grind the edges and harden the jaws.
The picture: the jaws and joint of a modern pair; its handles are dipped in plastic, ours are bare steel.
Erfahren
Two days
Anweisungen
1
1
Forge the halves
Forge the halves
Forge two mirror halves from tool steel: a short, thick jaw set at an angle, a flat boss for the joint, and a handle (our sizes: jaw 18 mm, handle 120 mm from the joint).
Materialien für diesen Schritt:
 Werkzeugstahl-Achtkantstab0.3 kg
 Holzkohle2 as required
Benötigte Werkzeuge:
 Schmiedeesse
 Amboss
 Kreuzschlaghammer
 Schmiedezange
 Schweißerhandschuhe
 Schutzbrille
2
2
Anneal and fit the joint
Anneal and fit the joint
Anneal both halves. File the bosses flat so they lap closely, drill them together and rivet them so the jaws close without play.
Materialien für diesen Schritt:
 Stahlnieten1 Stück
Benötigte Werkzeuge:
Schmiedeesse Metallfeile
 Handbohrer
 Schwerer SchraubstockKreuzschlaghammerAmboss
3
3
Grind the edges
Grind the edges
Grind each jaw to a symmetrical V so the two edges meet along their whole length when closed. Check against the light.
Benötigte Werkzeuge:
 Schleifstein als RadMetallfeile
4
4
Harden the jaws
Harden the jaws
Heat the jaws only to cherry red and quench in water. Polish them bright, then warm the joint and let the colour run to the edges; quench at straw (our temper).
Materialien für diesen Schritt:
 Wasser10 Liter
Benötigte Werkzeuge:
Schmiedeesse AbschreckbottichSchmiedezangeSchweißerhandschuheSchutzbrille
5
5
Hone and test
Hone and test
Hone the edges lightly on the stone and try them on soft copper wire first. A dent in the edge means the jaw is too soft.
Benötigte Werkzeuge:
 Schleifstein Körnung 1000
6
6
Force at the edges
Force at the edges
Jupyter-Notebook wird geladen …
Materialien
4- Platzhalter
- 2 as requiredPlatzhalter
- 1 StückPlatzhalter
- 10 LiterPlatzhalter
Benötigte Werkzeuge
12- Platzhalter
- Platzhalter
- Platzhalter
- Platzhalter
- Platzhalter
- Platzhalter
- Platzhalter
- Platzhalter
- Platzhalter
- Platzhalter
- Platzhalter
- Platzhalter
Dieser Bauplan stellt her
Verwandte Blueprints
Diese Blueprints teilen Wissen — Techniken, Materialien oder Prinzipien
CC0 Gemeinfrei
Dieser Blueprint ist unter CC0 veröffentlicht. Sie dürfen dieses Werk für jeden Zweck frei kopieren, ändern, verbreiten und verwenden, ohne um Erlaubnis zu fragen.
Unterstützen Sie den Maker, indem Sie Produkte über seinen Blueprint kaufen, wo er eine Maker-Provision von Anbietern festgelegt, verdient. Oder erstellen Sie eine neue Iteration dieses Blueprints und verbinden Sie ihn in Ihrem eigenen Blueprint, um Einnahmen zu teilen.