ART
BEAUTY & WELLNESS
CRAFT
CULTURE & HISTORY
ENTERTAINMENT
ENVIRONMENT
FOOD & DRINKS
REVERSE ENGINEERING
SCIENCES
SPORTS
TECHNOLOGY
WEARABLES

Acid Into Water, Never Water Into Acid: Why the Order Is Not a Preference
Diluting a strong acid RELEASES HEAT — a great deal of it. Concentrated sulfuric acid and water together can reach boiling point in seconds, and what boils is not the acid but the small amount of water that got there first.
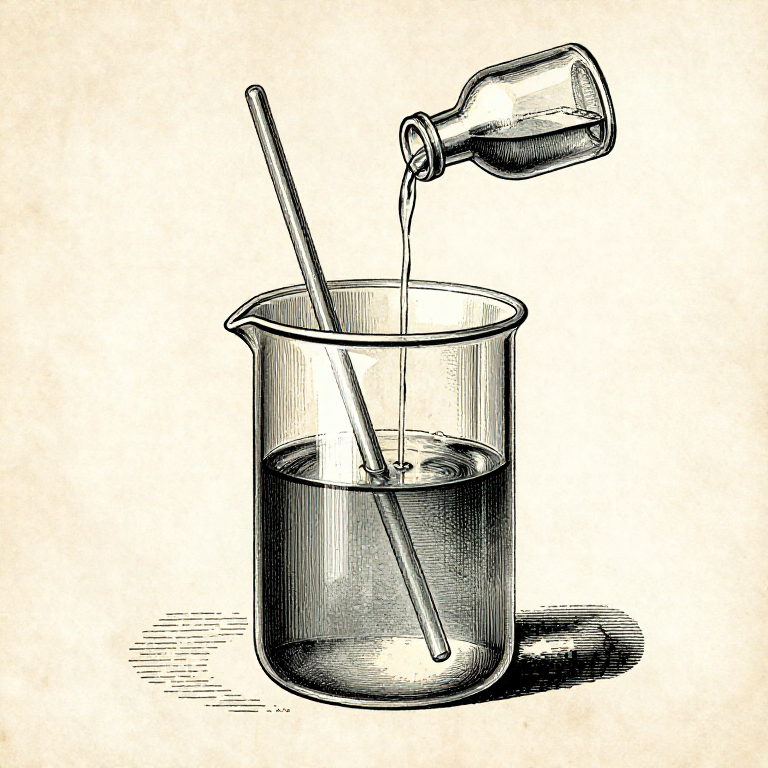
That is the whole reason for the order. Pour acid into a large volume of water and the heat is spread through all of it, raising the temperature a little. Pour water into acid and the first drops land in a pool of acid, boil instantly, and spit concentrated acid back out of the vessel.
The rule people remember it by is crude and effective: **do as you oughta, add acid to water.** It applies to every strong acid and to concentrated alkali solutions too, and it is not a laboratory formality — it is the difference between a warm beaker and a face.
Intermediate
2 hours
Instructions
1
1
Put the water in first, and have enough of it
Put the water in first, and have enough of it
Measure the water into the vessel before the acid bottle is opened. The water should be most of the final volume, so that when the acid arrives there is plenty of cold liquid to absorb the heat.
Use a vessel much larger than the final volume — half full at most. Heat makes the liquid move, and a vessel filled to the brim has nowhere to put that movement.
Borosilicate, not ordinary glass. The temperature can rise fast enough to crack soda-lime glass through thermal shock, and a cracked beaker of hot acid is the worst possible way to learn the difference.
Materials for this step:
 Distilled Water1 liter
Tools needed:
 Borosilicate Beaker
 Measuring Cylinder
 Chemical Splash Goggles
 Nitrile Rubber Gloves
2
2
Add the acid slowly, down a stirring rod, with stirring
Add the acid slowly, down a stirring rod, with stirring
Pour the acid in a thin stream down a glass stirring rod held against the inside of the vessel, so it runs down the wall rather than dropping in. Stir continuously throughout.
Both of those do the same job: they stop a pocket of concentrated acid sitting at the bottom and getting hot on its own. Acid is denser than water and will sink and stay there unless it is mixed, and a hot layer under a cold one is exactly what makes a vessel spit.
Stop and let it cool if it becomes hot to the touch through the glass. There is no hurry, and adding the second half of the acid to a beaker that is already at 70 degrees removes all the margin the first half bought you.
Materials for this step:
Distilled Water1 literTools needed:
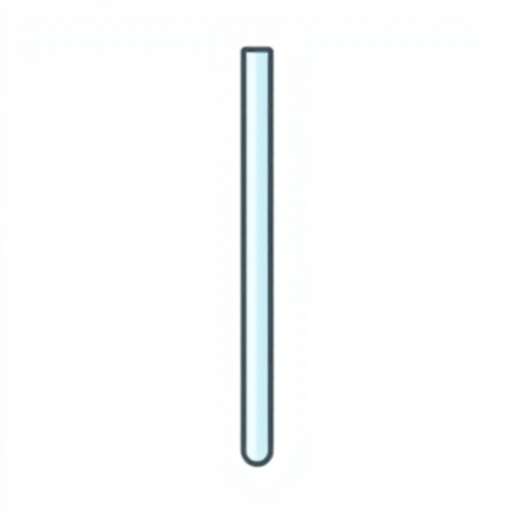 Glass Stirring RodBorosilicate BeakerChemical Splash GogglesNitrile Rubber Gloves
3
3
Goggles, gloves, and a sink with running water nearby
Goggles, gloves, and a sink with running water nearby
Splash goggles, not safety glasses. Glasses stop things coming from the front; an acid that spits comes up and around, and it is the eye that cannot be washed clean afterwards.
Nitrile gloves and long sleeves, and work at a sink or where running water is within a step or two. The response to acid on skin is a great deal of cold water immediately and for far longer than feels necessary — fifteen minutes, not fifteen seconds.
Keep a container of sodium bicarbonate on the bench for spills on surfaces, NOT for spills on skin. Neutralising an acid releases heat and gas, and on skin that adds a thermal burn to a chemical one. Water, and plenty of it, is the answer for people; bicarbonate is for the bench.
Materials for this step:
 Sodium Bicarbonate1 piece
 Water1 liter
Tools needed:
Chemical Splash GogglesNitrile Rubber Gloves Wash Bottle
4
4
Label it the moment it exists
Label it the moment it exists
Write the label before you walk away: what it is, how concentrated, the date, and your initials. An unlabelled beaker of clear liquid is indistinguishable from water, and that is how people get hurt by something they made themselves.
Label the vessel, not the lid. Lids get swapped, and a correctly labelled lid on the wrong bottle is worse than no label at all.
The same line goes in the notebook: what was mixed, in what order, how much heat there was, whether it needed cooling. That is what makes the next batch predictable rather than a fresh experiment.
Materials for this step:
 Adhesive Labels1 piece
Tools needed:
 Permanent Marker
Materials
4- 2 litersPlaceholder
- 1 piecePlaceholder
- 1 literPlaceholder
- 1 piecePlaceholder
Tools Required
7- Placeholder
- Placeholder
- Placeholder
- Placeholder
- Placeholder
- Wash Bottle10% commissionPlaceholder
- Placeholder
Related Blueprints
These blueprints share knowledge with this one — techniques, materials, or principles that connect them in the learning graph.


CC0 Public Domain
This blueprint is released under CC0. You are free to copy, modify, distribute, and use this work for any purpose, without asking permission.
Support the Maker by purchasing products through their Blueprint where they earn a Maker Commission set by Vendors, or create a new iteration of this Blueprint and include it as a connection in your own Blueprint to share revenue.