ART
BEAUTY & WELLNESS
CRAFT
CULTURE & HISTORY
ENTERTAINMENT
ENVIRONMENT
FOOD & DRINKS
REVERSE ENGINEERING
SCIENCES
SPORTS
TECHNOLOGY
WEARABLES
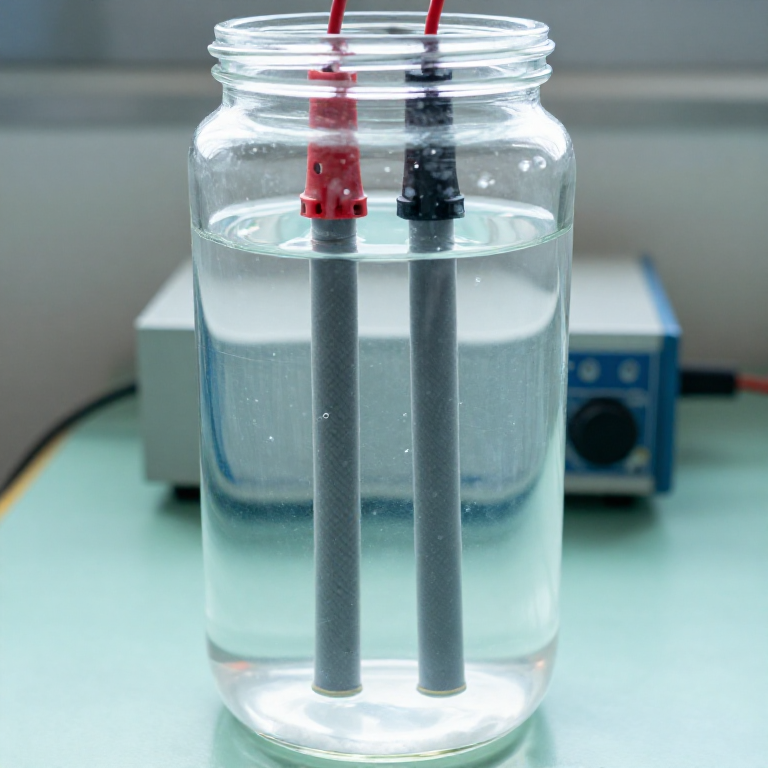


Electrolytic Hypochlorite Generator
Chlorination and the Residual, already published here, explains why a trace of chlorine left in the water is what keeps it safe all the way to the tap. It assumes you can buy the chlorine.
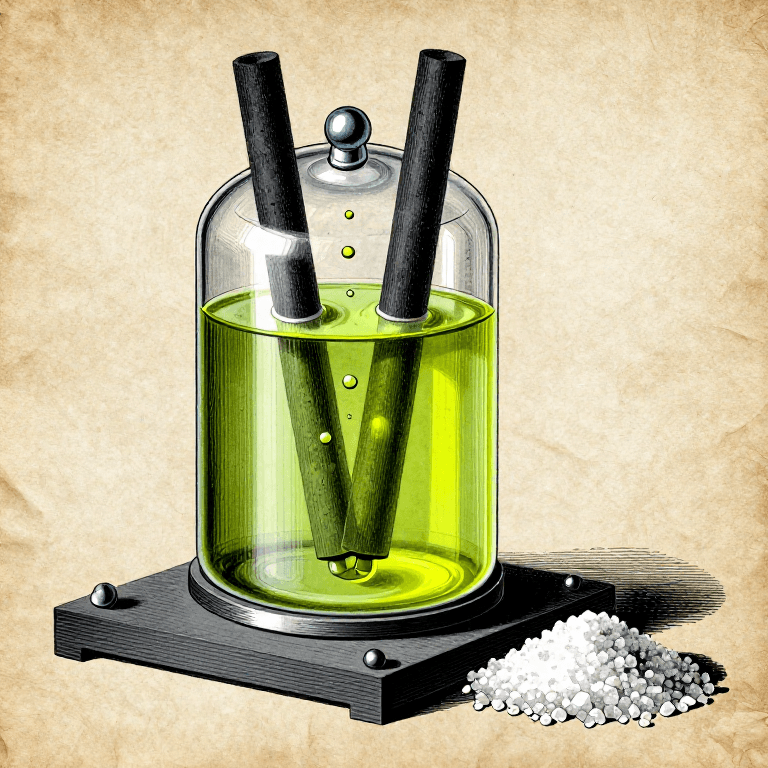
This is how you make it from salt, water and electricity. Pass a current through brine and chlorine forms at one electrode and hydrogen at the other; let the chlorine mix back into the alkaline solution rather than escape, and it becomes sodium hypochlorite — ordinary bleach, the same thing a works dozes into a supply. The method runs everywhere the supply chain does not, from village kiosks to ships.
⚠ This blueprint makes chlorine gas and hydrogen gas. Chlorine damages lungs at concentrations you can barely smell, and hydrogen burns explosively in air. Outdoors or in a fume hood, never in a closed room, and never with the two gases allowed to collect.
Advanced
3 hours
Instructions
1
1
Set up where the gases can leave
Set up where the gases can leave
Work outdoors, or in a fume hood with the sash down. Wear goggles and gloves. Have a fan moving air away from you, and nothing that sparks or flames anywhere near the cell.
Two gases come off this cell and both matter. Chlorine at the anode is heavier than air, so it pools low and lingers; it is detectable by smell far below the concentration that harms you, which makes the smell a warning and never a measurement. Hydrogen at the cathode is lighter than air and will collect under any lid, shelf or ceiling above the cell — that is the one that turns a chemistry lesson into a bang. Keep the cell open to the sky.
Tools needed:
 Safety Goggles
 Nitrile Gloves
2
2
Mix the brine
Mix the brine
Dissolve 30 grams of plain table salt in one litre of water — about 3 per cent, roughly sea strength. Use salt without iodine or anti-caking agents if you can, and soft or distilled water.
Hard water is the practical enemy here: the calcium and magnesium in it plate out as a white scale on the cathode within minutes, the cell's resistance climbs and the output falls away. Commercial units solve this by reversing polarity periodically to shed the scale.
Materials for this step:
 Table Salt30 g
 Distilled Water1 liter
Tools needed:
 Measuring Cylinder
 Glass Jar
3
3
Two graphite electrodes, not steel
Two graphite electrodes, not steel
Stand two graphite rods in the brine about 3 cm apart, connected to a DC supply through a meter. Graphite survives the anode; almost nothing cheap else does.
Do not use steel, copper or aluminium as the anode. Chlorine forming on a metal surface dissolves it, and what you get is not bleach but a jar of metal chlorides — orange with iron, blue-green with copper, and useless. The colour change is the experiment telling you the electrode is being consumed instead of the salt.
Materials for this step:
 Graphite Electrode2 pieces
Tools needed:
 DC Power Supply
 Multimeter
4
4
Run it at low voltage and watch both electrodes
Run it at low voltage and watch both electrodes
Set about 5 volts and let the current settle — expect a couple of amps in a jar this size. Note the current; it is your reaction rate.
Fine bubbles should rise from both rods: hydrogen at the negative one, faster, and chlorine at the positive one, slower and with the smell. The solution warms. Stir gently now and then so the chlorine meets the sodium hydroxide building at the cathode — that reaction is what converts the gas into hypochlorite in solution instead of letting it leave as gas.
Tools needed:
DC Power SupplyMultimeter Stopwatch
 Thermometer
5
5
How much bleach the current actually made
How much bleach the current actually made
Loading Jupyter Notebook...
Tools needed:
Multimeter6
6
Store it dark, and never mix it with acid
Store it dark, and never mix it with acid
Pour the product into an opaque bottle, label it with the strength you measured and the date, and keep it cool. Leave the cap loose for the first hour — dissolved gas will still come out of solution.
The rule that matters for the rest of your life: never mix hypochlorite with an acid, and never with ammonia. Acid drives the chlorine straight back out as gas, and a bottle of bleach plus a bottle of descaler in a small room has killed people. This is not a laboratory caution, it is the most common domestic chemical poisoning there is.
Tools needed:
Glass Jar7
7
Dose water, then measure the residual
Dose water, then measure the residual
Dose a litre of your filtered water to about 2 mg/l, stir, and wait thirty minutes. Then test for FREE chlorine. You want 0.2 to 0.5 mg/l still present.
The gap between what you put in and what remains is the chlorine demand: everything in the water that reacted — organic matter, iron, and the microbes themselves. A residual means the demand has been satisfied and there is protection left over. No residual means the dose was eaten and you cannot conclude anything about safety. Cloudy water shields microbes from chlorine, which is precisely why every rung before this one exists.
Materials for this step:
 Sodium Bicarbonate1 tsp
Tools needed:
 pH Test StripsMeasuring Cylinder
Materials
4- 30 gPlaceholder
- 1 literPlaceholder
- 2 piecesPlaceholder
- 1 tspPlaceholder
This blueprint makes
Related Blueprints
These blueprints share knowledge with this one — techniques, materials, or principles that connect them in the learning graph.

CC0 Public Domain
This blueprint is released under CC0. You are free to copy, modify, distribute, and use this work for any purpose, without asking permission.
Support the Maker by purchasing products through their Blueprint where they earn a Maker Commission set by Vendors, or create a new iteration of this Blueprint and include it as a connection in your own Blueprint to share revenue.