
Slip Trailer
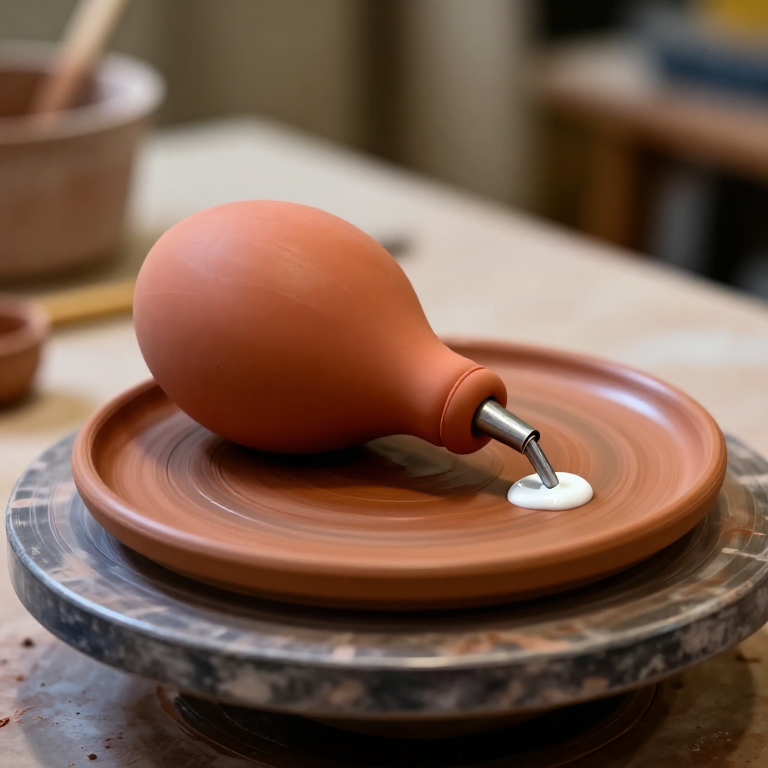
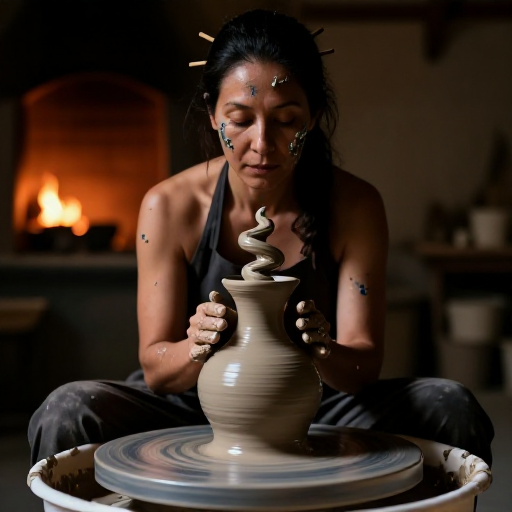
A slip trailer is a squeeze bulb with a fine nozzle that lays a raised line of liquid clay onto a pot. It is the potter's equivalent of a piping bag, and it produced most of the decorated earthenware of medieval and early modern Europe — the trailed, combed and feathered slipware that fills museum cases.
The whole thing depends on one variable: the consistency of the slip. Too thin and the line spreads and vanishes into the surface. Too thick and it clogs the nozzle or sits up as a ridge that cracks off in the kiln. The workable range is narrower than beginners expect, and it is judged by eye and by pouring, not by measuring.
Making your own trailer means you can size the nozzle to the line you want, which is why potters end up owning several.
Instructions
Choose a soft rubber bulb
Choose a soft rubber bulb
Take a soft rubber bulb of about 60 ml. It must recover its shape on its own — a bulb that stays squashed cannot refill itself and will suck air instead of slip.
Materials for this step:
 Rubber Bulb 60ml1 piece
Cut the nozzle blank
Cut the nozzle blank
Cut a 60 mm length of hard plastic or brass tube, 6 mm outside diameter, to form the nozzle body.
Materials for this step:
 Brass Rod1 piece
Tools needed:
 Hand Saw
Taper and open the tip
Taper and open the tip
File the tip to a taper and open the bore to 2 mm for a general-purpose line. 1 mm gives fine detail; 3 mm gives a bold trail.
Tools needed:
 Needle File Set
Deburr the bore
Deburr the bore
Clear every burr from inside the tip. A burr makes the slip line stutter and split into two threads — the commonest cause of a ragged trail.
Tools needed:
Needle File SetFit the nozzle to the bulb
Fit the nozzle to the bulb
Push the nozzle into the bulb neck for a tight interference fit. Any air leak at this joint and the bulb will not draw slip back in.
Mix the slip
Mix the slip
Mix clay and water to the consistency of pouring cream. Trailed against the back of a spoon it should hold a visible line for a second before settling.
Materials for this step:
 Stoneware Clay500 g
Sieve the slip
Sieve the slip
Pass the slip through an 80 mesh sieve. One unbroken lump will block a 2 mm nozzle completely, usually halfway through a line you cannot restart.
Colour a second batch
Colour a second batch
Split the slip and stain one half with an oxide. Slipware works by contrast — a pale trail on a dark body, or the reverse.
Materials for this step:
 Iron Oxide Pigment20 g
Fill the bulb without air
Fill the bulb without air
Squeeze the bulb flat, submerge the nozzle, and release slowly. Releasing fast draws in air pockets that later spit and break the line.
Trail onto leather-hard clay
Trail onto leather-hard clay
Trail onto a leather-hard surface, holding the nozzle just clear and moving at a steady speed. Bone-dry clay sucks the water out instantly and the trail cracks off; wet clay lets it sink and blur.
Feather the wet lines
Feather the wet lines
While the trails are still wet, drag a bristle across them at right angles. Each pass pulls the lines into the characteristic feathered chevrons of English slipware.
Dry slowly, then fire
Dry slowly, then fire
Dry slowly under plastic so the trail and body shrink together, then bisque fire. A raised trail dried too fast lifts at the edges and flakes away.
Tools needed:
 Kiln
KilnHistory & Context
History & Context
Decoration you can feel. Slip trailing is one of very few ceramic decorating techniques that is genuinely three-dimensional. The line stands proud of the surface, catches light along its ridge and casts a small shadow. Under a clear glaze it stays raised, which is why slipware reads so strongly even in a dim room — the decoration is topography, not just colour.
Why leather-hard. Clay shrinks as it dries. If the trail and the body are at different moisture levels when they meet, they shrink by different amounts and the join fails — the trail lifts, cracks or peels. Leather-hard is the window where the pot is firm enough to handle but still wet enough to shrink in step with fresh slip laid on it. Almost every slipware failure traces back to getting this timing wrong.
The English slipware tradition. Trailed and feathered earthenware was made in quantity in 17th-century England — Staffordshire, Wrotham, and elsewhere — producing large commemorative dishes with trailed names, dates and figures. The feathering in step 11 is the signature move of that tradition, and it is done in seconds while the slip is still wet, which is why no two are identical.
Same idea, many places. Trailed slip decoration is not a single invention. It appears independently across a wide range of cultures and periods, because the technique follows naturally from having liquid clay and something to squeeze it through. Where you find pottery and a soft container, you tend eventually to find trailing.
The consistency problem never goes away. Experienced potters still test slip by trailing a line on a scrap before starting a piece. There is no reliable measurement that substitutes for it — the workable range depends on the clay body, the temperature, how long the slip has stood, and the nozzle. This is one of the places where craft knowledge is genuinely tacit, and where a written blueprint can only tell you what to look for, not what number to hit.
Materials
4- 1 piecePlaceholder
- 1 piecePlaceholder
- 500 gPlaceholder
- Placeholder
This blueprint makes

CC0 Public Domain
This blueprint is released under CC0. You are free to copy, modify, distribute, and use this work for any purpose, without asking permission.
Support the Maker by purchasing products through their Blueprint where they earn a Maker Commission set by Vendors, or create a new iteration of this Blueprint and include it as a connection in your own Blueprint to share revenue.