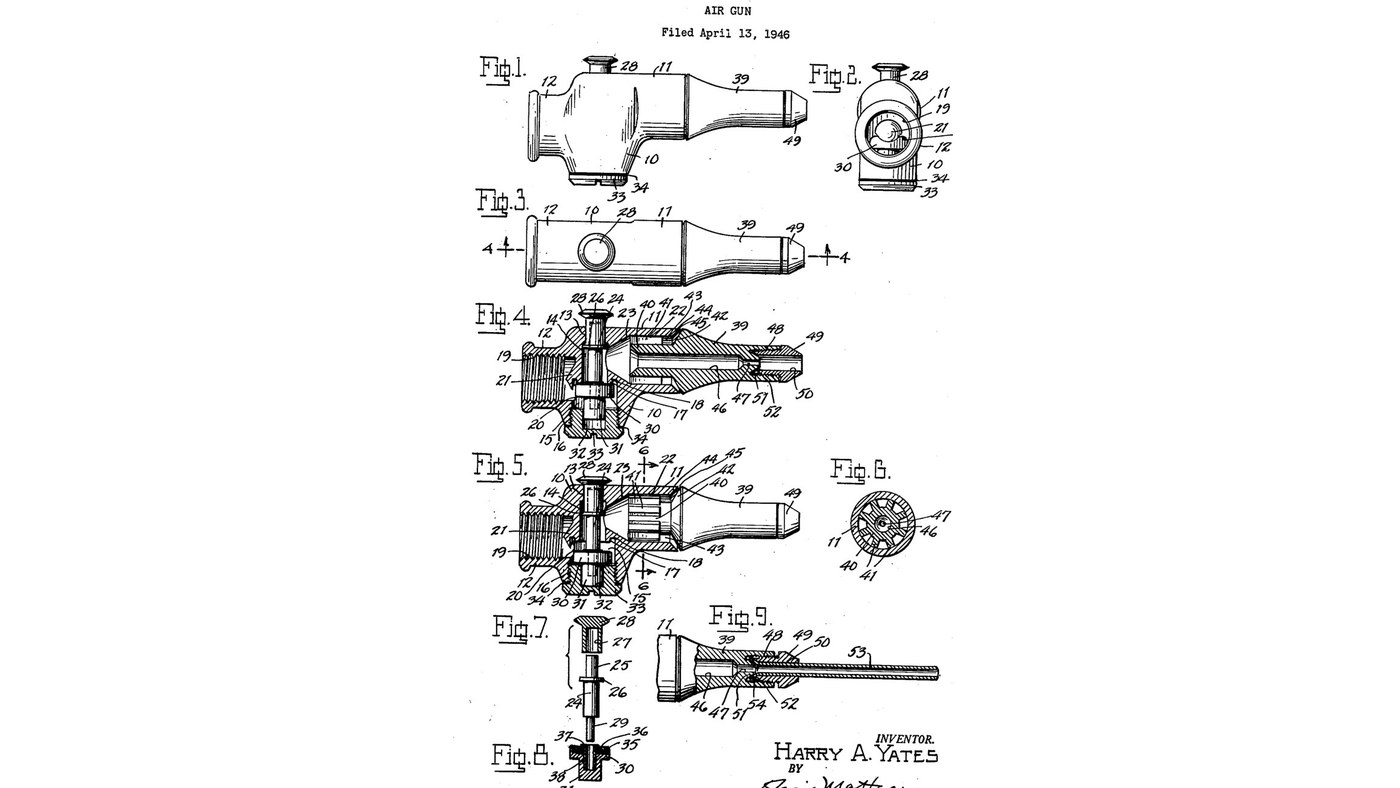


Air Blow Gun: Press-Button Valve and Conical Air Shield
Instrucciones
Bore the body
Bore the body
Materiales para este paso:
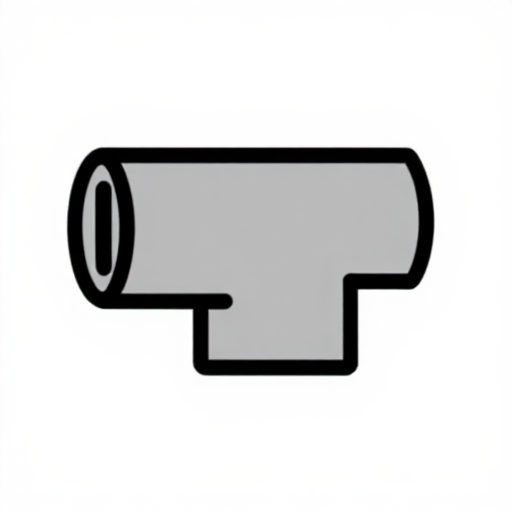 Cuerpo de pistola sopladora1 pieza
Herramientas necesarias:
 Torno de metal
 Barra de mandrinar
 Juego de machos y terrajas
Bore the hose pocket so it breaks into the chamber
Bore the hose pocket so it breaks into the chamber
Herramientas necesarias:
Torno de metalBarra de mandrinarJuego de machos y terrajasBore the barrel
Bore the barrel
Herramientas necesarias:
Torno de metalBarra de mandrinarFit stem and press-button
Fit stem and press-button
Materiales para este paso:
 Vástago de válvula1 pieza
 Pulsador de válvula1 pieza
Herramientas necesarias:
 Prensa de husillo
Make the valve closure
Make the valve closure
Materiales para este paso:
 Obturador de válvula1 pieza
 Cara de goma de válvula1 pieza
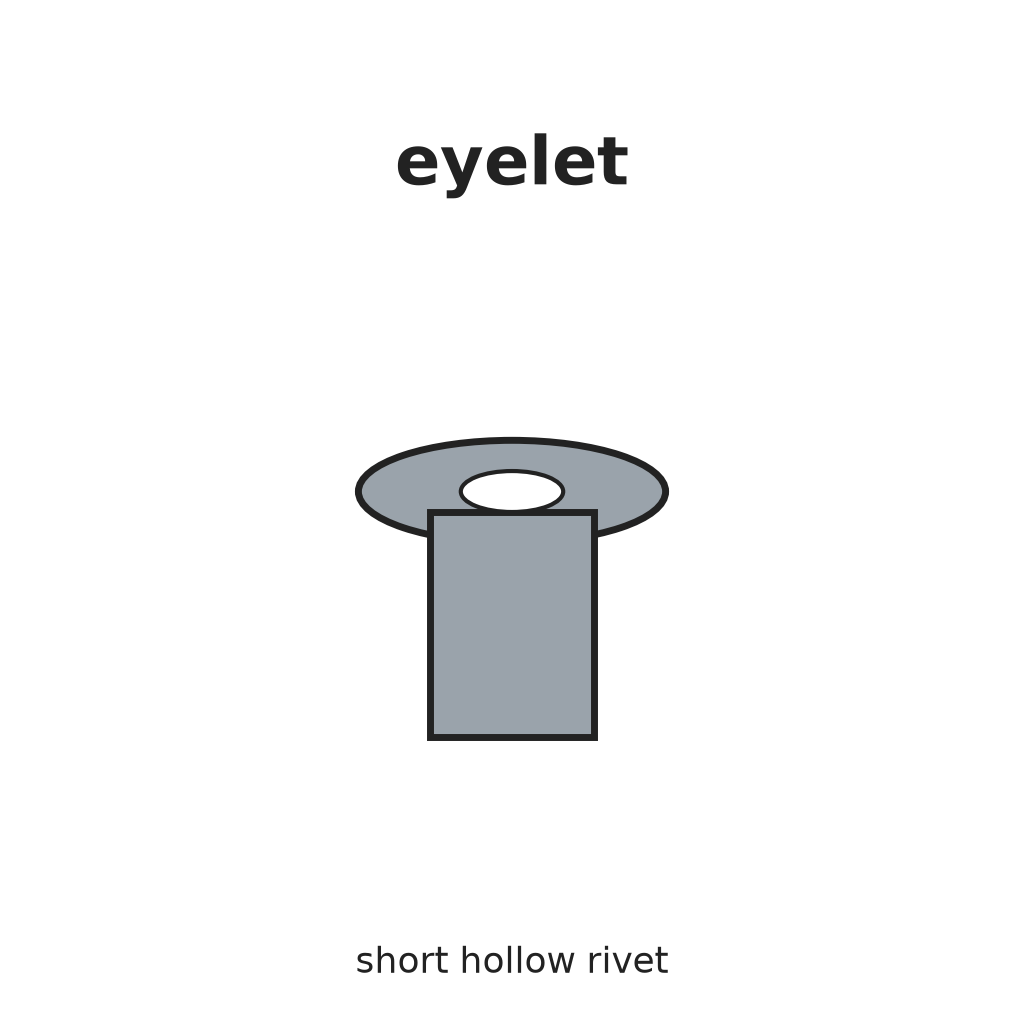 Ojal remachable1 pieza
Herramientas necesarias:
Prensa de husilloClose the chamber
Close the chamber
Materiales para este paso:
 Tapón de cierre1 pieza
 Junta de estanqueidad1 pieza
Herramientas necesarias:
 Destornillador plano
Press in the nozzle
Press in the nozzle
Materiales para este paso:
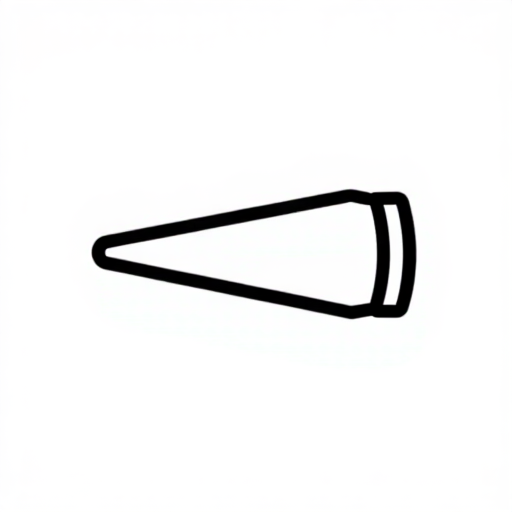 Boquilla de aire1 pieza
Herramientas necesarias:
Prensa de husilloScrew on the tip and the hose nipple
Screw on the tip and the hose nipple
Materiales para este paso:
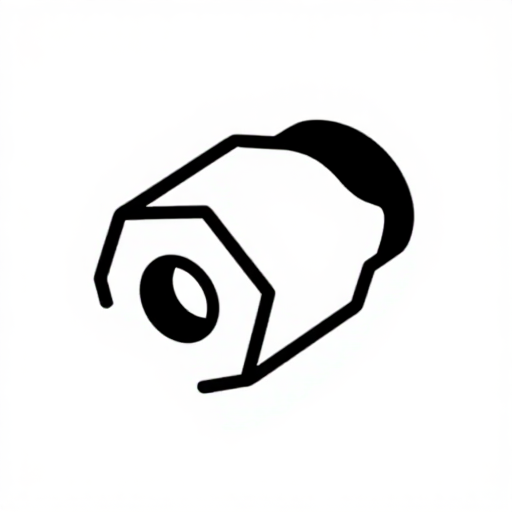 Punta de boquilla1 pieza
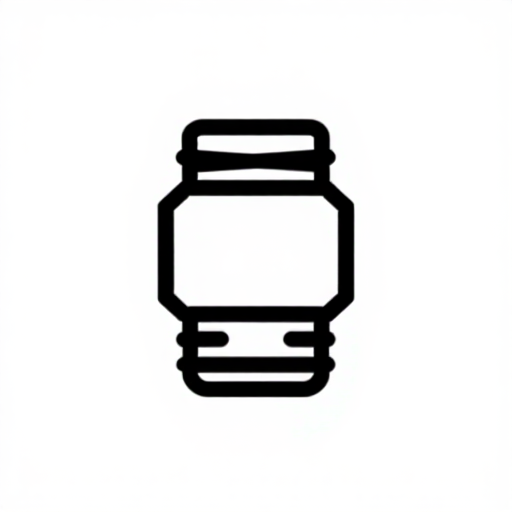 Racor roscado para manguera1 pieza
Herramientas necesarias:
 Llave inglesa
Try the jet and the shield
Try the jet and the shield
Herramientas necesarias:
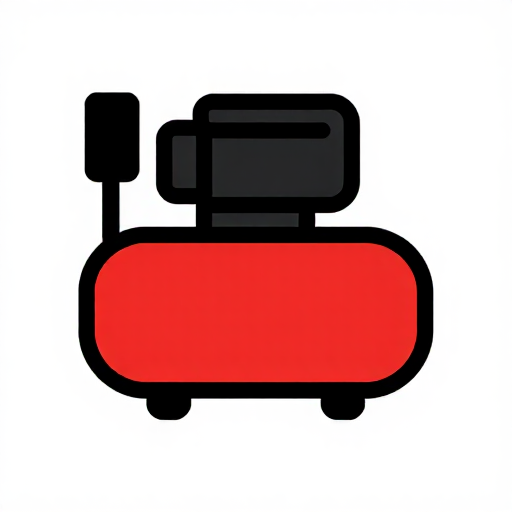 Compresor de aire
 Manguera de aire comprimido
Materiales
11- 1 piezaMarcador de posición
- 1 piezaMarcador de posición
- 1 piezaMarcador de posición
- 1 piezaMarcador de posición
- 1 piezaMarcador de posición
- 1 piezaMarcador de posición
- 1 piezaMarcador de posición
- 1 piezaMarcador de posición
- 1 piezaMarcador de posición
- 1 piezaMarcador de posición
- 1 piezaMarcador de posición
Herramientas requeridas
8- Marcador de posición
- Marcador de posición
- Marcador de posición
- Marcador de posición
- Marcador de posición
- Marcador de posición
- 1 vendor sell this, none ship to you yetMarcador de posición
- Marcador de posición
Este plano hace
Blueprints relacionados
Estos blueprints comparten conocimiento — técnicas, materiales o principios

CC0 Dominio público
Este Blueprint se publica bajo CC0. Eres libre de copiar, modificar, distribuir y usar este trabajo para cualquier propósito, sin pedir permiso.
Apoya al Maker comprando productos a través de su Blueprint, donde gana una Comisión del Maker establecida por los vendedores, o crea una nueva iteración de este Blueprint e inclúyela como conexión en tu propio Blueprint para compartir ingresos.