Colaboración
ARTE
BELLEZA Y BIENESTAR
ARTESANÍA
CULTURA E HISTORIA
ENTRETENIMIENTO
MEDIO AMBIENTE
COMIDA Y BEBIDAS
INGENIERÍA INVERSA
CIENCIAS
DEPORTES
TECNOLOGÍA
TECNOLOGÍA VESTIBLE
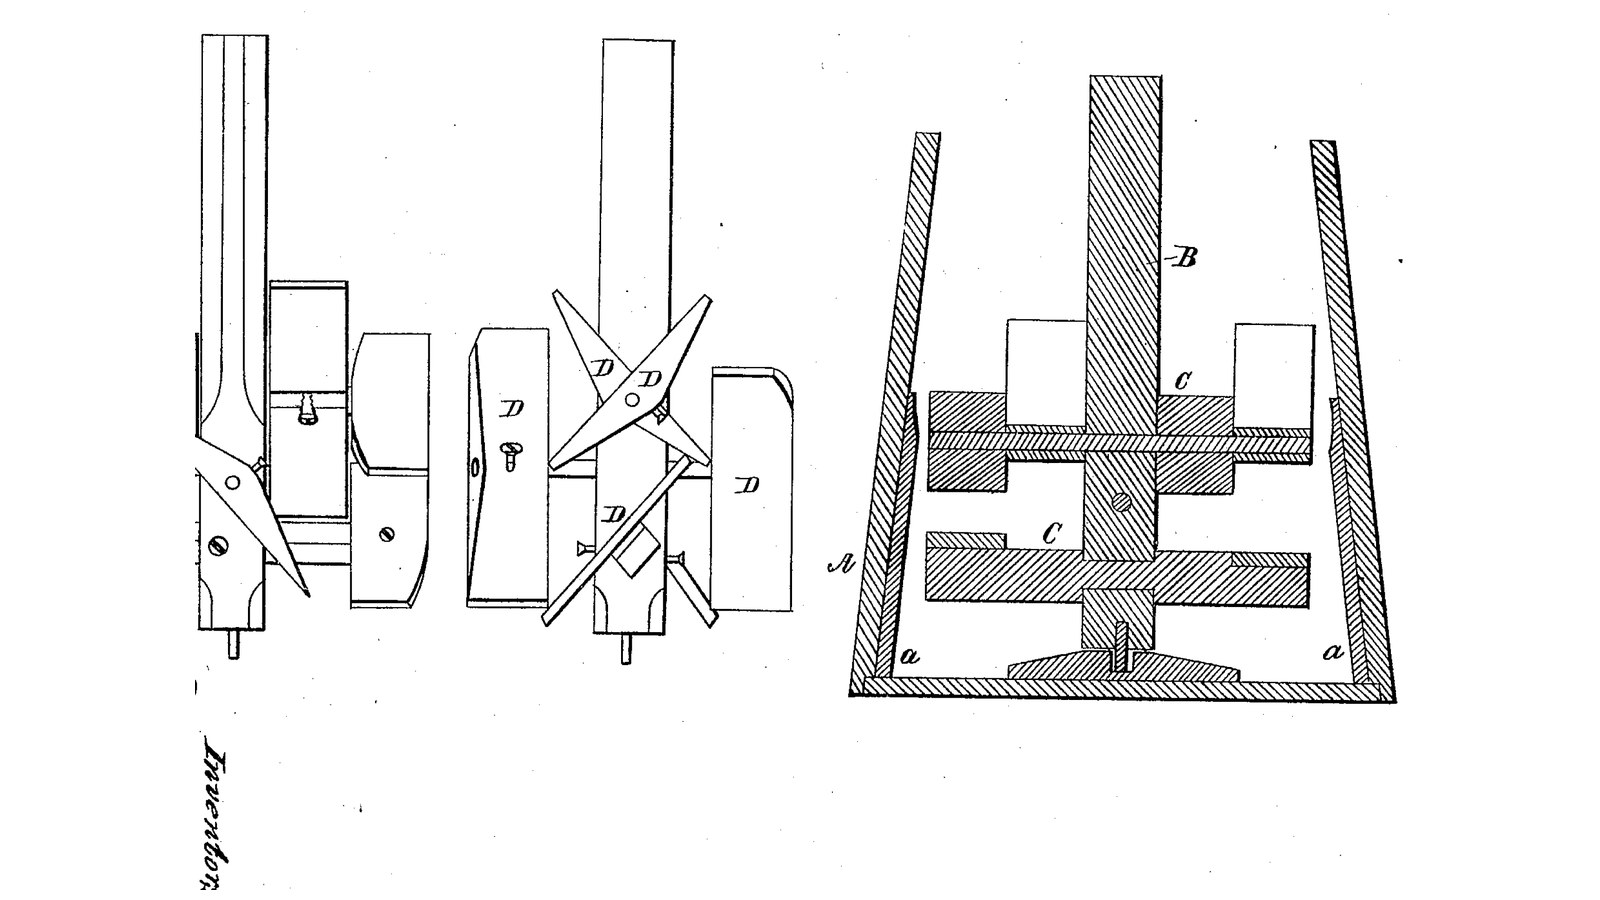

Set-Wing Dasher Churn: Wings on Two Cross Rods Through the Staff Are Set by Screws to Lift or Press the Cream
William F. Armstrong and Morgan Payne of Cardington, Ohio, received US 32,814, dated 16 July 1861, for a dasher made of a staff pierced at right angles by two rods, each carrying a wing at either end. Each wing turns on its rod and is fixed by a set screw, so some can be set to lift the cream and others to press it down, and the angles changed at will. Upright strips inside the churn break the swirl.
The patent gives no sizes; every size here is ours.
Principiante
About 1 day
Instrucciones
1
1
Setting the wings
Setting the wings
Cargando el cuaderno de Jupyter…
2
2
Paddles sloping opposite ways, five months before
Paddles sloping opposite ways, five months before
Mickey fixes his paddles' slopes. Armstrong and Payne let each wing be set by a screw.
3
3
Read US 32,814
Read US 32,814
"D, D, represent the dashers which are secured to the shafts C, C, by means of set screws as shown so that they may be made permanent in different positions when desired. The cream is elevated by some of the dashers and depressed by others, and the angle at which either occurs may be changed by setting the dashers in different positions."
4
4
Churn A and strips a
Churn A and strips a
Use a 20-litre food-grade bucket as the churn A. Cut four hardwood strips a 20 mm wide and 320 long, tapered behind so their faces stand upright 125 mm from the centre against the sloping wall, and screw them inside from outside a quarter turn apart, 20 mm above the floor, sealing the screw holes. Cut a 12 mm HDPE lid with a 27 mm hole in the middle.
Materiales para este paso:
 Cubo de 20 litros1 pieza
 Tabla de madera dura1 pieza
 Tornillos para madera12 piezas
 Sellador de silicona1 pieza
 Plancha de HDPE1 pieza
Herramientas necesarias:
 Sierra de mesa
 Taladro inalámbrico
 Juego de brocas
 Juego de destornilladores
 Brújula
 Sierra de calar
 Juego de brocas de pala
5
5
Print the step
Print the step
The step on the floor: 40 mm across, 12 high, with a 12.8 mm hole 8 deep. PETG, 0.2 mm layers, 30 % infill, 4 walls.
6
6
Print the wings D (four)
Print the wings D (four)
A wing: 90 x 60 x 12 mm with a hub 22 mm across, bored 12.4 mm along its length for the rod and 5.2 mm across the hub for an M5 set screw. Print four. PETG, 0.2 mm layers, 30 % infill, 4 walls.
7
7
Staff B, rods C and wings D
Staff B, rods C and wings D
Plane a hardwood staff B 30 mm square and 325 mm long, with a 12 mm stainless pin 10 mm out of its foot, and turn its top 25 mm round for 45 mm above. Bore it 12.2 mm across 100 and 220 mm above its foot, the second at right angles to the first, and push a 12 mm stainless rod C 234 mm long through each. Slide a wing on each rod end and fix it with an M5 set screw: the lower pair turned 30 degrees one way, the upper pair 30 degrees the other. Pin a crank of mild steel flat bar, 108 mm throw, with a hardwood handle on the staff's top.
Materiales para este paso:
Tabla de madera dura1 pieza Varilla de acero inoxidable2 piezas
 Filamento PETG1 pieza
 Tornillos de máquina4 piezas
 Pletina de acero dulce1 pieza
 Espigas de madera dura1 pieza
 Pasador de aletas1 pieza
Herramientas necesarias:
 Impresora 3D de filamento (FDM)Sierra de mesa
 Torno de maderaTaladro inalámbricoJuego de brocas
 Sierra para metales
 Limas (lima de mano)Juego de destornilladores
8
8
The build in 3D
The build in 3D
FreeCAD model of this build, the bucket cut open: four upright strips, the staff on its step with two cross rods and four wings set at opposite angles, the lid and the crank.
9
9
Churn
Churn
Pour about 12 litres of heavy cream at about 15 °C, checked with the thermometer, into the bucket, set the dasher's pin in the step and put on the lid. Turn the crank steadily, timing it. If the cream climbs too high or sits too still, loosen the set screws and change the wings' angles. When the butter comes, lift out the dasher, take out the butter, pour the buttermilk into a bowl, wash the butter in cold water until it runs clear, salt and weigh it.
Materiales para este paso:
 Crema de leche espesa12 l
 Sal marina gruesa1 pieza
 Agua1 pieza
Herramientas necesarias:
 Termómetro de sonda permanente
 Cronómetro
 Báscula digital de cocina
 Bol grande de acero inoxidableJuego de destornilladores
10
10
Troubleshooting
Troubleshooting
Set-wing churn troubleshooting.
Flow
Loading...
11
11
History and honest limits
History and honest limits
**Wm. F. Armstrong** and **Morgan Payne** of Cardington, Morrow County, Ohio, US 32,814, 16 July 1861, "Churn". They claimed "the peculiar arrangement of the dashers or wings upon the shafts C, C". They do not say how the staff is worked; their drawing shows it stepped on a pin in the bottom, so ours is turned by a crank on its top. Their churn widened toward the bottom; ours, a bucket, widens toward the top. The patent gives no sizes; every size here is ours.
Materiales
14- 1 piezaMarcador de posición
- 1 piezaMarcador de posición
- 12 piezasMarcador de posición
- 1 piezaMarcador de posición
- 1 piezaMarcador de posición
- 2 piezasMarcador de posición
- 1 piezaMarcador de posición
- 4 piezasMarcador de posición
- 1 piezaMarcador de posición
- 1 piezaMarcador de posición
- 1 piezaMarcador de posición
- Marcador de posición
- 1 piezaMarcador de posición
- 1 piezaMarcador de posición
Herramientas requeridas
15- 1 vendor sell this, none ship to you yetMarcador de posición
- 1 vendor sell this, none ship to you yetMarcador de posición
- Marcador de posición
- Marcador de posición
- Marcador de posición
- 1 vendor sell this, none ship to you yetMarcador de posición
- Marcador de posición
- Marcador de posición
- Marcador de posición
- Marcador de posición
- Marcador de posición
- Marcador de posición
- Marcador de posición
- Marcador de posición
- Marcador de posición
Archivos de diseño
3

Blueprints relacionados
Estos blueprints comparten conocimiento — técnicas, materiales o principios
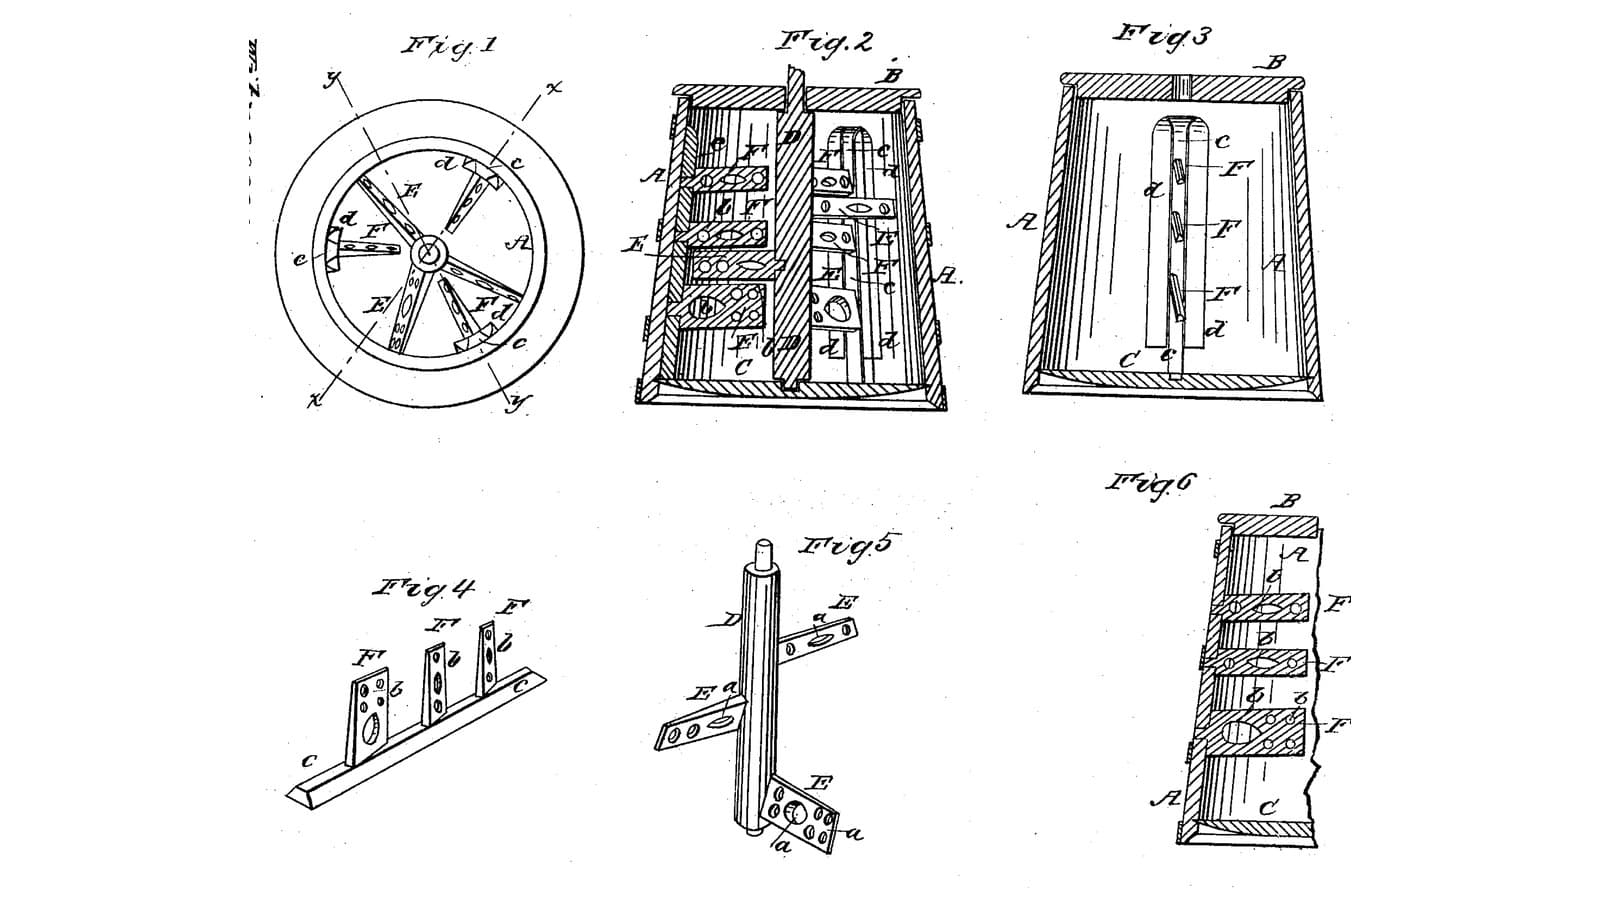
Opposed Perforated-Paddle Churn: Sloping Holed Paddles on a Geared Shaft Pass Between Paddles Sloping the Other Way on Slide Bars
por Buttercup
Carpintería
0
0
0
0
0
0
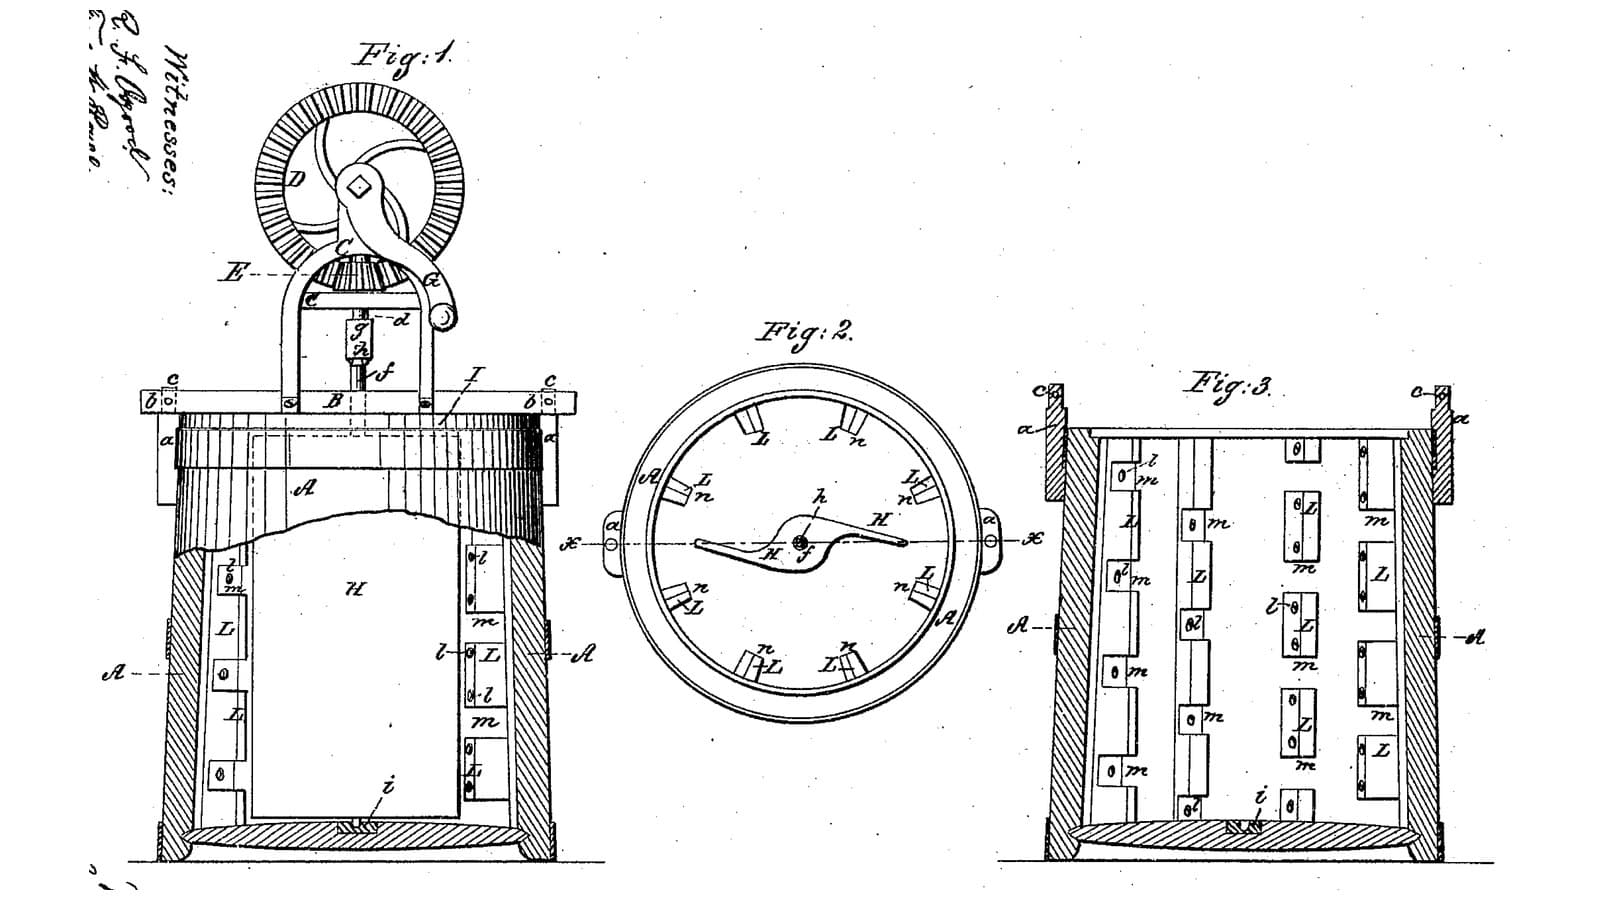
Notched-Rib Churn: A Solid S-Winged Dasher Turns Inside Upright Ribs Whose Notches Alternate, Crossing the Cream's Currents
por Buttercup
Carpintería
0
0
0
0
0
0
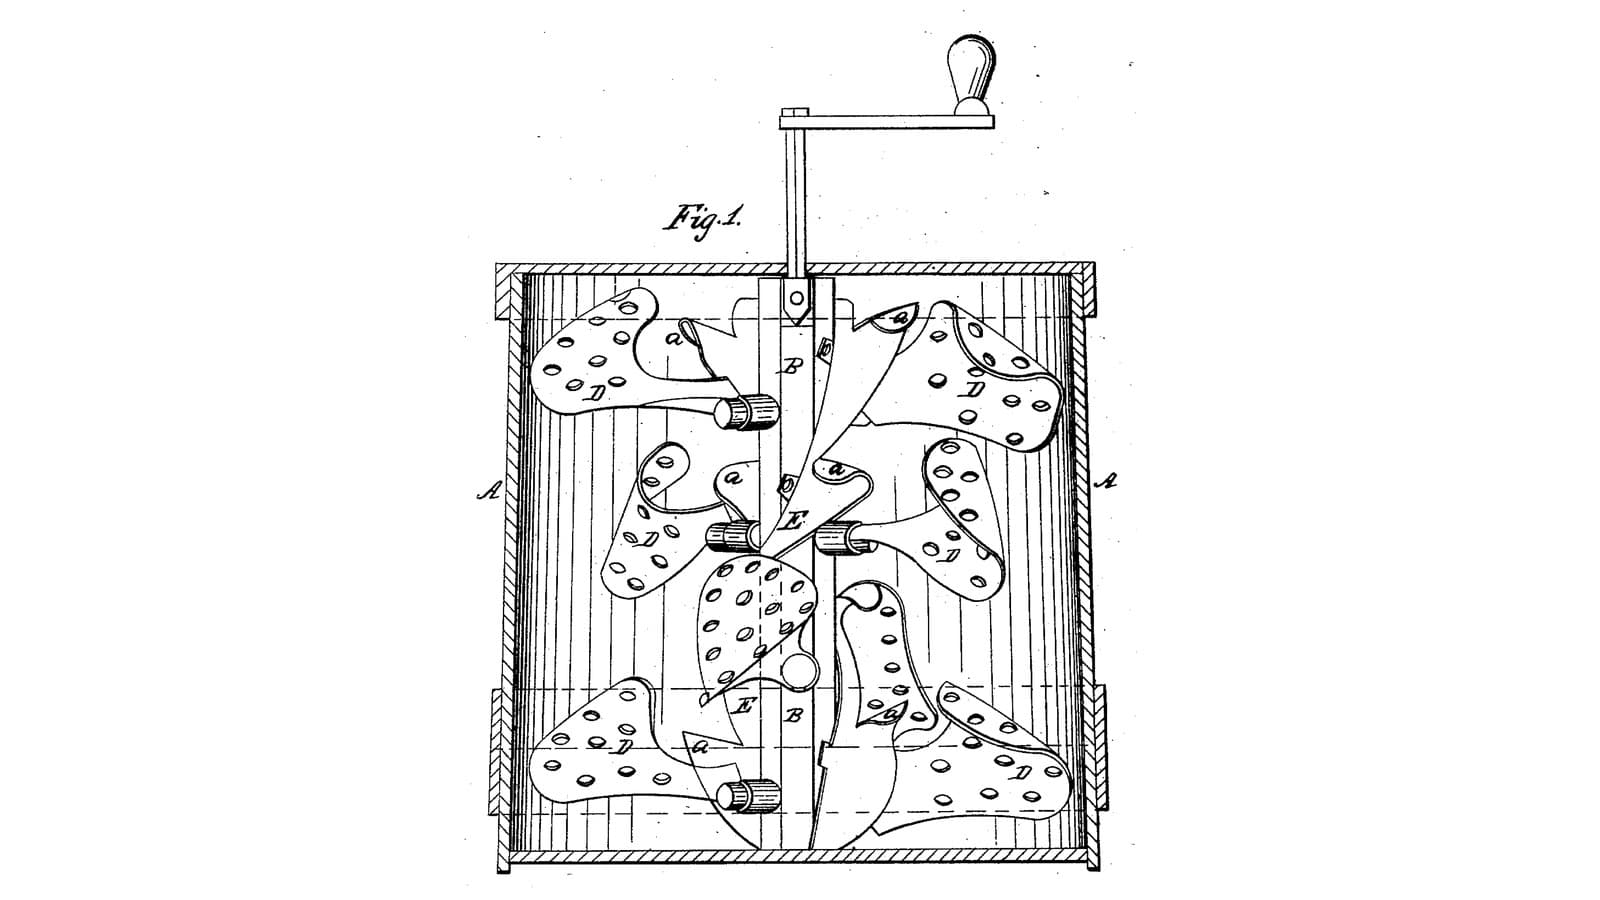
Spiral-Flange Perforated Dasher Churn: Curved Holed Dashers Fling the Cream Out, a Spiral Flange With Vanes Drives It Back Down
por Buttercup
Carpintería
1
0
0
0
0
0

Churning Butter from Cream — The 5,000-Year-Old Fat Separation
por TheChef
ARTESANÍA
60
0
0
0
0
0
CC0 Dominio público
Este Blueprint se publica bajo CC0. Eres libre de copiar, modificar, distribuir y usar este trabajo para cualquier propósito, sin pedir permiso.
Apoya al Maker comprando productos a través de su Blueprint, donde gana una Comisión del Maker establecida por los vendedores, o crea una nueva iteración de este Blueprint e inclúyela como conexión en tu propio Blueprint para compartir ingresos.