Colaboración
ARTE
BELLEZA Y BIENESTAR
ARTESANÍA
CULTURA E HISTORIA
ENTRETENIMIENTO
MEDIO AMBIENTE
COMIDA Y BEBIDAS
INGENIERÍA INVERSA
CIENCIAS
DEPORTES
TECNOLOGÍA
TECNOLOGÍA VESTIBLE
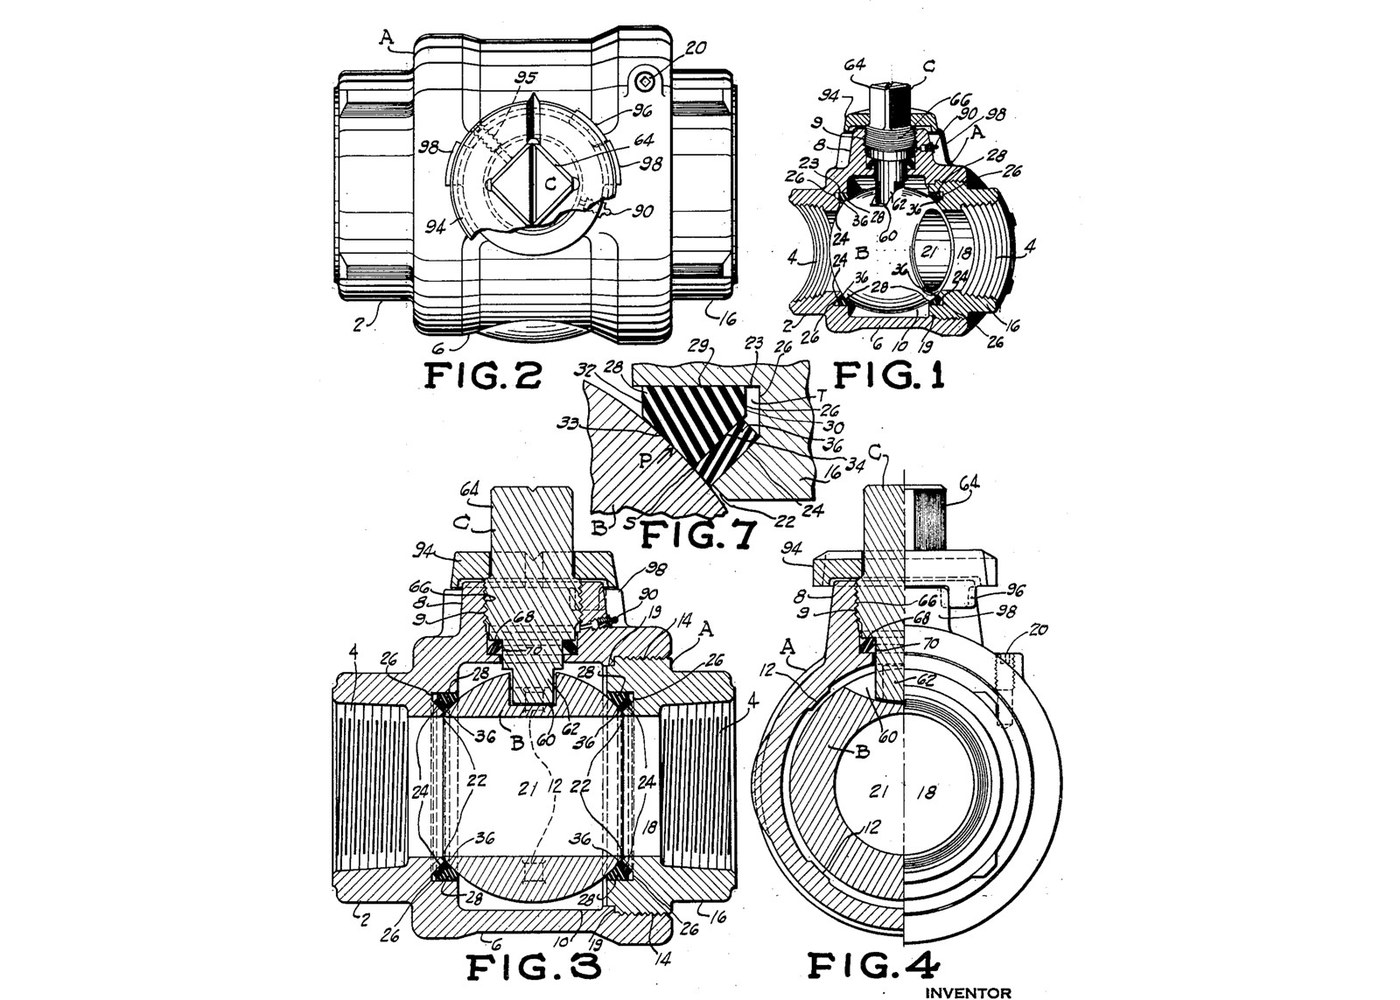


Ball Valve: Floating PTFE Seat and Seal Rings on a Stainless Ball (Clade 1956)
A ball with a hole through it, turned a quarter turn, opens or shuts a pipe. Clade's valve seals it with PTFE. A seating ring rests on the ball, and behind it sits a flat PTFE ring twisted into a cone. PTFE remembers its shape, so the ring keeps pressing on the ball, and line pressure only presses it harder. The metal never touches the ball, so body and ball can be stainless steel.
Source: R. Clade (W-K-M Manufacturing), US 2,762,601 (1956). Unknown: the dimensions. The patent gives the design and a 45° seat angle, but no sizes, so they are linked to an unknown head. Stainless rod as stock and the machining tools are ours. Picture: the patent's sheet 1.
Experto
3 days
Instrucciones
1
1
Make the two-part body
Make the two-part body
Turn the cup: a base threaded inside for the pipe, an enlarged cavity with small bosses that lightly support the ball, a boss on top bored and threaded for the stem, and the mouth threaded inside for the closure, with a shoulder below the threads. Turn the closure: threaded outside to screw into the cup, threaded inside for the other pipe. Bore a through passage in both. Unknown: all the dimensions.
Materiales para este paso:
 Varilla de acero inoxidable1 as required
Herramientas necesarias:
 Torno de metal
 Juego de herramientas de torno (HSS)
 Barra de mandrinar
 Juego de machos y terrajas
 Calibre vernier
 Dimensiones desconocidas
2
2
Cut the 45° seats and their V grooves
Cut the 45° seats and their V grooves
On the closure and on the ledge inside the cup next to the base, machine a conical seat at about 45° to the passage axis, so it would touch the ball at 45°. Interrupt each seat with a groove of truncated V section: its outer wall parallel to the axis, its inner wall parallel to the 45° line, its bottom square to the axis.
Herramientas necesarias:
Torno de metalJuego de herramientas de torno (HSS)Calibre vernierDimensiones desconocidas3
3
Make the ball and the stem
Make the ball and the stem
Turn the ball as a true sphere and bore a passage through it. Round off the edges where the passage meets the surface, so they do not cut the rings. Mill a slot across the top for the stem. Turn the stem with a square operating end, a thread below it for the boss, a shoulder, and a lower end that fits the ball's slot.
Materiales para este paso:
Varilla de acero inoxidable1 as requiredHerramientas necesarias:
Torno de metalJuego de herramientas de torno (HSS) Fresadora
 Juego de limasDimensiones desconocidas
4
4
Make the PTFE rings
Make the PTFE rings
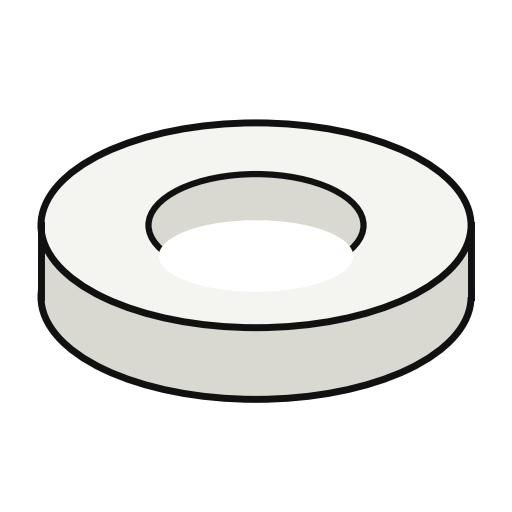
For each seat, cut a seating ring with a face parallel to the 45° seat and a sliding fit in the groove. Then cut a sealing ring, flat and rectangular in section (or cut from PTFE tube). For the stem, cut a ring of parallelogram section. Ours: all cut from PTFE ring stock.
Materiales para este paso:
 Anillo de PTFE5 piezas
Herramientas necesarias:
Torno de metalJuego de herramientas de torno (HSS)Dimensiones desconocidas5
5
Fit the rings and assemble the valve
Fit the rings and assemble the valve
Put each sealing ring into its V groove first, twisting the flat ring into a cone, then slide in the seating ring. The ball closes the gap left behind the seal ring, and PTFE's memory keeps the seal's corner pressed on the ball. Set the ball in the cup and screw the closure in hard against the shoulder. Drill and tap the cup for a locking stud that enters a hole drilled in the closure. Fit the stem with its PTFE ring between the stem and boss shoulders, and screw it down: the ring is squeezed into a seal. Drop the stop cap over the stem and lock it with a stud. Its projection meets the body stops, so the ball turns only 90°.
Herramientas necesarias:
 Taladro de columnaJuego de machos y terrajas
 Llave de tubo
 Tornillo de banco
 Gafas de seguridad
Materiales
2- 1 as requiredMarcador de posición
- 5 piezasMarcador de posición
Herramientas requeridas
12- Marcador de posición
- Marcador de posición
- Marcador de posición
- Marcador de posición
- Marcador de posición
- Marcador de posición
- Marcador de posición
- Marcador de posición
- Marcador de posición
- Marcador de posición
- Marcador de posición
- Marcador de posición
Este plano hace
Blueprints relacionados
Estos blueprints comparten conocimiento — técnicas, materiales o principios


CC0 Dominio público
Este Blueprint se publica bajo CC0. Eres libre de copiar, modificar, distribuir y usar este trabajo para cualquier propósito, sin pedir permiso.
Apoya al Maker comprando productos a través de su Blueprint, donde gana una Comisión del Maker establecida por los vendedores, o crea una nueva iteración de este Blueprint e inclúyela como conexión en tu propio Blueprint para compartir ingresos.