Colaboración
ARTE
BELLEZA Y BIENESTAR
ARTESANÍA
CULTURA E HISTORIA
ENTRETENIMIENTO
MEDIO AMBIENTE
COMIDA Y BEBIDAS
INGENIERÍA INVERSA
CIENCIAS
DEPORTES
TECNOLOGÍA
TECNOLOGÍA VESTIBLE
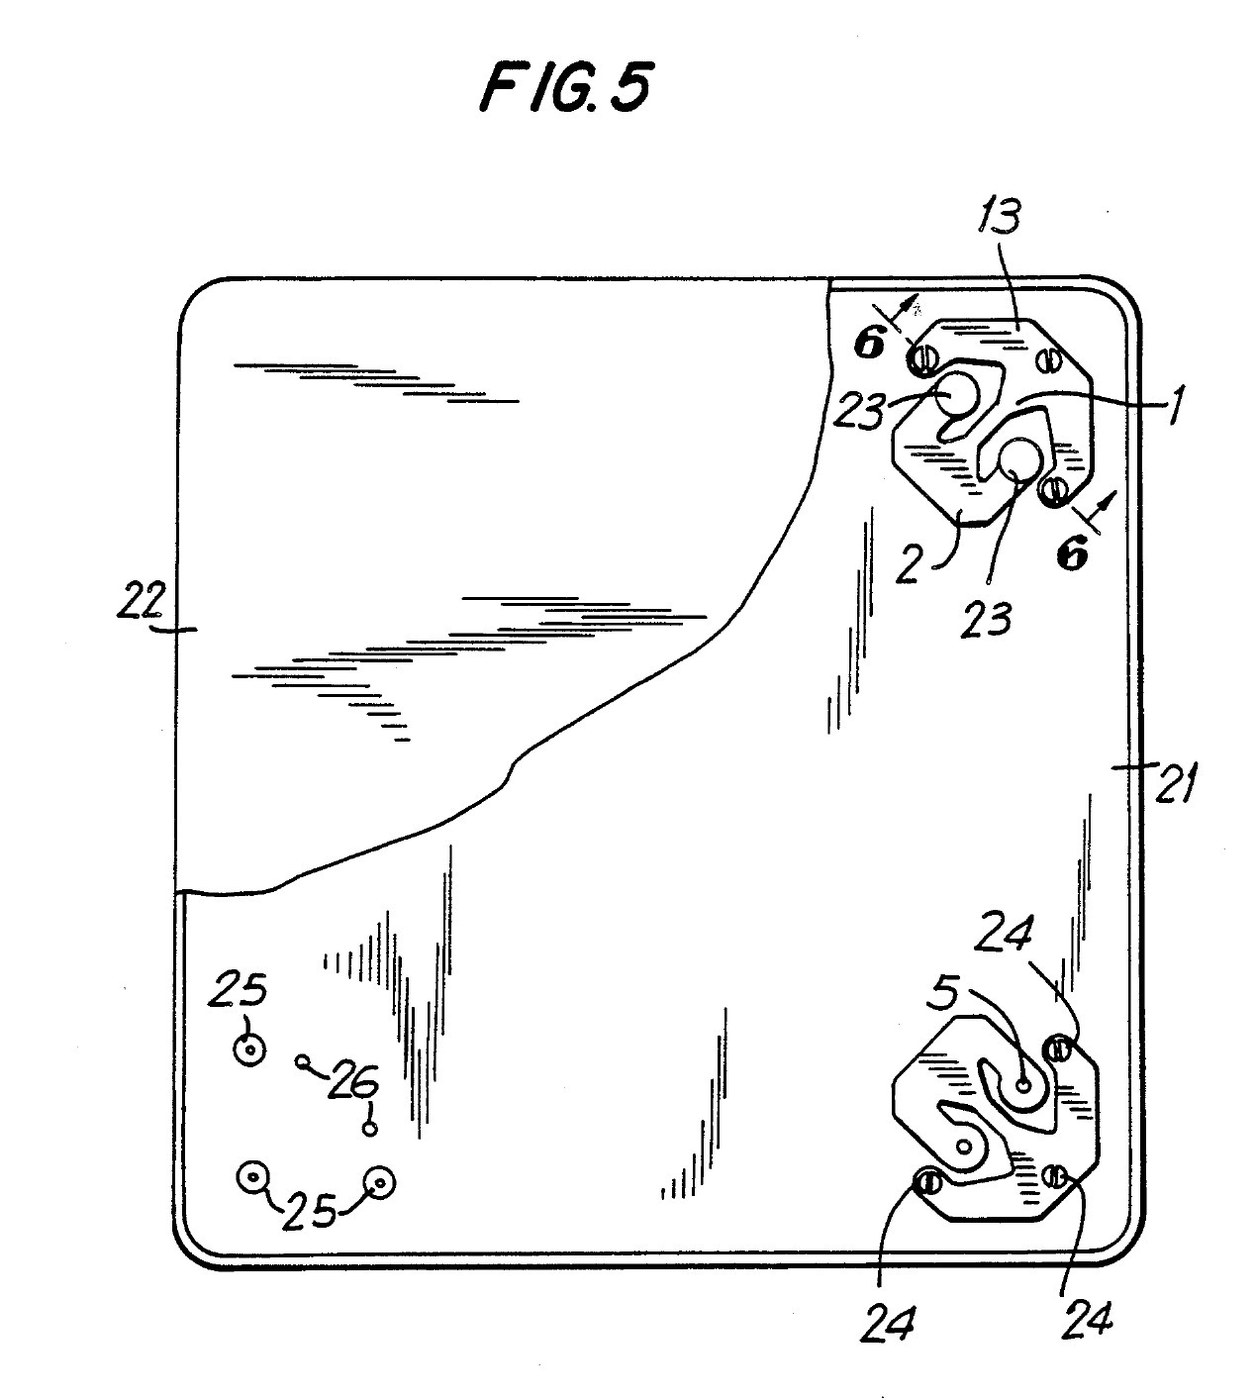


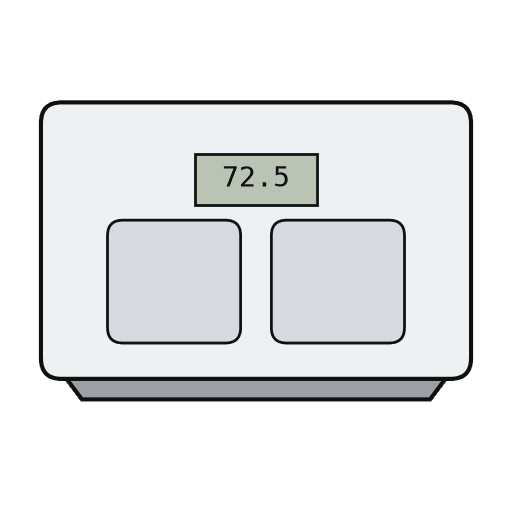
Bathroom Scale: Four Flat Load Cells Between Two Plates (Angel, 1991)
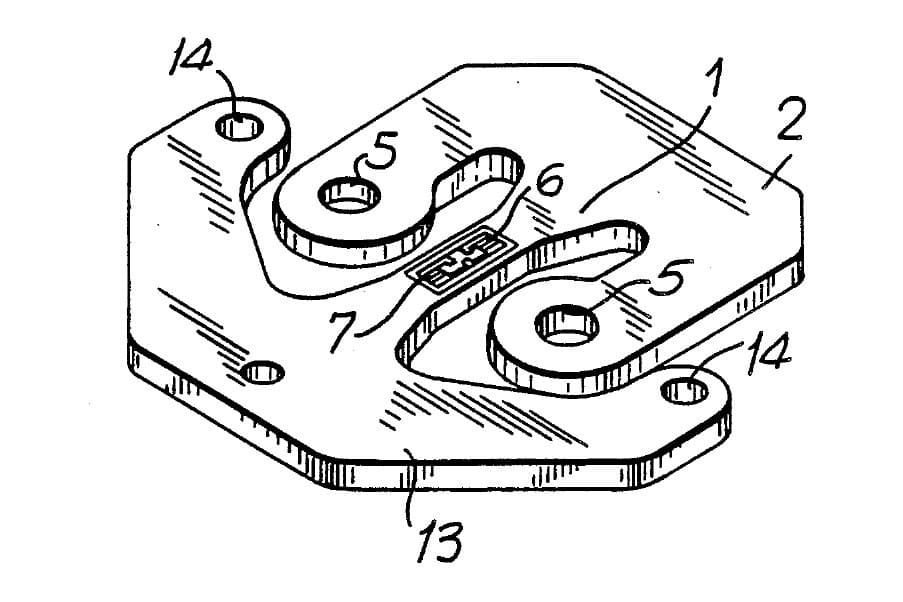
A floor scale only as thick as two plates. Four flat load cells sit in the corners between a base and a top plate; their strain gauges are wired into one bridge, so the signal is the sum of the four loads wherever you stand.
Result: a low digital bathroom scale reading in pounds or kilograms. The patent gives under 0.05 % non-linearity, hysteresis and non-repeatability, and under 0.1 % error from off-centre loads; its feet let it stand on thick carpet.
Source: S. Angel, US Patent 4,993,506 (1991). Unknown: the plate material and size, the maximum load, and the circuit. Ours: ebonite for the hard rubber, epoxy, the amplifier and display parts. Picture: patent drawing (Fig. 5).
Avanzado
2 days
Instrucciones
1
1
Mount the four load cells
Mount the four load cells
Put one load cell in each corner of the rigid base plate. Screw each one down to small flat raised pads on the plate. Place the pads away from the edge of the cell's beam, so that fixing the cell does not change its sensitivity. Under each cell, tap two holes through the base for the overload screws. Not given: the plate material and size.
Materiales para este paso:
 Célula de carga4 piezas
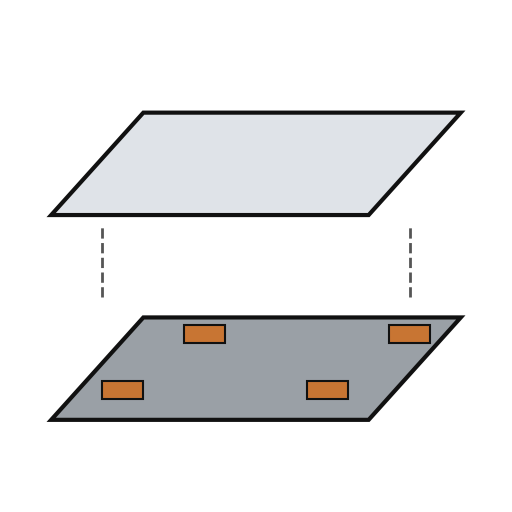 Base y plato superior de báscula1 base and top plate
 Tornillos de máquina8 cell screws
Herramientas necesarias:
 Juego de machos y terrajas
 Juego de destornilladores
 Dimensiones desconocidas
2
2
Wire one bridge and the readout
Wire one bridge and the readout
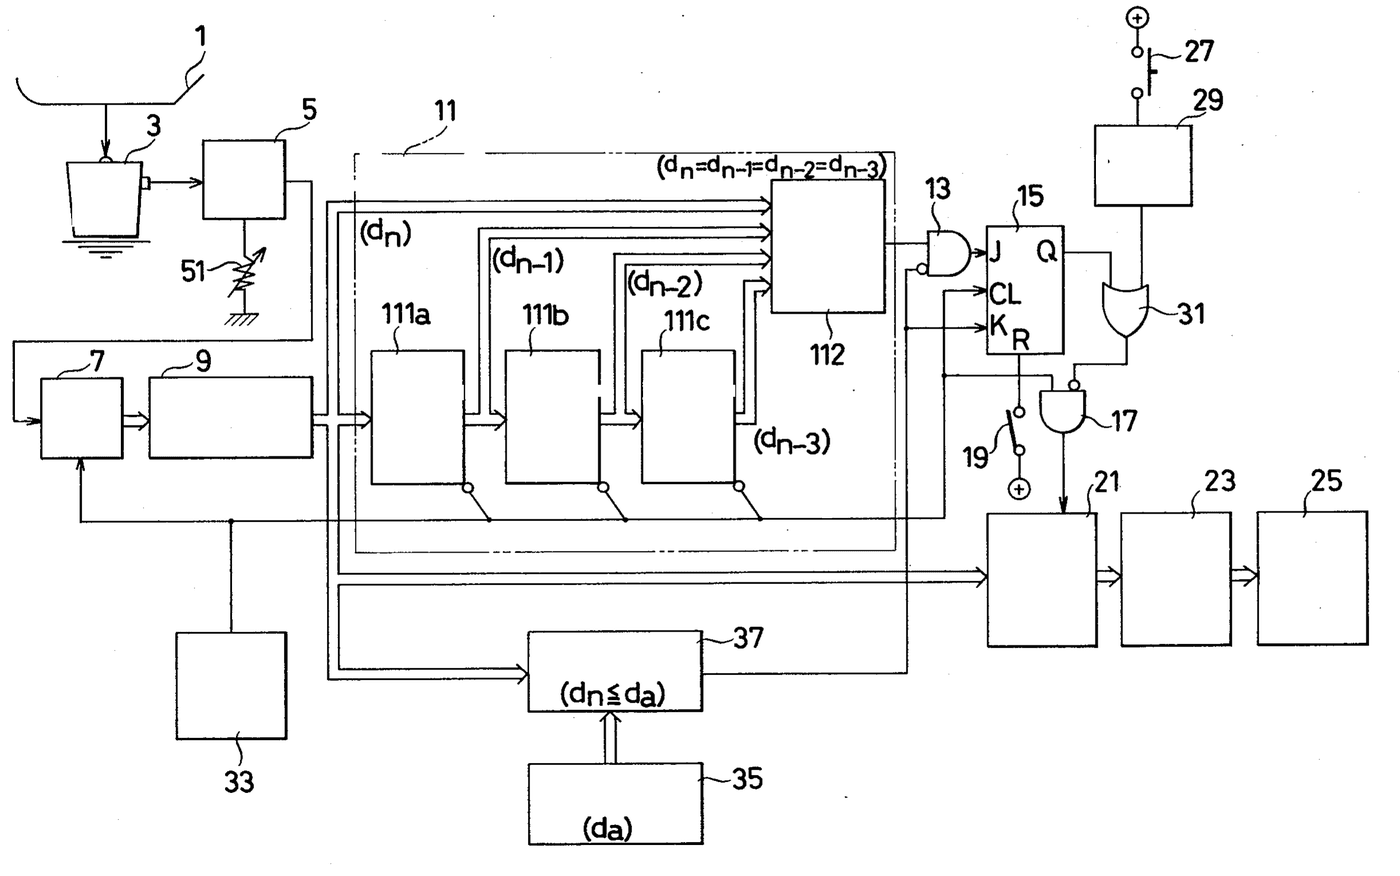
Each cell's two gauges are half a Wheatstone bridge. Join the four halves into one full bridge, one half at each corner, so the bridge gives a signal in step with the sum of the four loads. The signal is amplified, turned into numbers by an analog-to-digital converter, worked into pounds or kilograms and shown on a display. Put the electronics and batteries in the space between the plates. Not given: the circuit. Ours: an op-amp and a segment LCD.
Materiales para este paso:
 Circuito integrado amplificador operacional1 amplifier
 Convertidor analógico-digital1 pieza
 Pantalla LCD de segmentos1 pieza
 Batería1 as the circuit needs
 Cable de conexión1 as needed
 Alambre de soldadura1 a little
Herramientas necesarias:
 Soldador de estaño
3
3
Fit the top plate on hard rubber pads
Fit the top plate on hard rubber pads
Glue four flat round pads of a rigid but slightly yielding material, such as hard rubber, under the top plate. Give each pad small round studs that snap into the two load holes of its cell, so the weight goes in at the centres of those holes. The pads soften impacts when something is dropped on the scale and take up sideways forces as the top plate bends. The snaps let the top plate be pulled off for repairs. Ours: ebonite and epoxy.
Materiales para este paso:
 Varilla de ebonita1 four pads
 Epoxi de dos componentes1 a little
Herramientas necesarias:
 Sierra para metales
4
4
Fit the feet
Fit the feet
Under the base, below each cell, fix a shallow foot of flexible material such as hard rubber, rounded underneath. Put its lowest point exactly below the centre of the cell's beam: the floor then pushes up at the beam's centre without bending it, and the scale works on thick carpet or uneven floors. Ours: ebonite.
Materiales para este paso:
Varilla de ebonita1 four feetEpoxi de dos componentes1 a littleHerramientas necesarias:
Sierra para metales5
5
Set the overload stops
Set the overload stops
Load the scale to its maximum capacity. Turn the short screws in from below until they just touch the arms of each cell's loading element, then lock them with adhesive. Any heavier load now rests on the screws instead of bending the cells further. Not given: the maximum capacity. Ours: calibration weights and epoxy.
Materiales para este paso:
Tornillos de máquina8 overload screwsEpoxi de dos componentes1 a littleHerramientas necesarias:
 Juego de pesas de calibraciónJuego de destornilladores
Materiales
11- 4 piezasMarcador de posición
- 1 base and top plateMarcador de posición
- 8 overload screwsMarcador de posición
- 1 amplifierMarcador de posición
- Marcador de posición
- 1 piezaMarcador de posición
- 1 as the circuit needsMarcador de posición
- 1 as neededMarcador de posición
- 1 a littleMarcador de posición
- 1 four feetMarcador de posición
- 3 a littleMarcador de posición
Herramientas requeridas
6- Marcador de posición
- Marcador de posición
- Marcador de posición
- 2 vendors sell this, none ship to you yetMarcador de posición
- Marcador de posición
- Marcador de posición
Materiales de Blueprints conectados
Este plano hace
Blueprints relacionados
Estos blueprints comparten conocimiento — técnicas, materiales o principios

CC0 Dominio público
Este Blueprint se publica bajo CC0. Eres libre de copiar, modificar, distribuir y usar este trabajo para cualquier propósito, sin pedir permiso.
Apoya al Maker comprando productos a través de su Blueprint, donde gana una Comisión del Maker establecida por los vendedores, o crea una nueva iteración de este Blueprint e inclúyela como conexión en tu propio Blueprint para compartir ingresos.